When it comes to painting wood and wooden furniture, time, effort and know-how all play key roles in what the finished job looks like. Care has to be taken when you remove paint from the old paint job in preparation for your project. This tutorial will show you exactly what you need to know, and how to paint wood.
Removing paint from wood
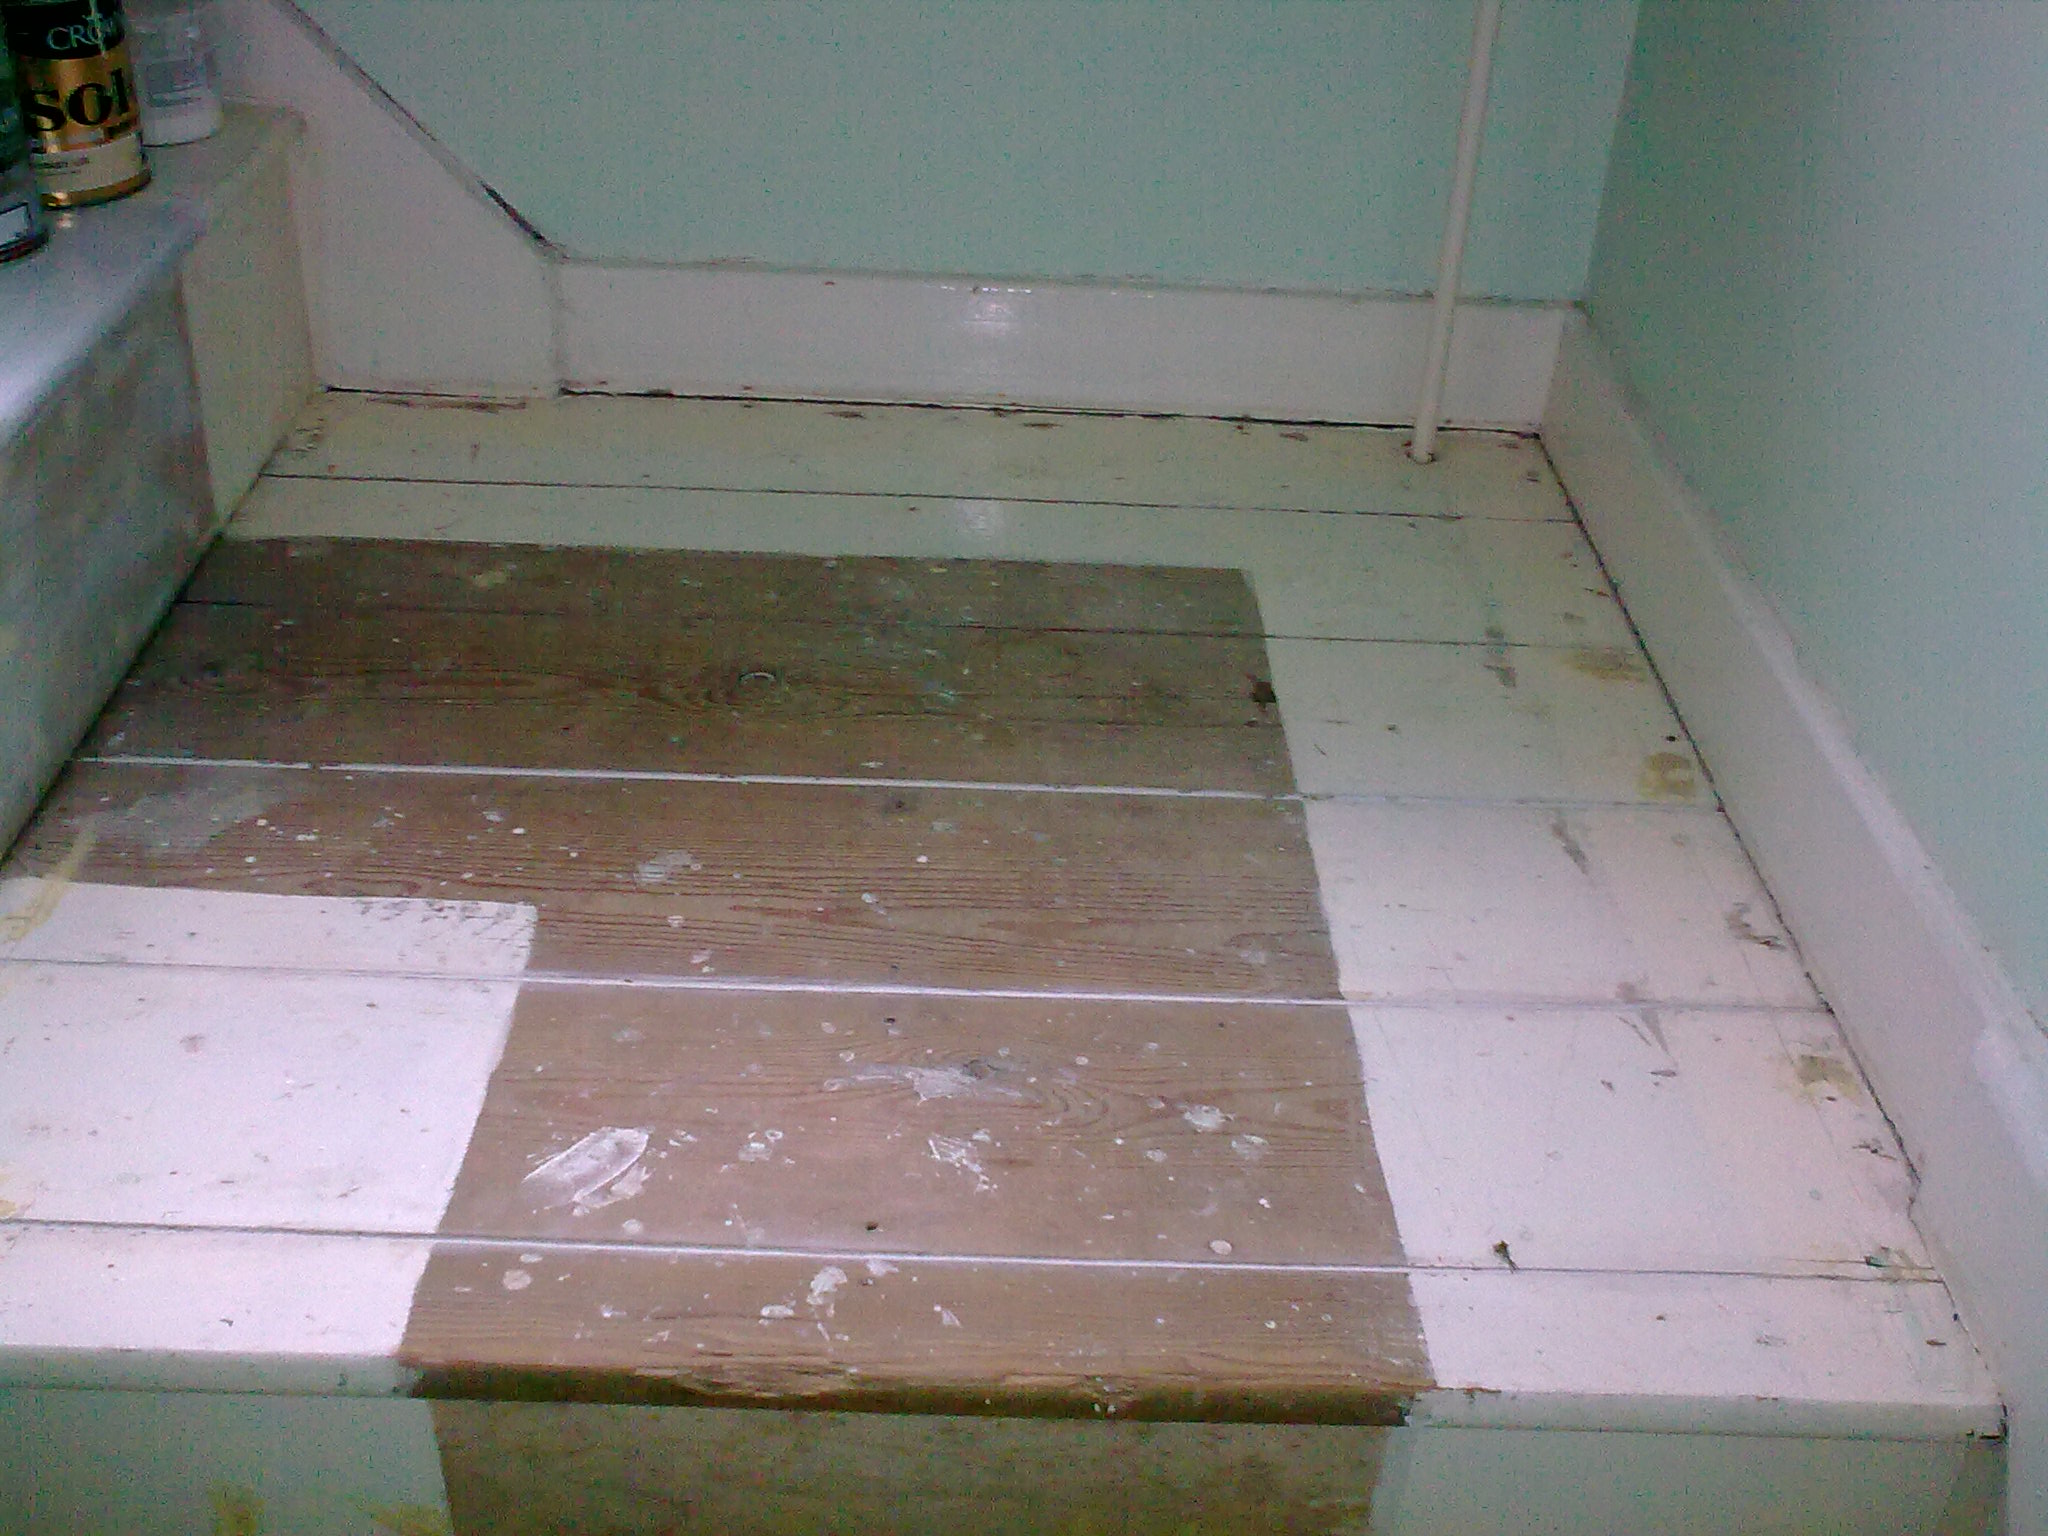
Ideally, you shouldn’t use paint removal substances on wood, unless it’s totally necessary. Look at the pictures of un-painted wood (or old wood) below to see great examples of how old paint jobs can look. Is this what you’re faced with?
The first thing you need to do is get rough grade sand paper and start sanding. Sanding wood in preparation for painting not only removes the old, flaky paint from the surface. Sanding wood removes dust particles stuck in the wood, takes care of old drips and thick, unsound painting jobs, and (most importantly) gives your brand new, expensive paint, somewhere permanent to stick to.
If you were to paint without first sanding, you’d be doing yourself a disservice because the new paint can only look as good as the surface it was put on. Bad – or not enough – preparation will cause your new paint to flake out fast.
Flaky and chipped paint have to be removed
In the picture below, notice that you can virtually remove the old paint with your fingernails. Painting on this surface would result on the new paint chipping off in a few months.
Preparing wood to be painted
1. Go over the wooden surface to get rid of all all staples, nails, splinters, or any other sharp objects that can damage your hands.
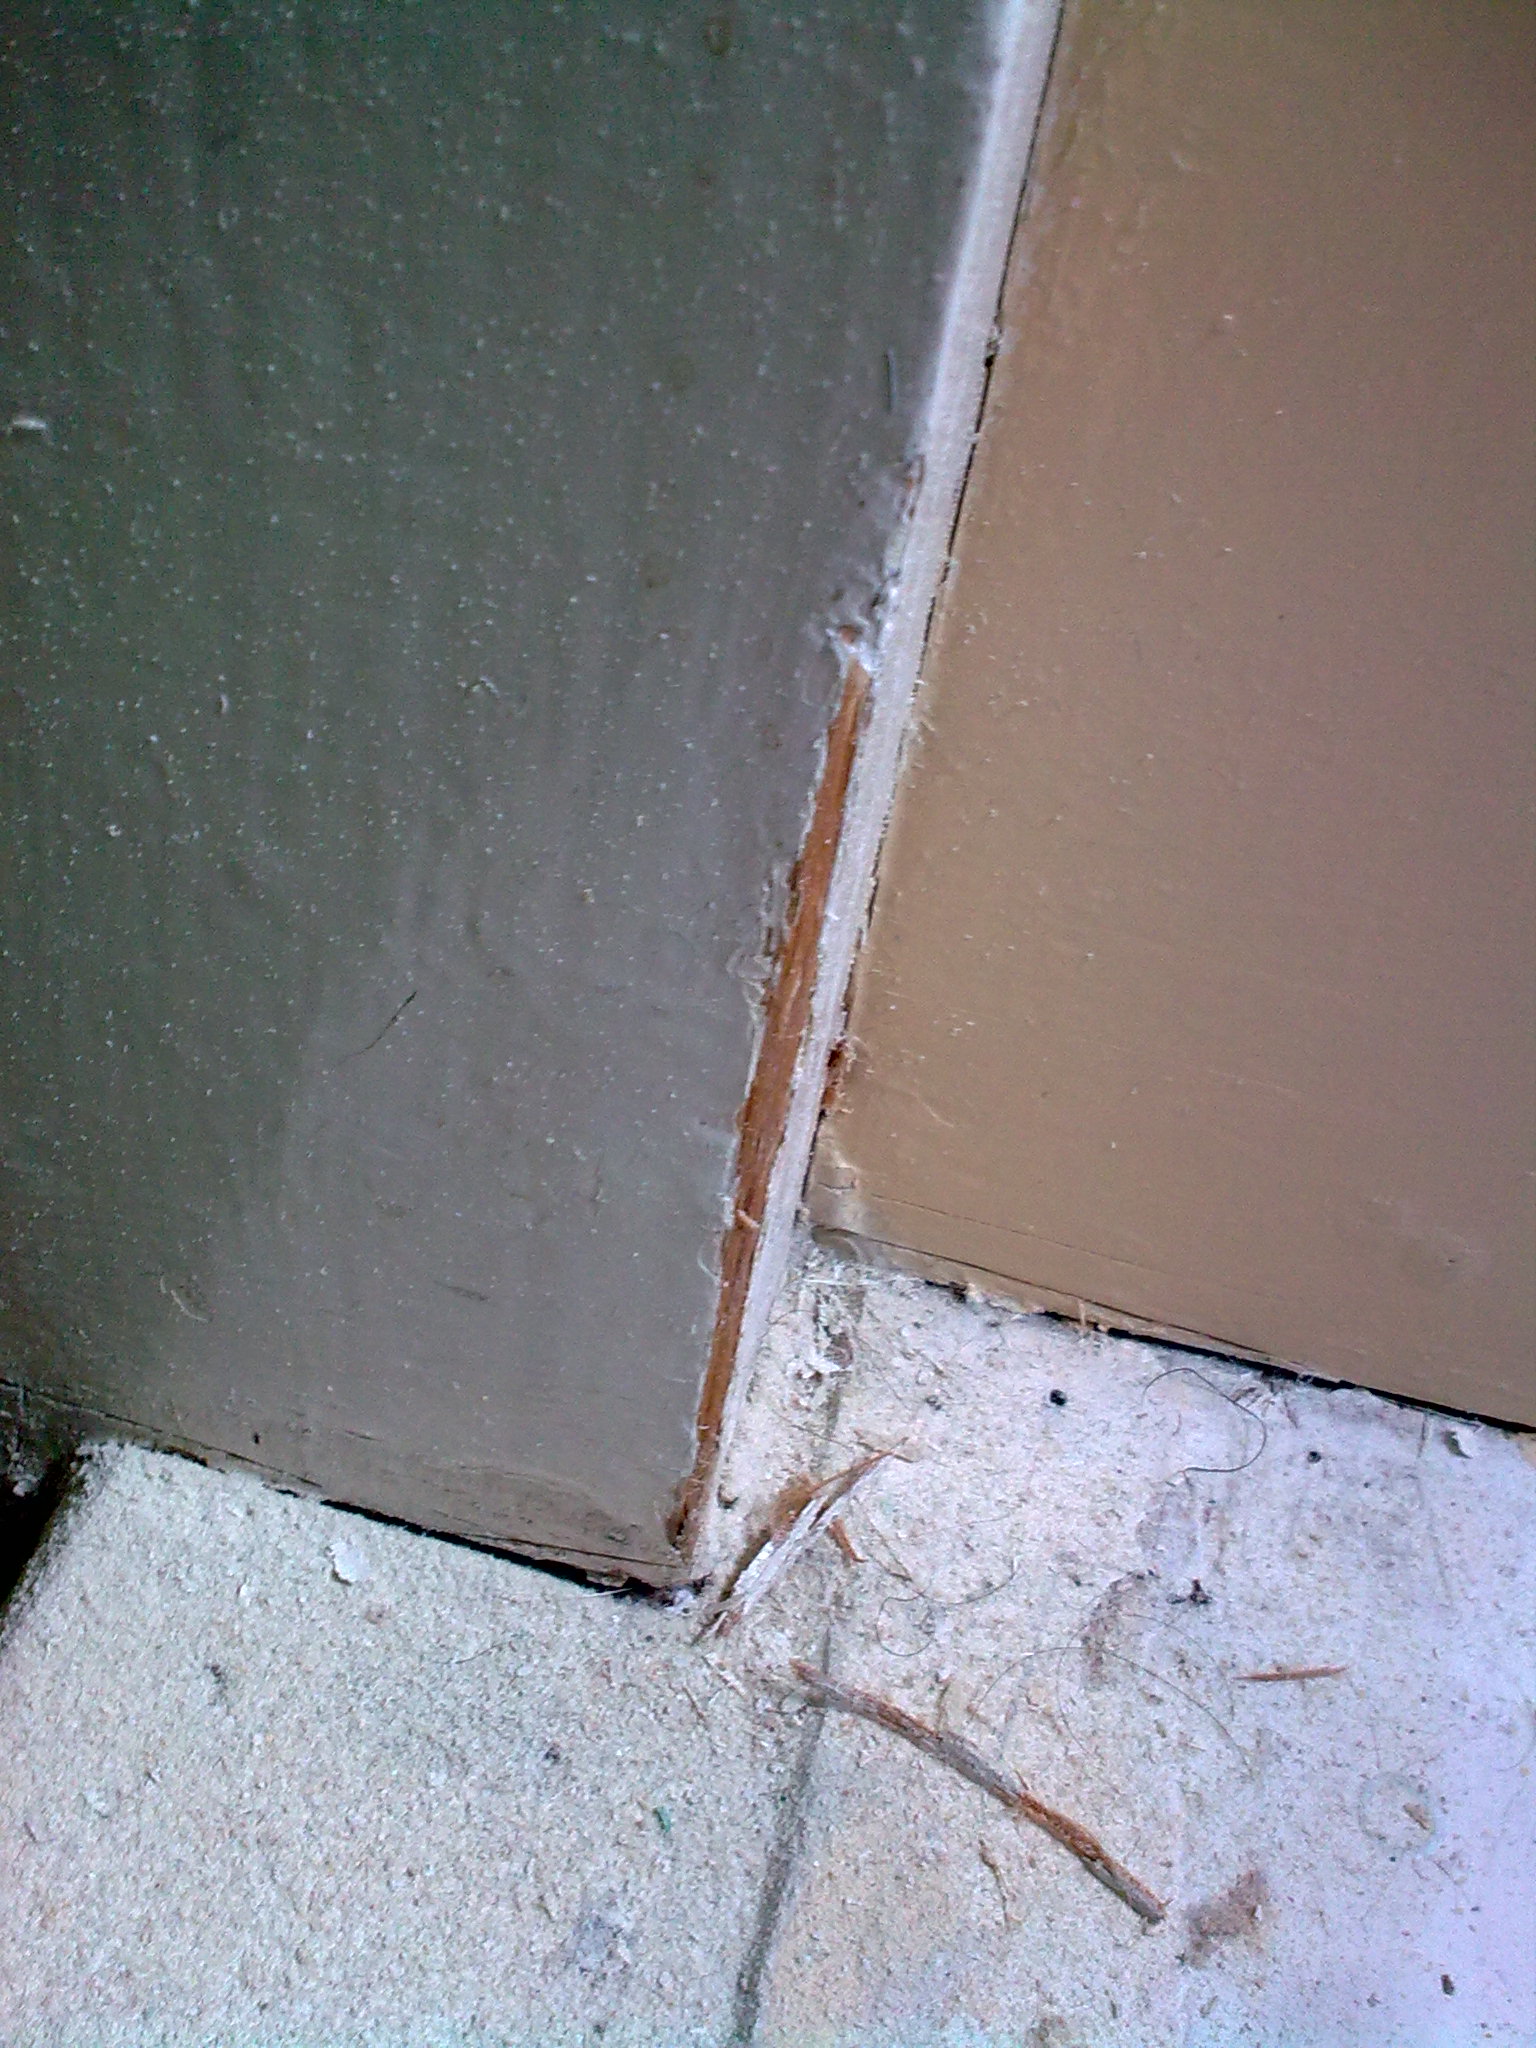
2. Use a paint-removal knife (I also use a wall paper scraper – it works just as well) to take off any thickly-covered painted areas where the paint had been put on thicker than in other parts. Using the knife, scrape away at the old paint until it’s all gone. If there are any edges where the raw wood meets the paint, go over these with the knife to make sure the joins (paint + raw wood) are smooth and not flaky.
3. Sand the wood thoroughly, paying keen attention to: (a) where raw wood meets painted sections (like in the first picture), (b) where bulges and drips were left from the old paint, and (c) flaky painted bits (like in the second picture).
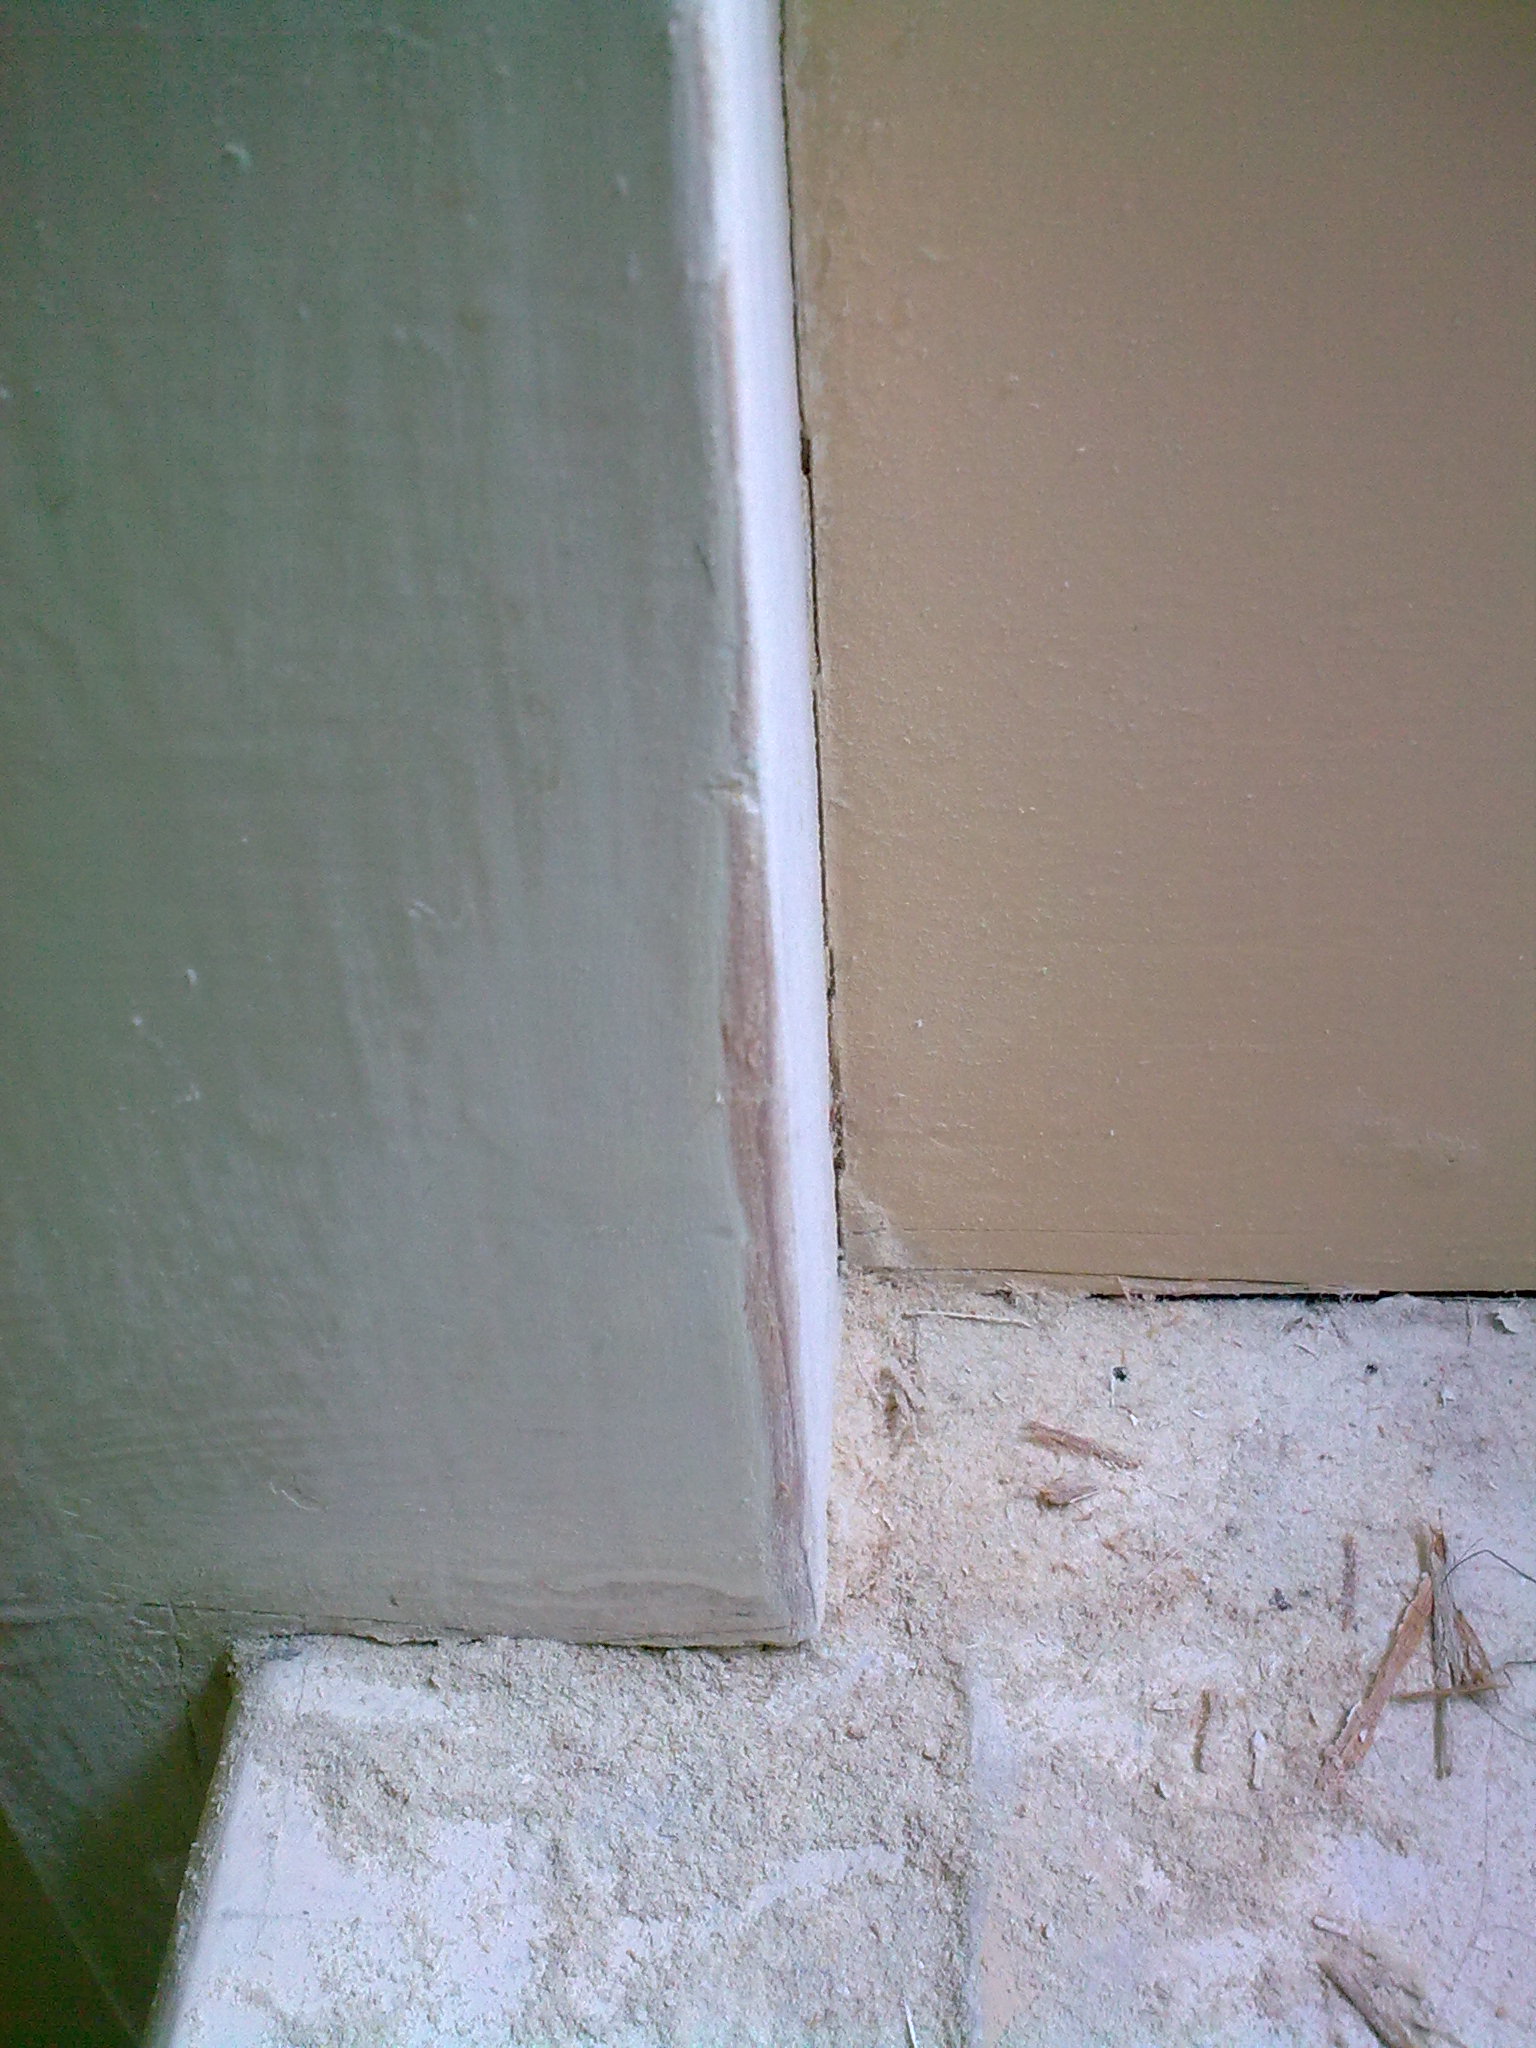
At last, all the flaky, old paint has been sanded off. You’ll still be able to see layers underneath (if there are any), but all surrounding areas and areas sanded, should feel smooth to the touch. If you can feel a ridge between the top layer and the ones underneath, you need to sand some more.
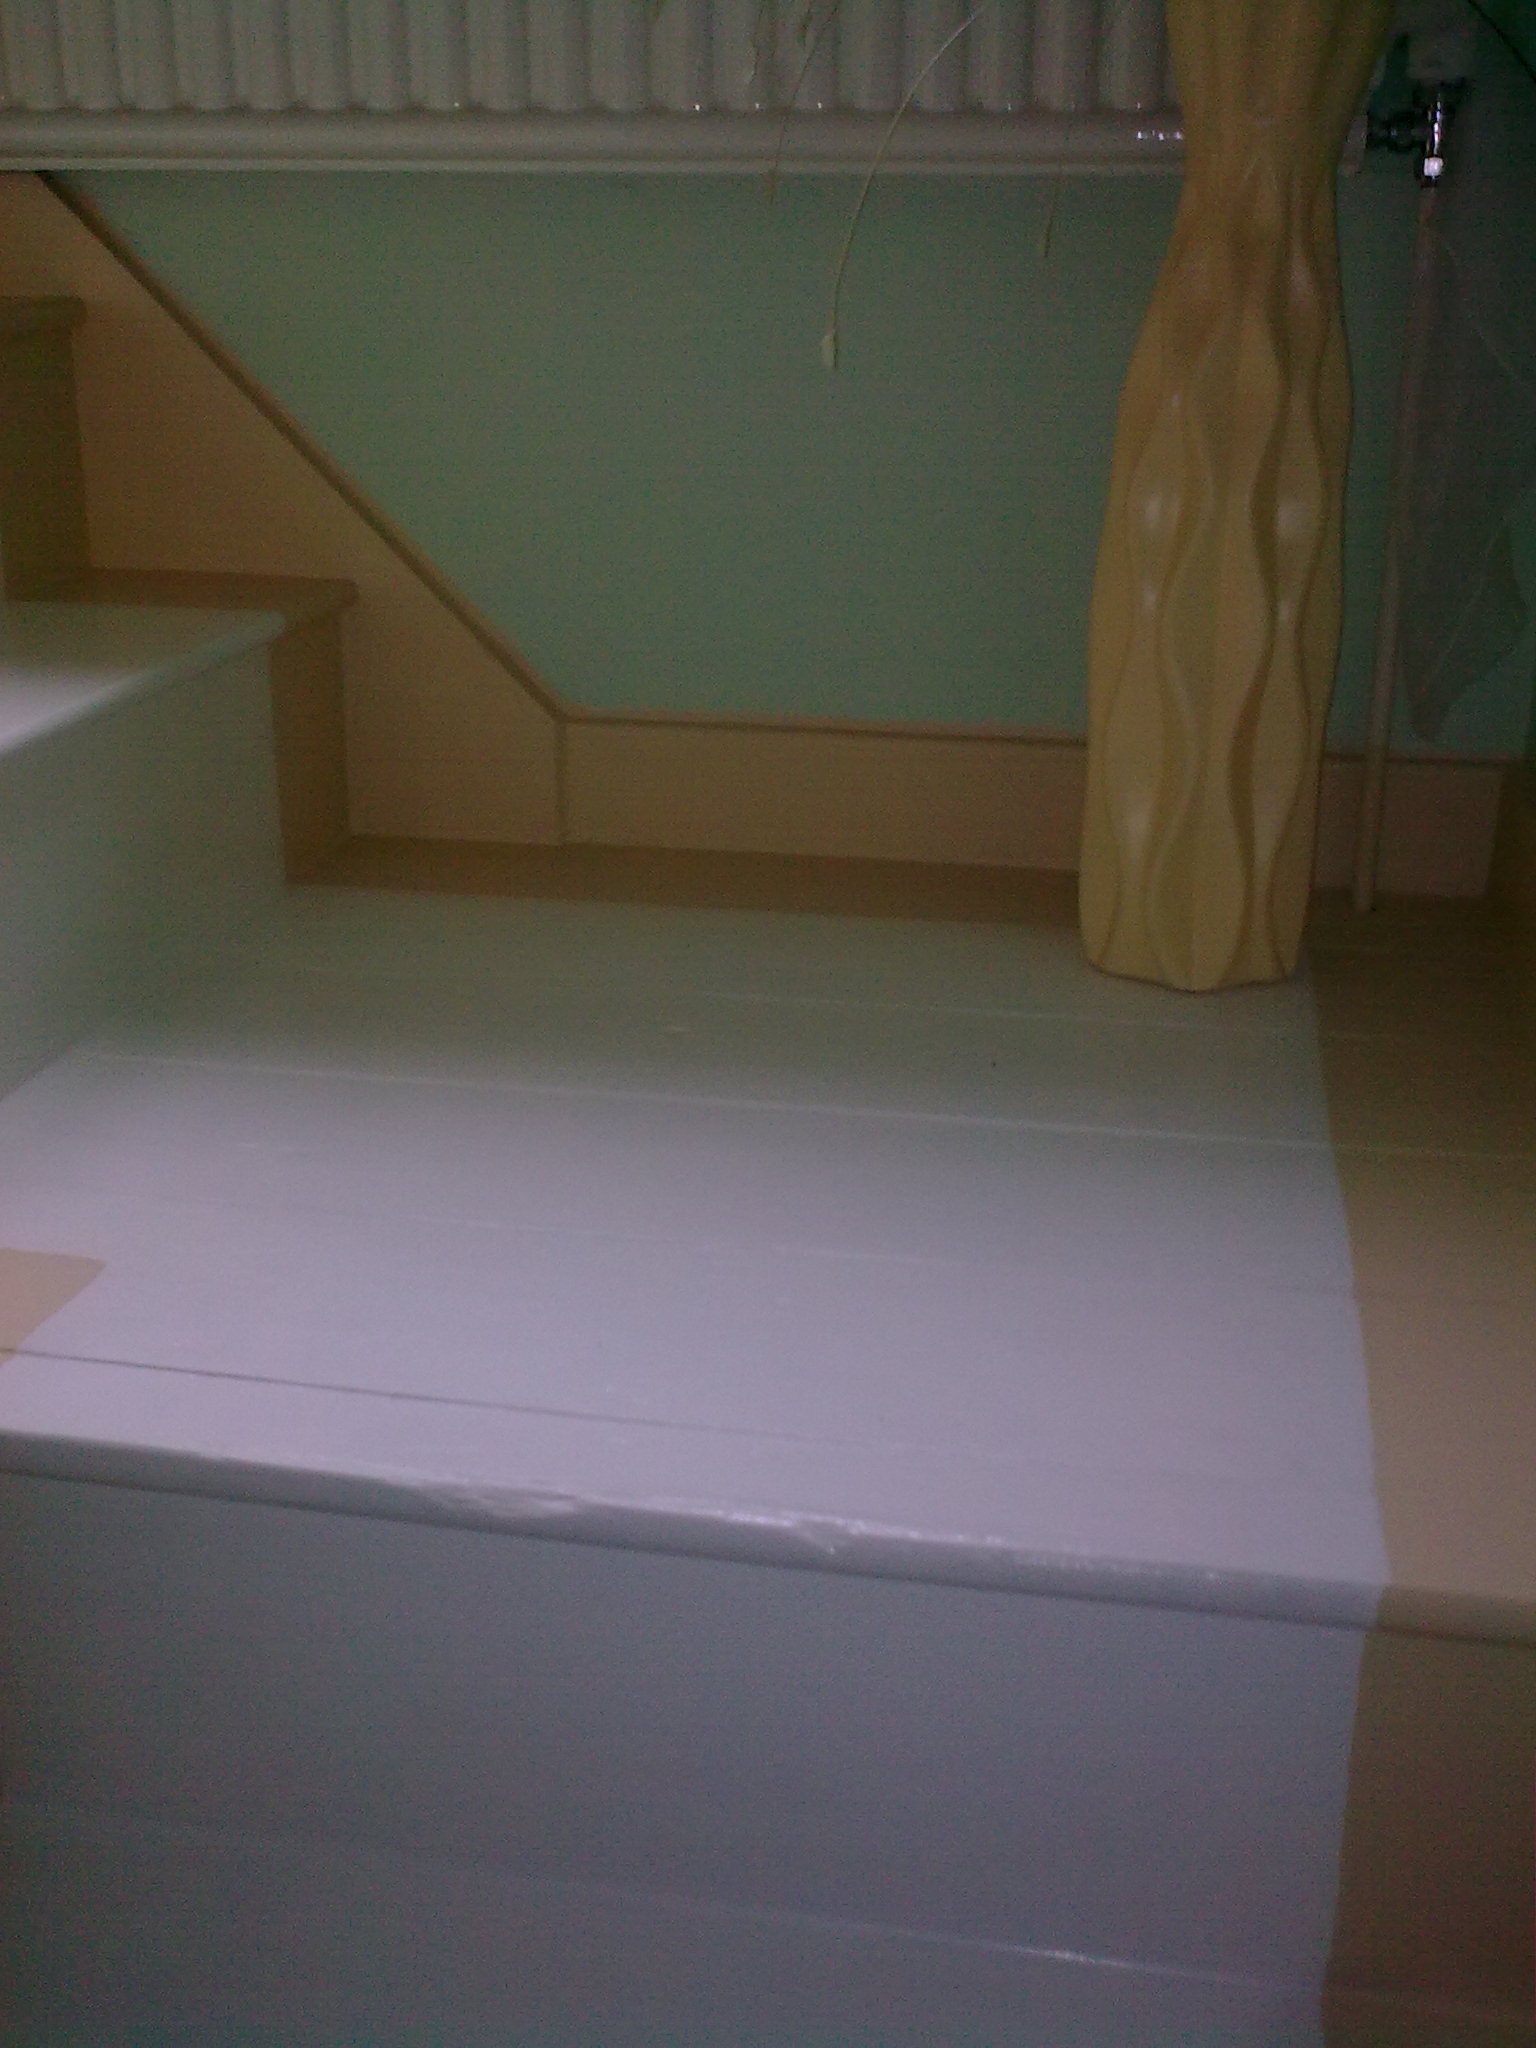
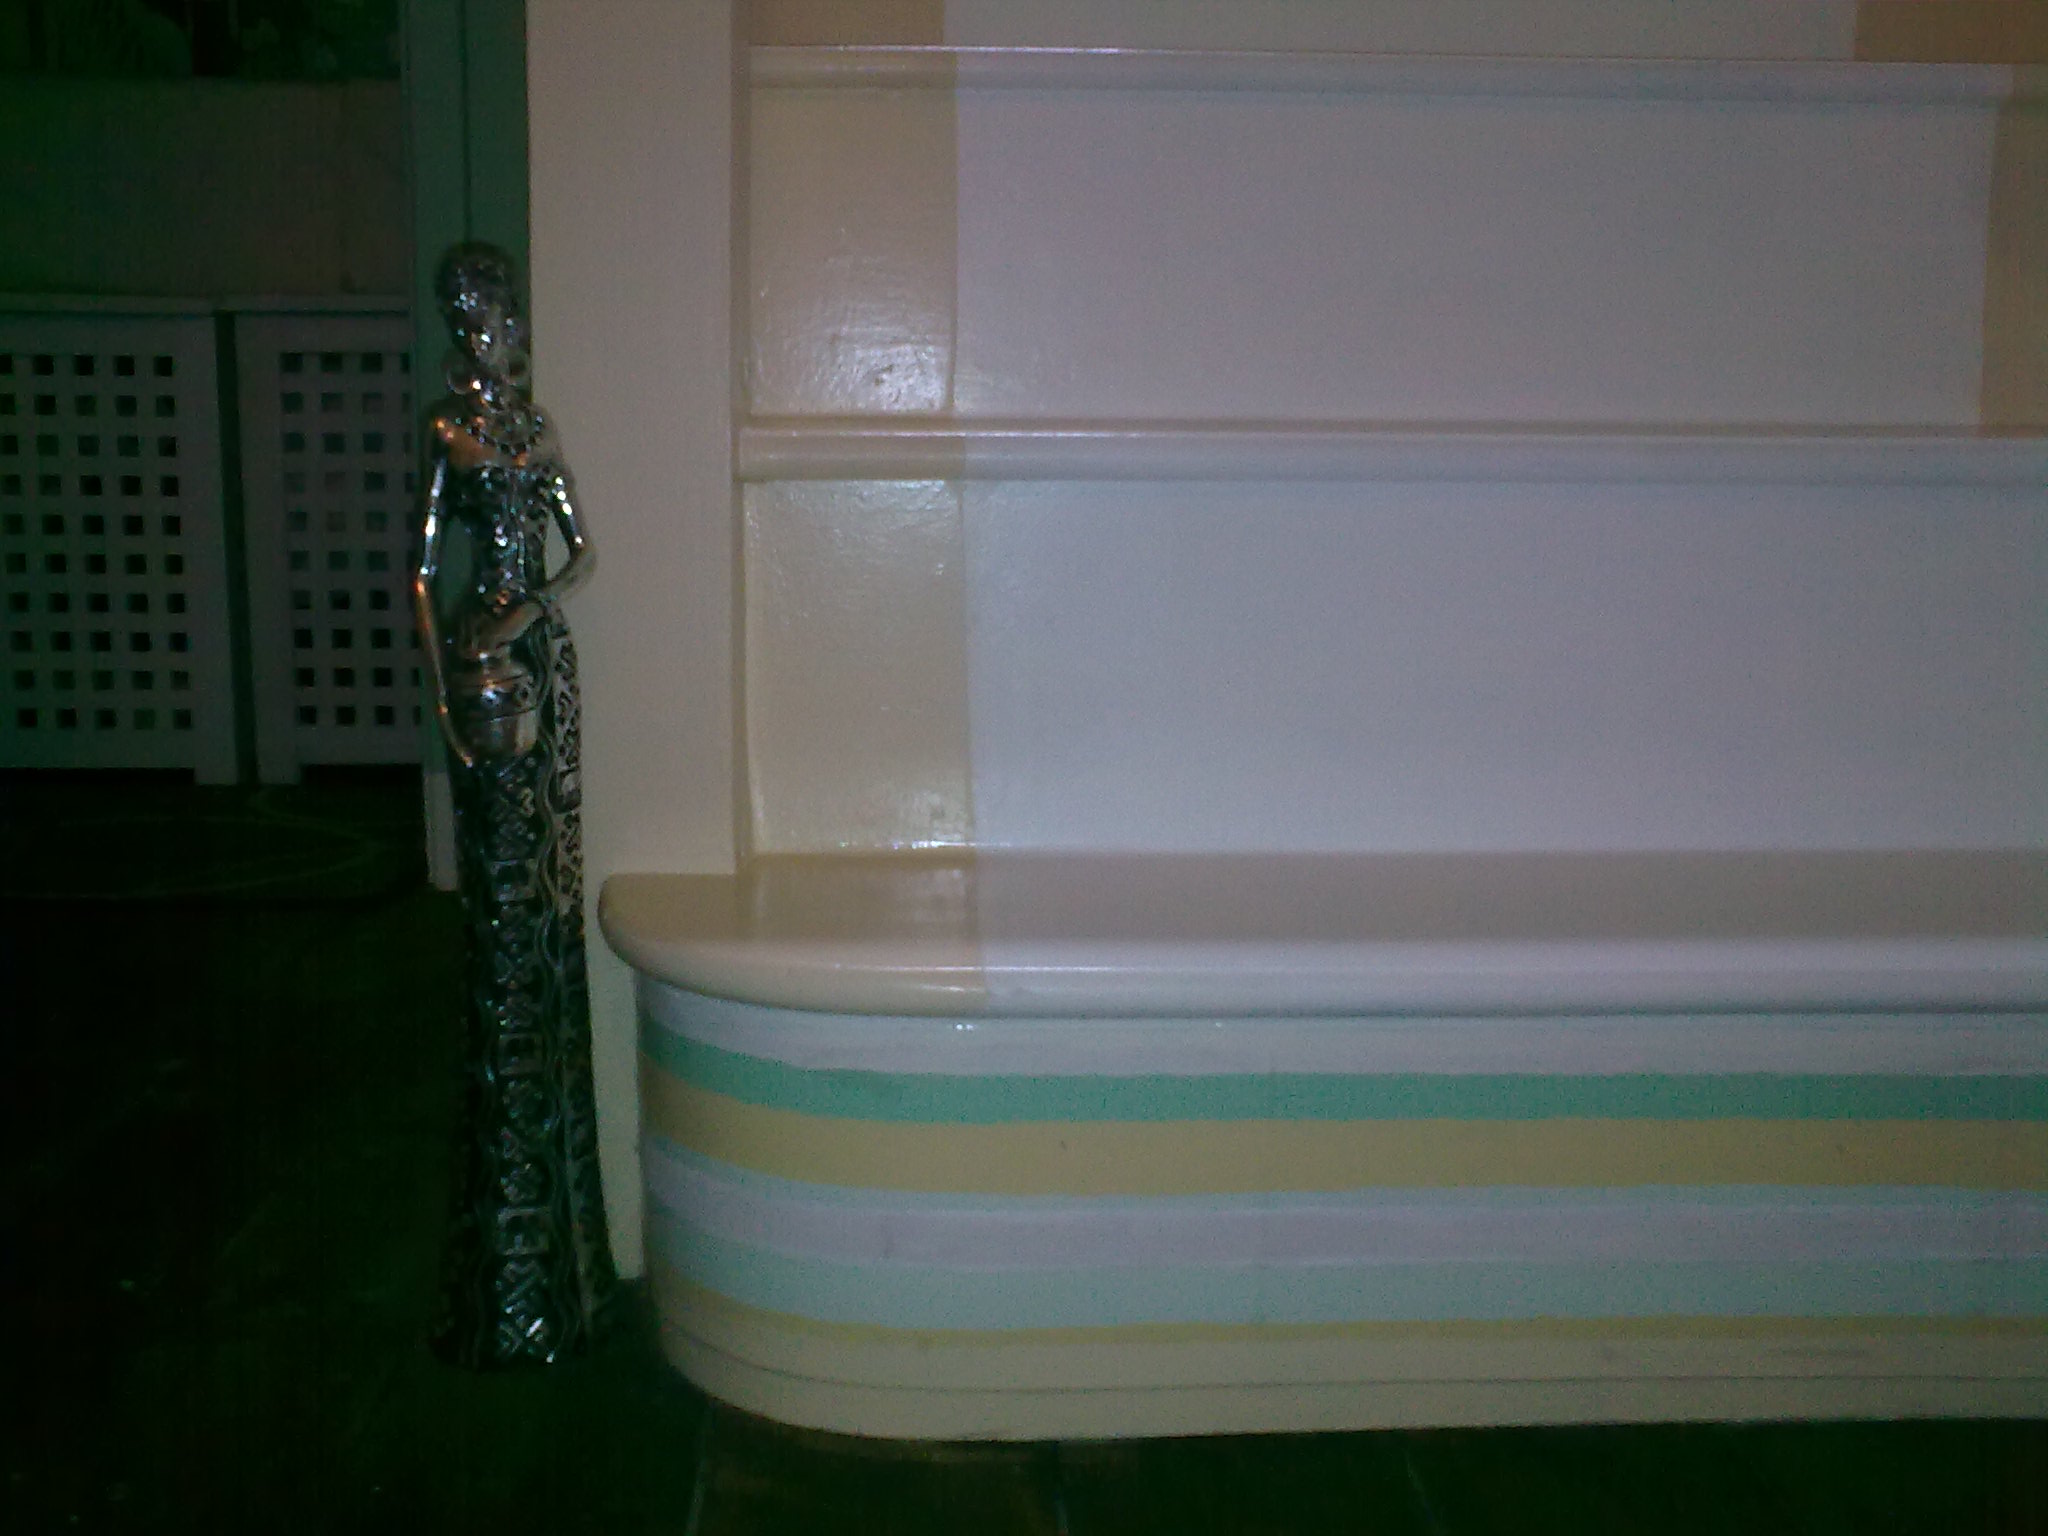
Finished painted surfaces
Cleaning wood to be painted
1. Once sanding is complete, you should carefully sweep up all the dust and particles. Some DIY shops will tell you you need special cleaning agents for this job, but you don’t necessarily (unless you don’t mind spending extra for no reason). When you’ve thoroughly swept the area, clean carefully with a cotton cloth. You can use an old piece of cotton, or a micro fibre cleaning cloth if you wish. If you have any vodka or mentholated spirit in the house you can use these on the cloth. If not, just clean twice with your old, cotton rag.
2. Make sure you put masking tape around the area you want to paint to protect your other paint work and surfaces. You’re now ready to put your brand new paint onto your well-prepared surface!
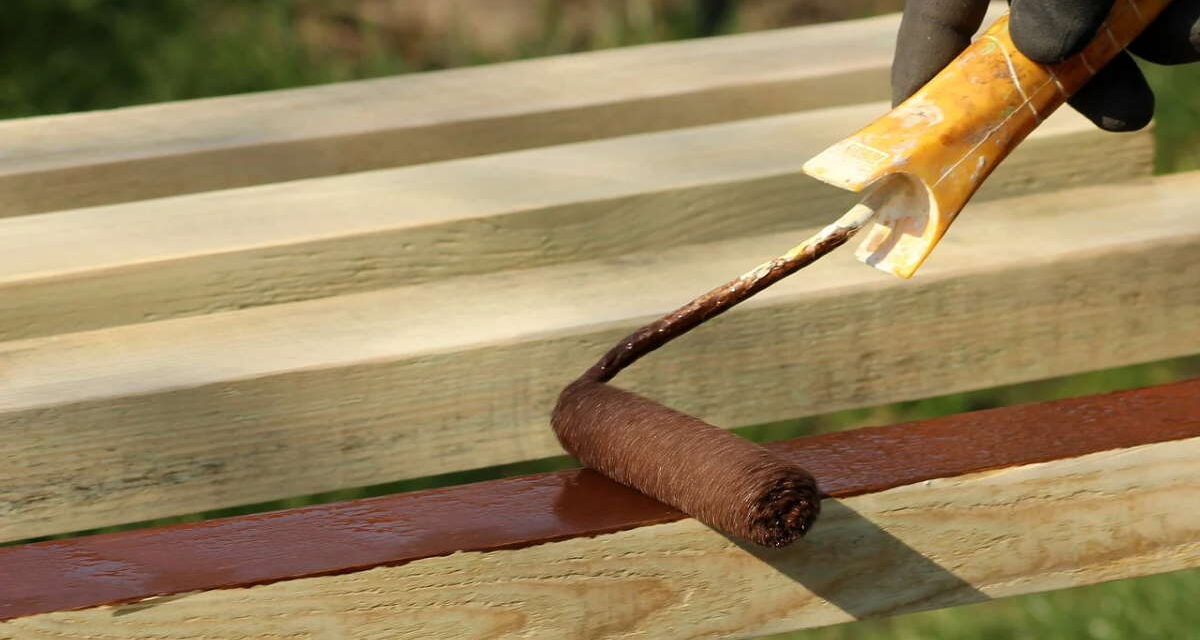
Painting wood
All manufacturers give detailed information on the paint can/tin. Follow these and you’ll be fine.
Some important things about painting wood:
1. Use a good brush. Cheap brushes shed and give you more work (you have to constantly remove shed bristles from your project).
2. Give your DIY paint project enough time to dry. Again, manufacturers tell you how long.
3. Darker surfaces need more coats of paint if your new paint is a lighter colour/shade.
4. You shouldn’t paint wood with emulsion paint (made for painting walls), it won’t last.
5. Most (not all) wood paint requires you to stir thoroughly before use. Do so because the oils can settle on the top. This discrepancy and unevenness will show up unfavourably in your new work.
6. If you’re putting more than one coat on (and you probably need to – regardless of what the manufacturers say on the tin) lightly sand the first coat to give the last one a good home to soak in.
7. Don’t paint outdoor wood with interior paint – it won’t last. You’ll be wasting your money.
8. Wood paint are available in matt, silk, eggshell (some makes) and gloss. Matt is flat. Silk and eggshell are slightly shiny. Gloss is highly shiny and reflective.
9. Always have ample ventilation when painting.
Now, you’re ready to prepare and paint your wood surface or wooden furniture. If you need any more tips or advice on painting wood, don’t be shy about leaving me a question in the comment section. As always, thanks for dropping by. If you’ve benefited from, or enjoyed this post, please share it on your favourite networking sites. Other articles on painting include: How to Strip Oil Paint, and How to Paint Your Room.
Find more articles about DIY on this page;
Painting home pots are very necessary for create attractive environment. Wood painting is increases life of wood and its look changes totally. So its careful to paint. thanks to share this article. Its very helpful.
very informative and helpful as well
I usualy used to paint wood without cleaning. that is why always disappointed :(. thanks for informing
I painted my kitchen cabinets last month, and I ended up deciding I had better not done it. The finished paint looks dull, ofcourse because of my inability to paint it well. I am thinking of giving it another shot, following your tips. Hopefully it will work this time.
Woow…very-very complete article. I have enjoy to read it. Would you like to permission for documentation this? for reference only. Paint a wood is simple job but need seriousness and neatness.
Did you mean that you wanted to link to it? I don’t understand what you’re asking.
Impressive !!!
I like this post. Very nice usefull.
Our home is part of our life. In home decoration it mandatory color choice.
Correct color gives us fresh mood.
I think the cleaning part is a little hard. It isn’t easy to clean wood. A wall is different. But wood, that is something else.
It’s not that difficult. It depends on what the condition of the wood is. Most wood just need a light sanding and dusting off before painting.
I am currently trying to learn how to do the “distressed” look, so this article helps me a little in prepping the wood for painting.
Thanks
So I have a set of stairs that need doing but to be honest I’m too scared to start! Thanks for the tips.
Wow its really fun to paint wood, thanks for sharing nice tips, we can paint of desks on weekends, it would be really nice timepass 🙂
A very good info indeed. Good to see that this method really works.
wao have never seen a painting work as explained as this before i guess you are a painter and your works are gonna be as nice as your post.
Hi, thanks for such a great article , really painting on wood makes it a lot better, I’ve tried this befor but only with one color , and it’s not beautiful as the pictures in the article
regards
ali
i work with power tools industry and have lots of such queries related wood painting, cutting, but sometimes stuck with few kind of wood where facing lots of difficulties to repaint them. Will you be able to help us somehow? not sure if get your reply somehow but will surely help us. Thanks in advance
I’ll help you if I can. I wouldn’t know much about cutting. Most woods can be treated in the above way to paint. The important thing is making sure you sand down the flaky bits and if it’s old or damaged or painted wood, use a good primer.
I’ve been watching one of my neighbours have several disastrous attempts at painting his wooden fence over the last week – as it’s been extremely windy and rainy over the last month (in Manchester, England, anyway) he’s had to continuously redo it. He doesn’t seem keen on waiting for the weather to improve! I’ll send him this link to help him along, so thanks for that! He’ll owe me a favour now.
I live in England and there’s no guarantee that you won’t get rain all August. I guess your neighbour is just being positive – hoping against all hope that the sun will finally realise it’s Spring. 🙂
Cool article and very helpful thanks.
Woh I like your content material , saved to bookmarks ! .
I repainted a table that we found last year, and it did take a bit of elbow grease, but it’s worth it!
Hi! I’d like to state that I enjoy all your posting style and that so I’m going to follow your blog regularly from now Preserve writing!