People who have lots of money can afford to buy expensive paintings, posh accessories and fancy furniture for their homes. They can decorate their walls gloriously with pictures and mirrors the rest of us can only dream of having. However, this doesn’t mean we can’t use a very common resource to our full advantage.
Paint is cheap and comes in all different colours, shades and types under the sun. In this article I’ll show you examples of how you too can use paint to make your house look beautiful and stylish.
Make your home beautiful with paint
1. Use paint to tidy up damaged/dark corners
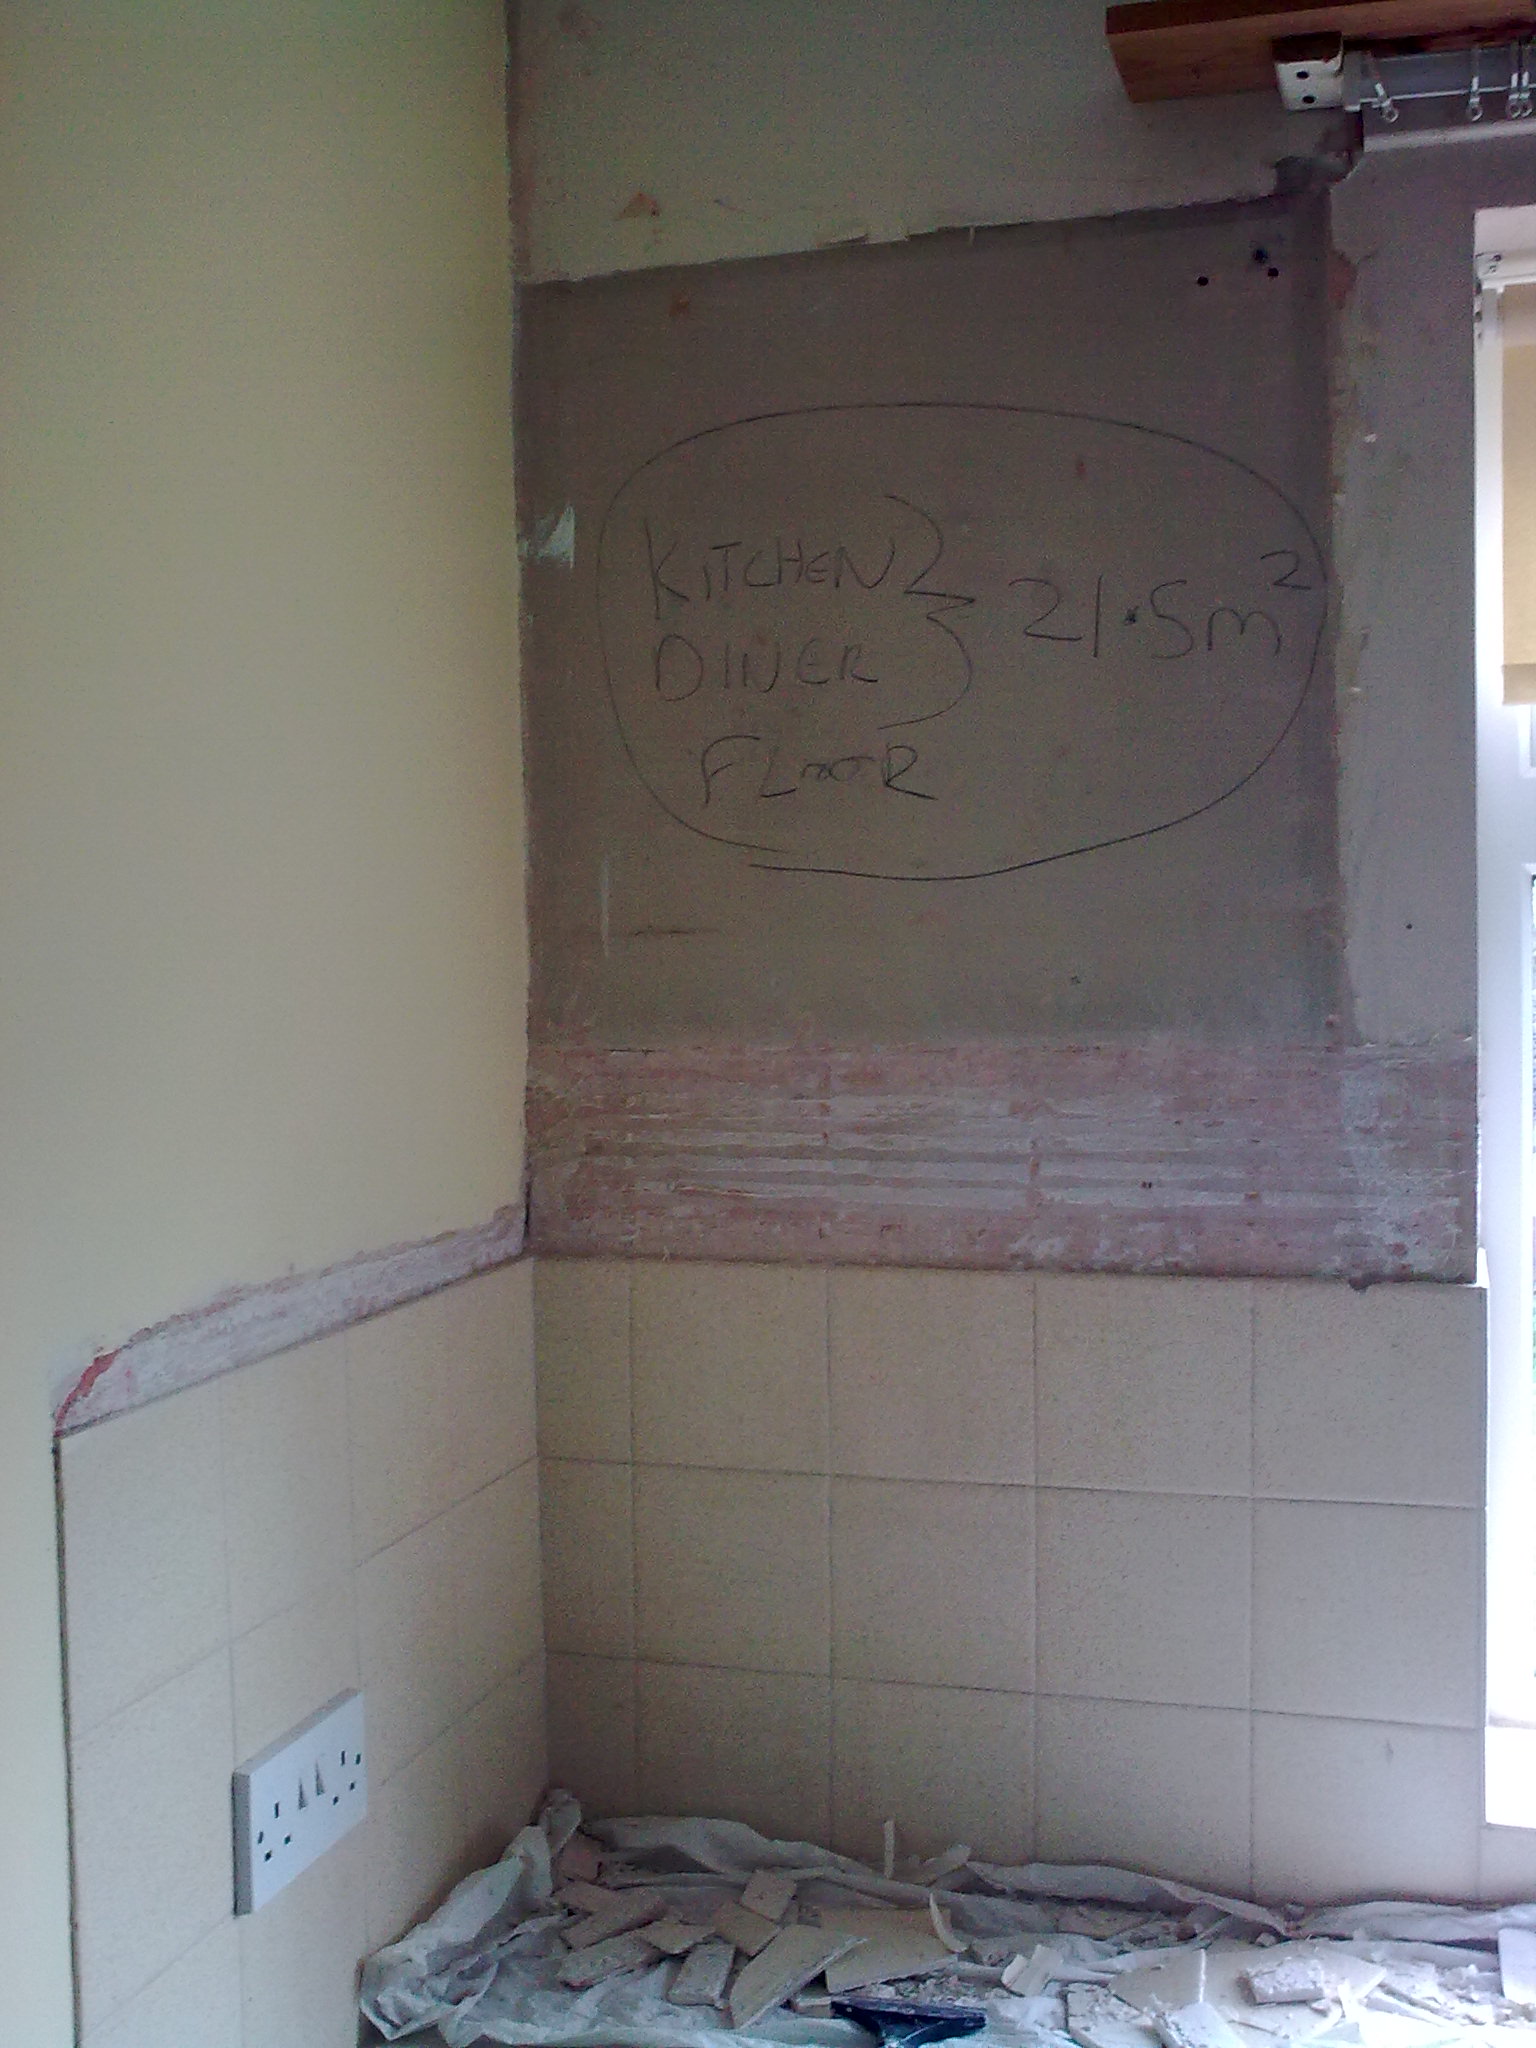
When we moved into the house the kitchen left a lot to be desired. This was the corner of the kitchen counter. In this picture we’d just removed all the broken and damaged tiles to a point where we could have a straight line.
The holes in the wall had to be filled and all the bulges, levelled with smoothover (a type of filler for people who can’t work with plaster) . Once this was done, everything was sanded down, primed with diluted white paint, then painted. Of course, there was the issue of the very old and dull-looking tiles which were a different colour from the new paint. These were primed with universal primer, then painted over with the same paint as the wall. Note: when you buy a tin of primer purchase a universal one which can be used on multiple surfaces.
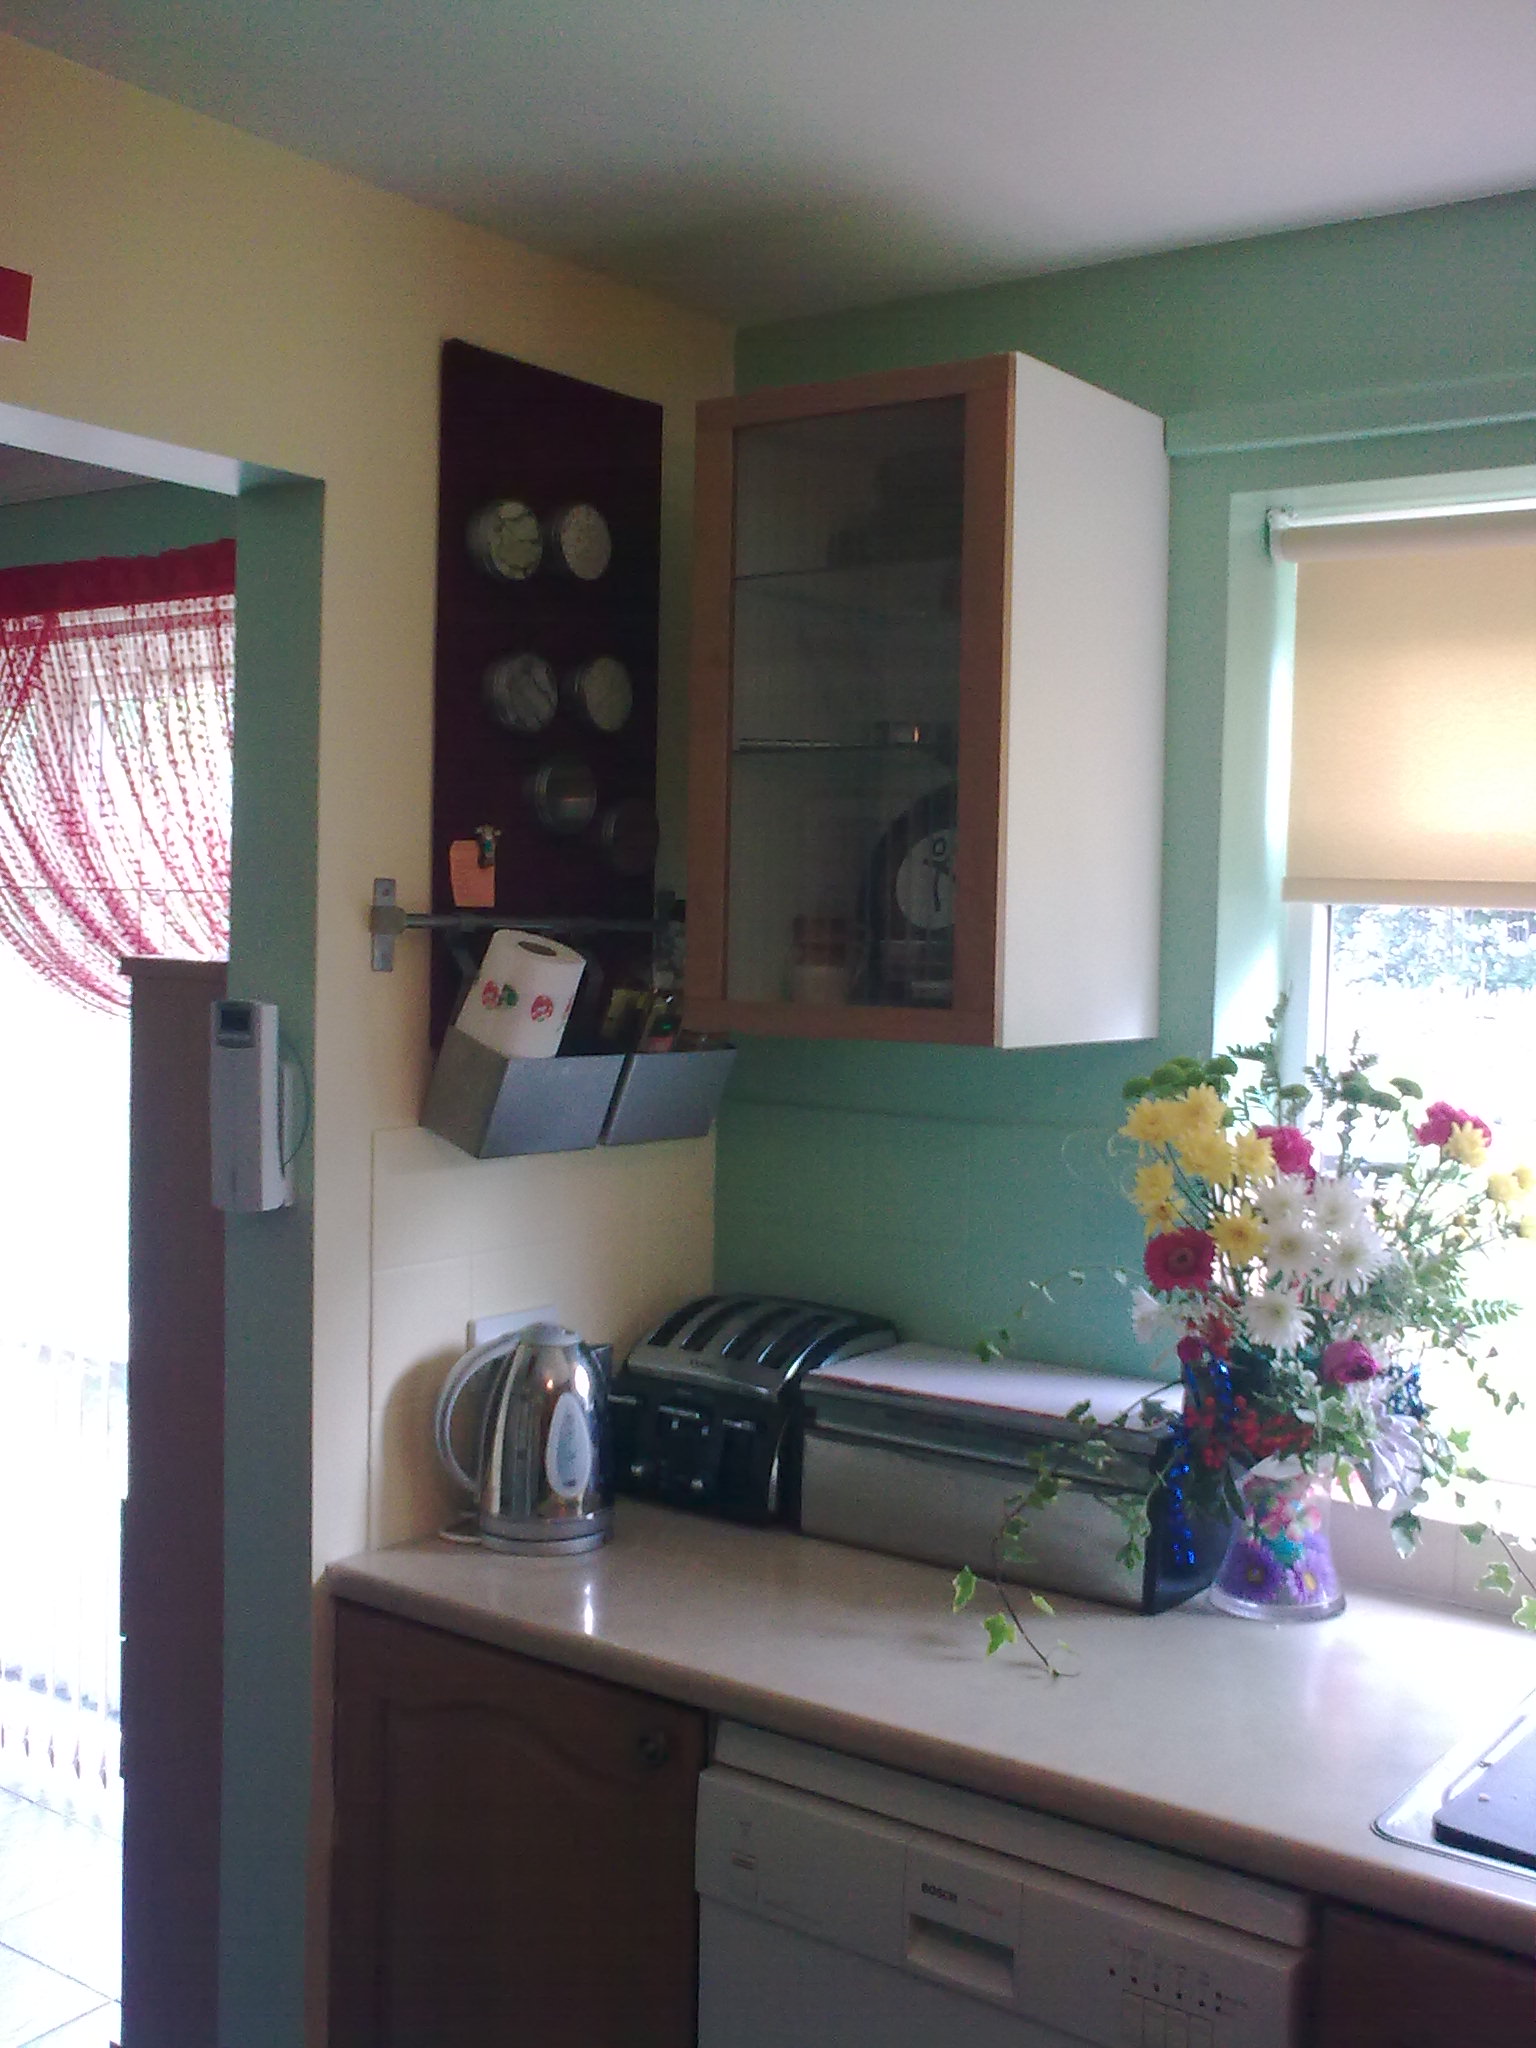
The corner was painted in the colours we chose for the kitchen. We bought one kitchen cupboard (you can buy one individually if you can’t afford to change your entire kitchen) for added storage. The red board on the left wall is a magnetic board I covered with red fabric. I store spice jars on it. The colour red, where fabric is concerned, is a recurring theme in our kitchen/diner. See here for dining room and kitchen makeover pictures.
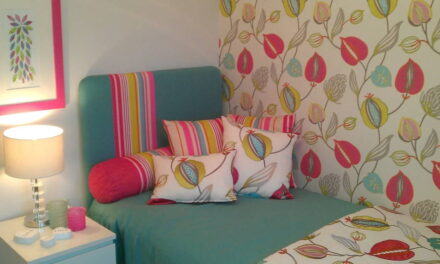
2. Use paint to brighten up furniture for kids bedrooms
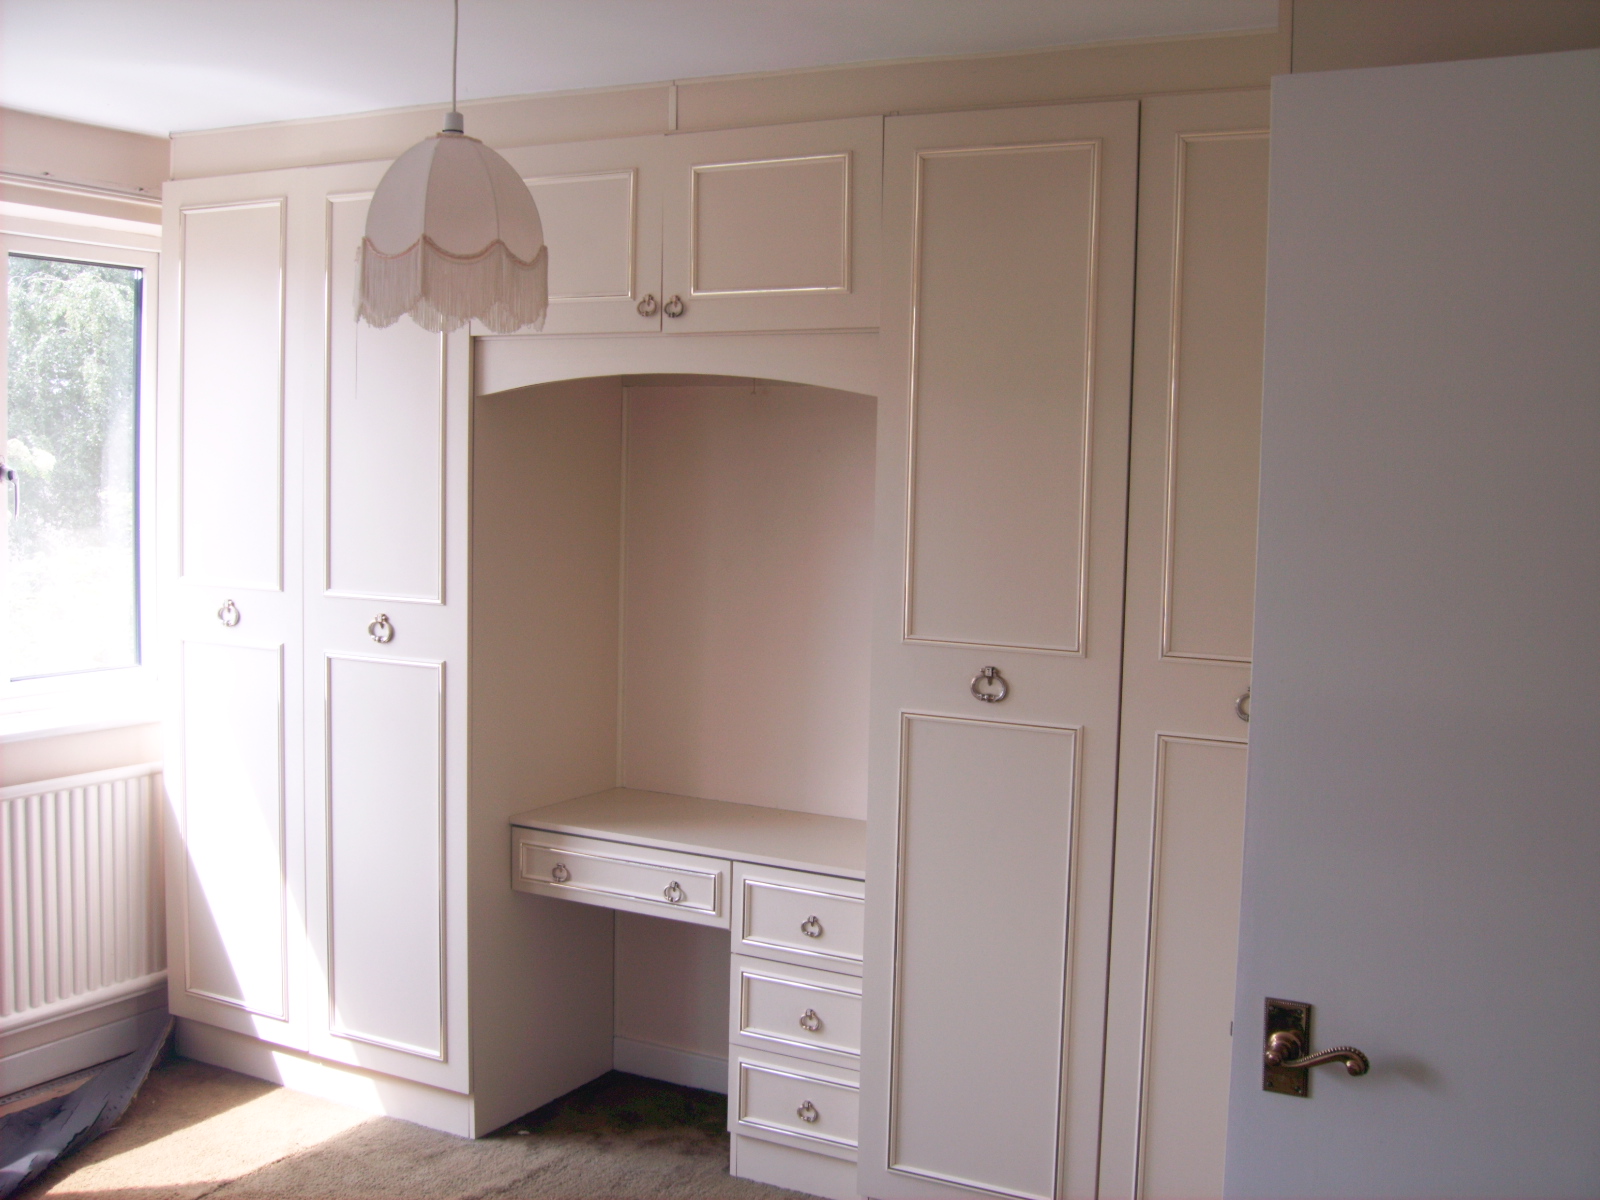
The above wardrobe had to be reduced because the storage space was way too much and filled up the entire room. This did not take care of the dullness however. As this was going to be a kid’s room, we had to either replace it, or go with the more sensible/cheaper option of doing something with it.
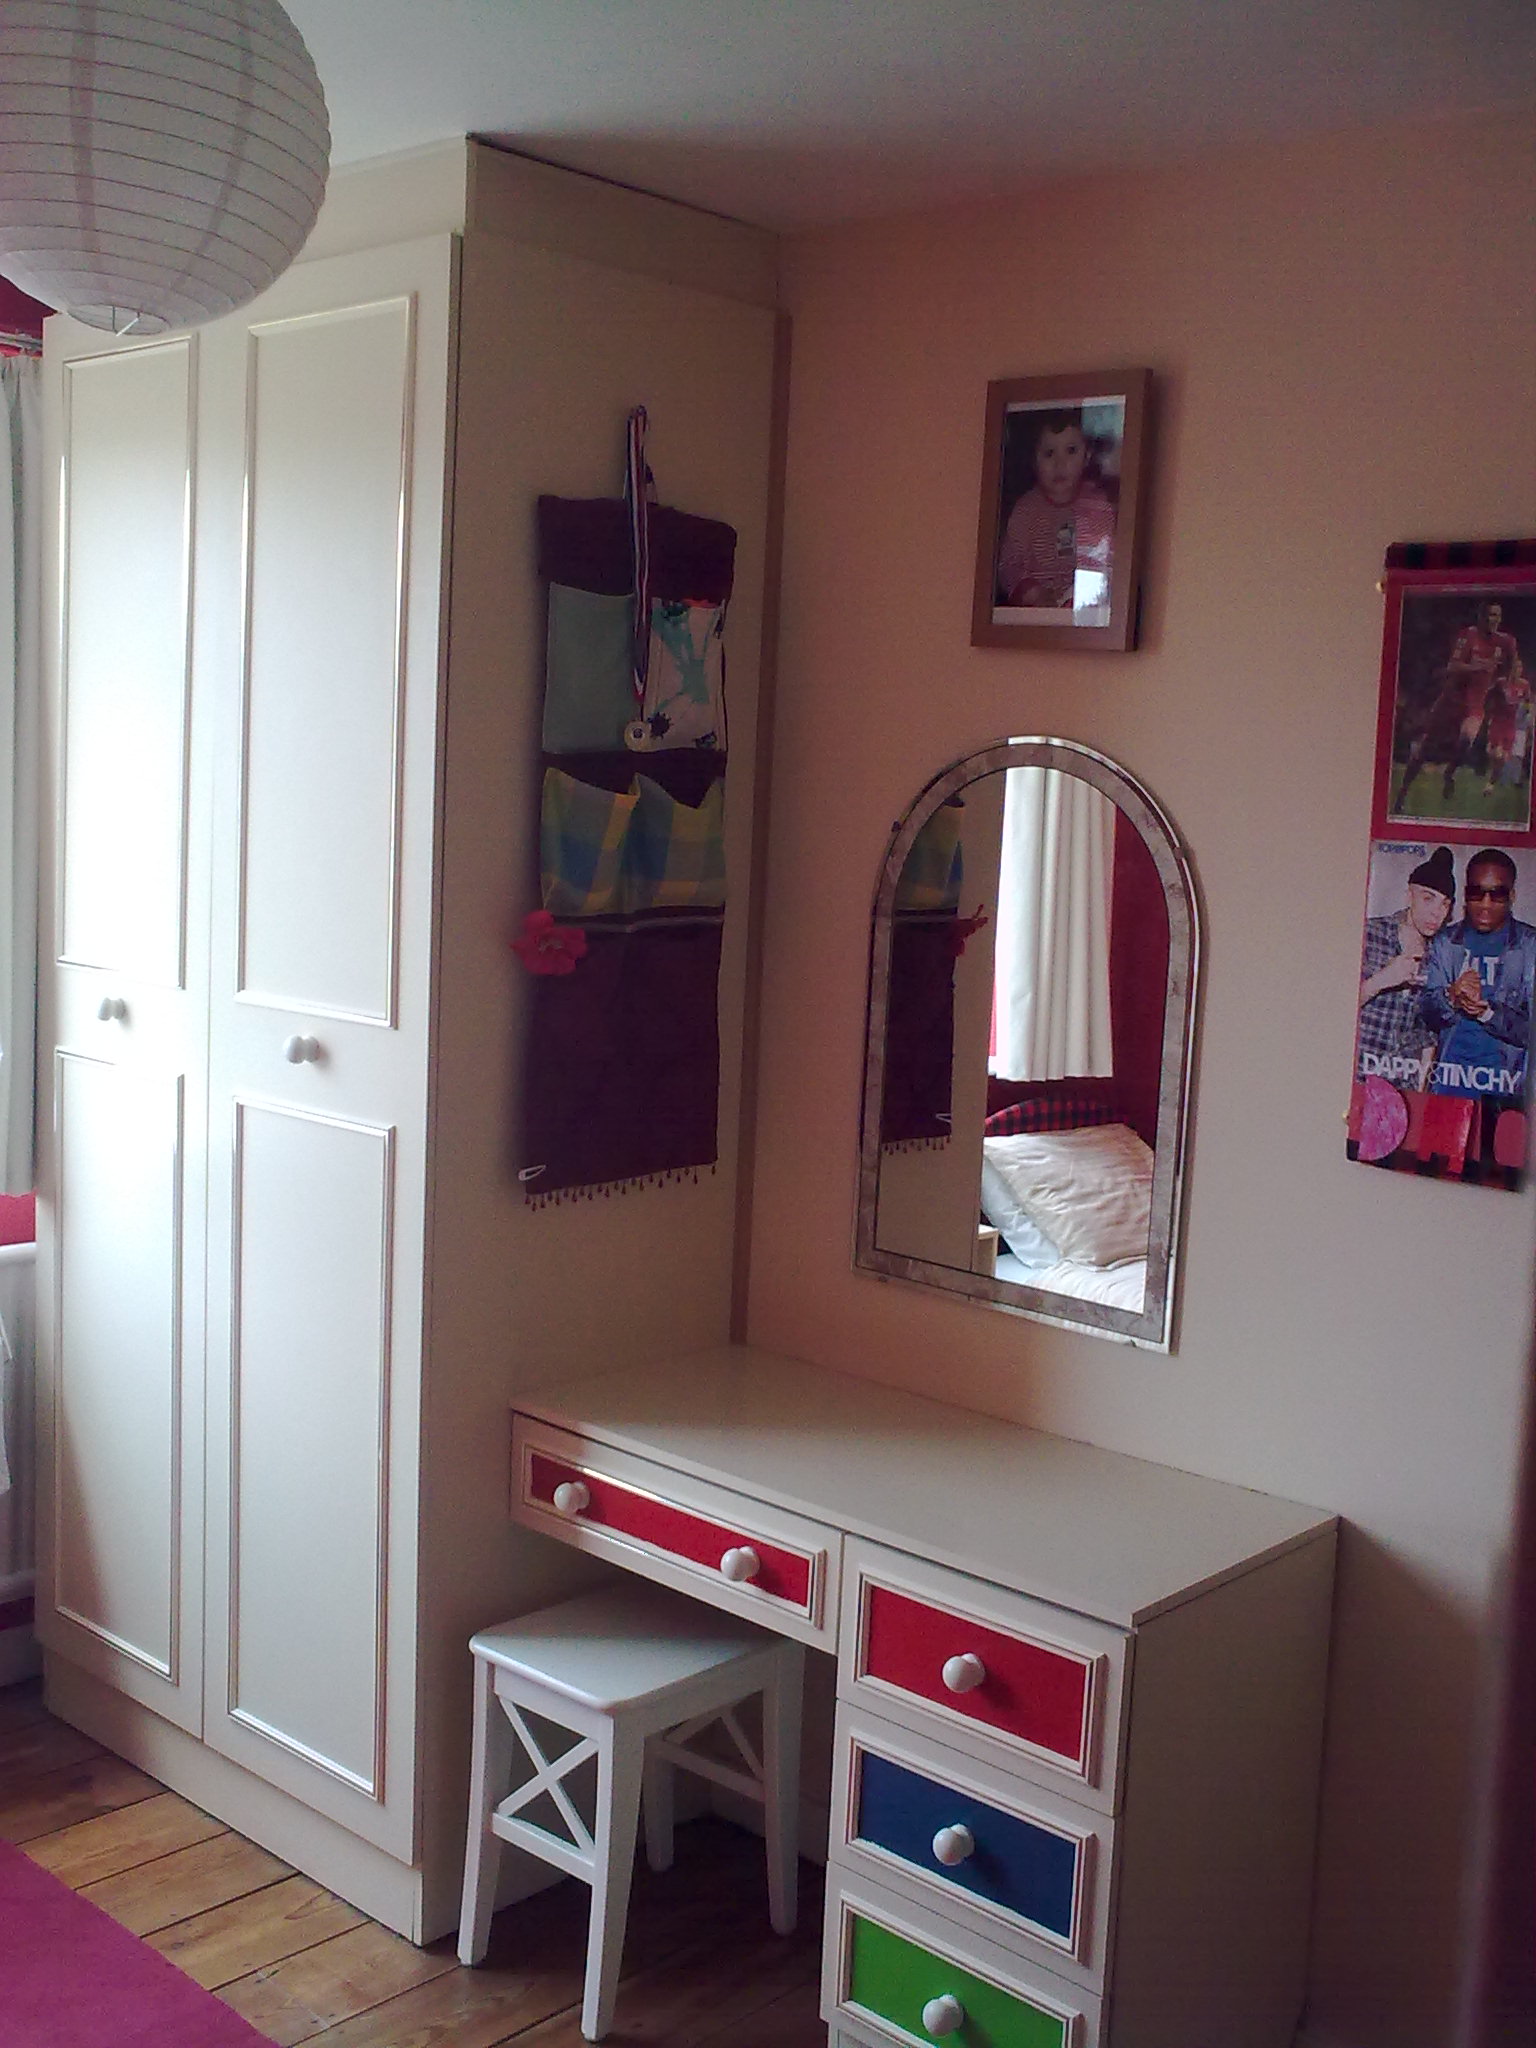
This is much more suitable for a child. All it needed was some paint. Everyone has left-over sample pots of paints in their sheds. This is a perfect way of making use of them. Just make sure colours complement the room in which they’re used. Handles were also changed.
NOTE: all the colours used on the wardrobe were previously emulsion, not gloss. Remember that wood always has to be painted with gloss paint. There is however, a way you can get around this. If all you have is emulsion paint, just use it and when it’s completely dry, paint a thin coat of clear varnish over the top. This will keep it sound for years to come.
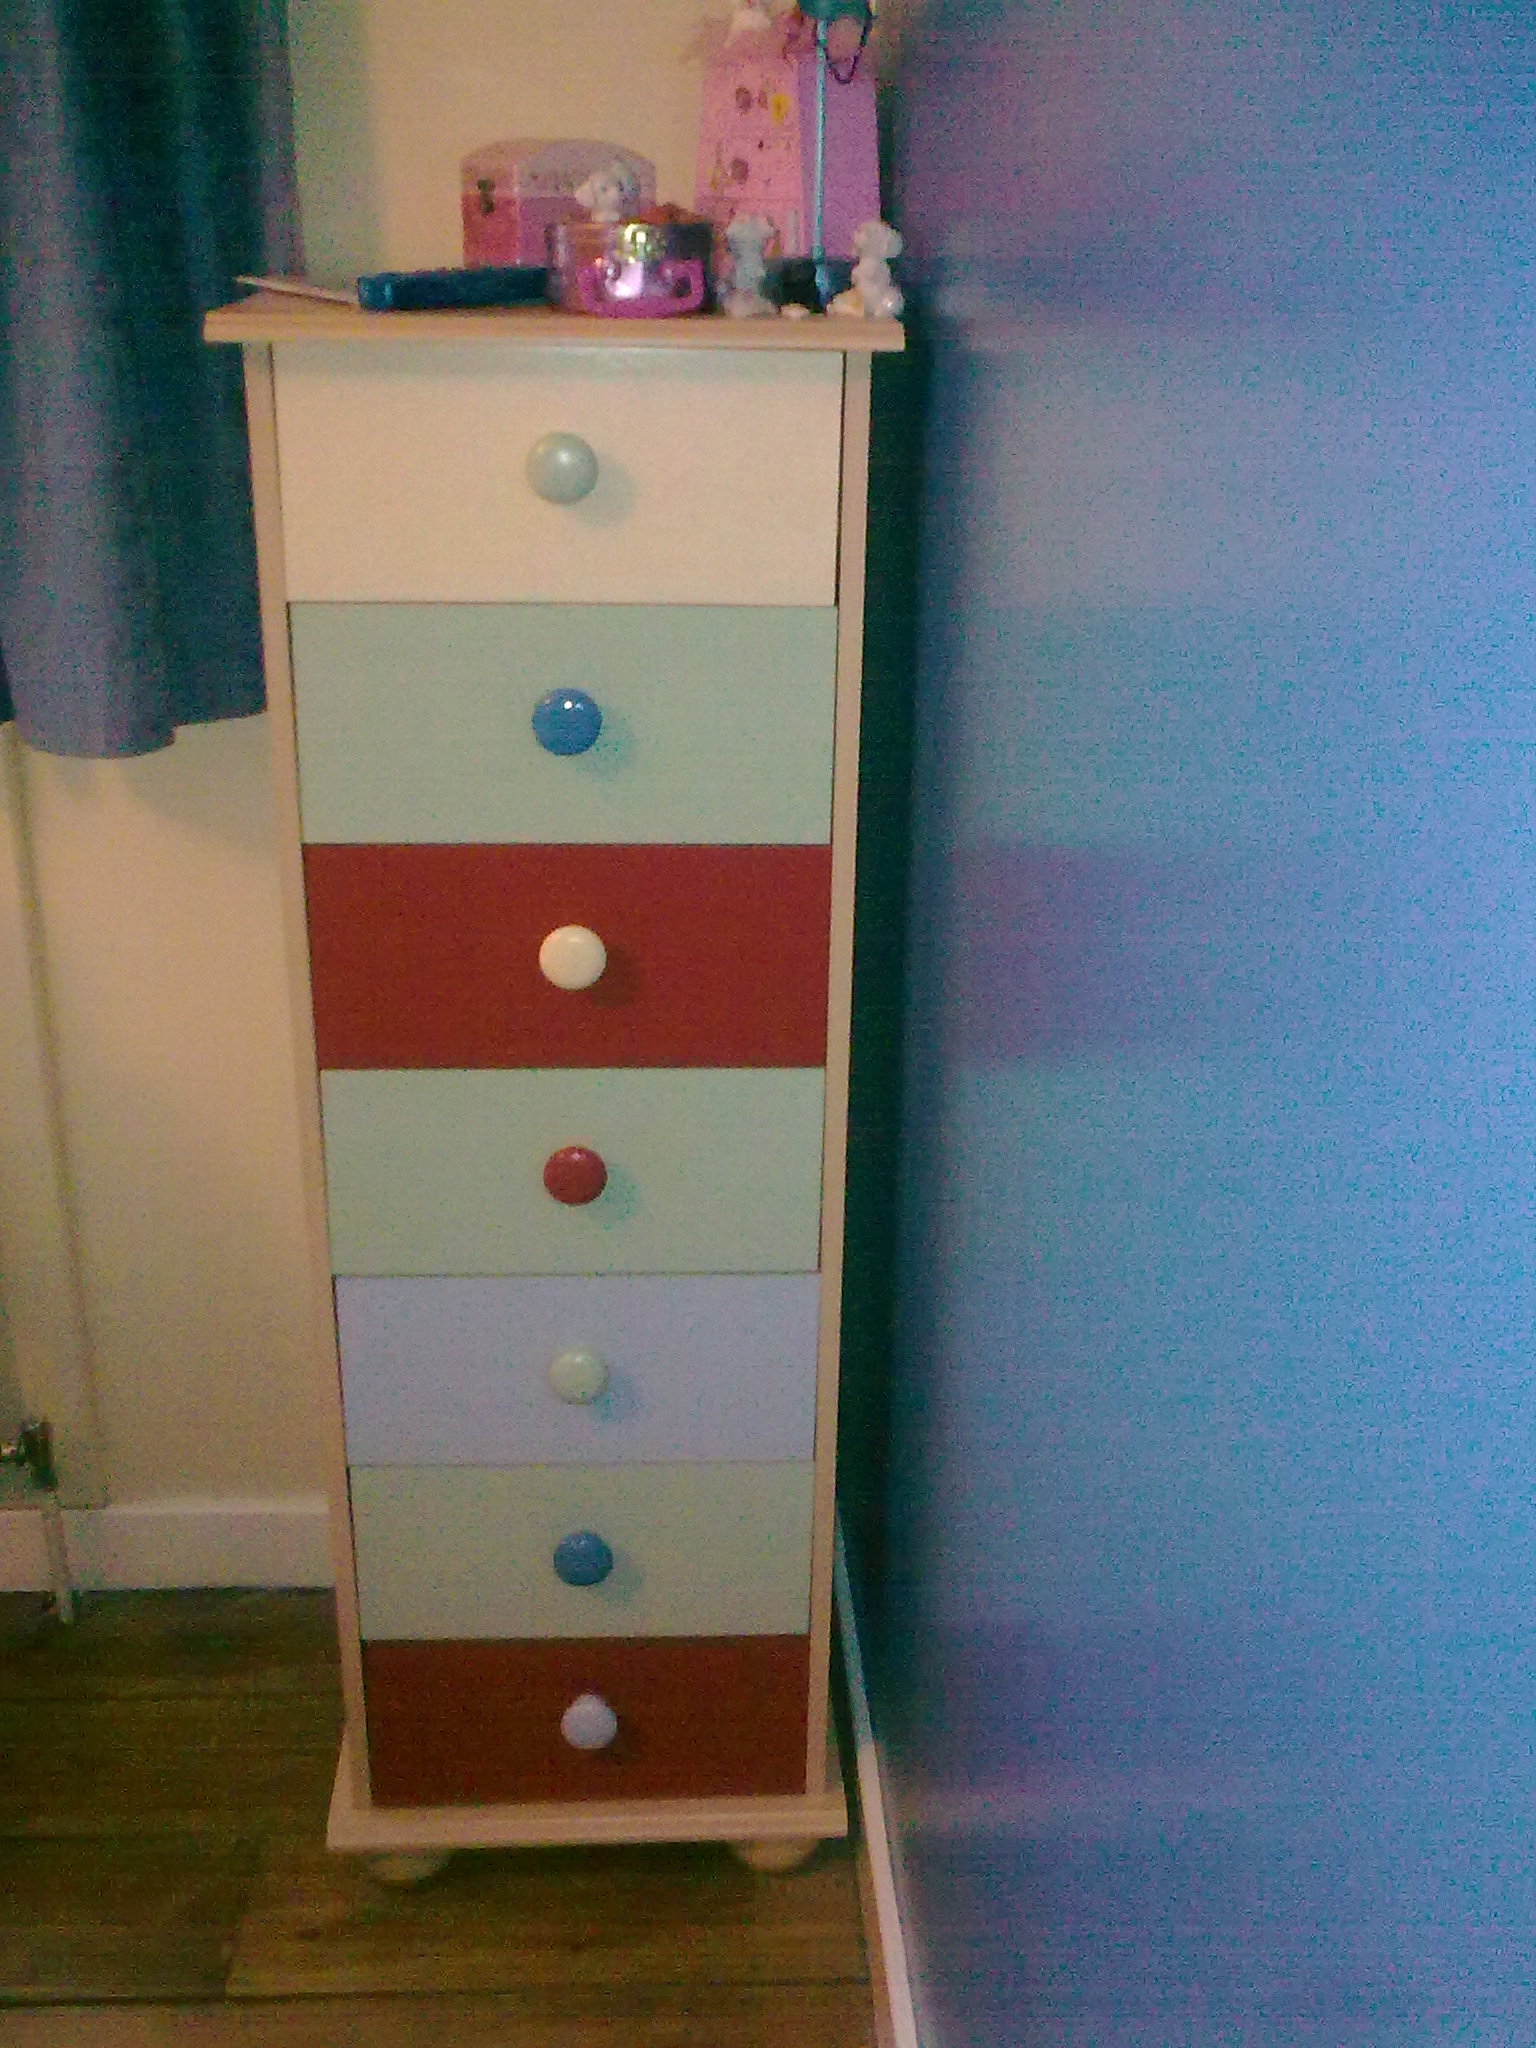
Here’s a chest of drawers which was once pale brown. I spiced it up by using pots of sample (emulsion) paints. Again, because this is the wrong paint to use on wood, I waited until the paint was completely dry, then painted a coat of clear varnish over the top. I also painted the drawer handles in this case. They’re the same colours used on the front of the drawers, but they’re on different colour drawers. This was done about 7 years ago, and the varnish is still holding strong. Notice, all the colours complement the wall, and two of the handles were painted in exactly the same colour.
3. Use paint to add style to your home
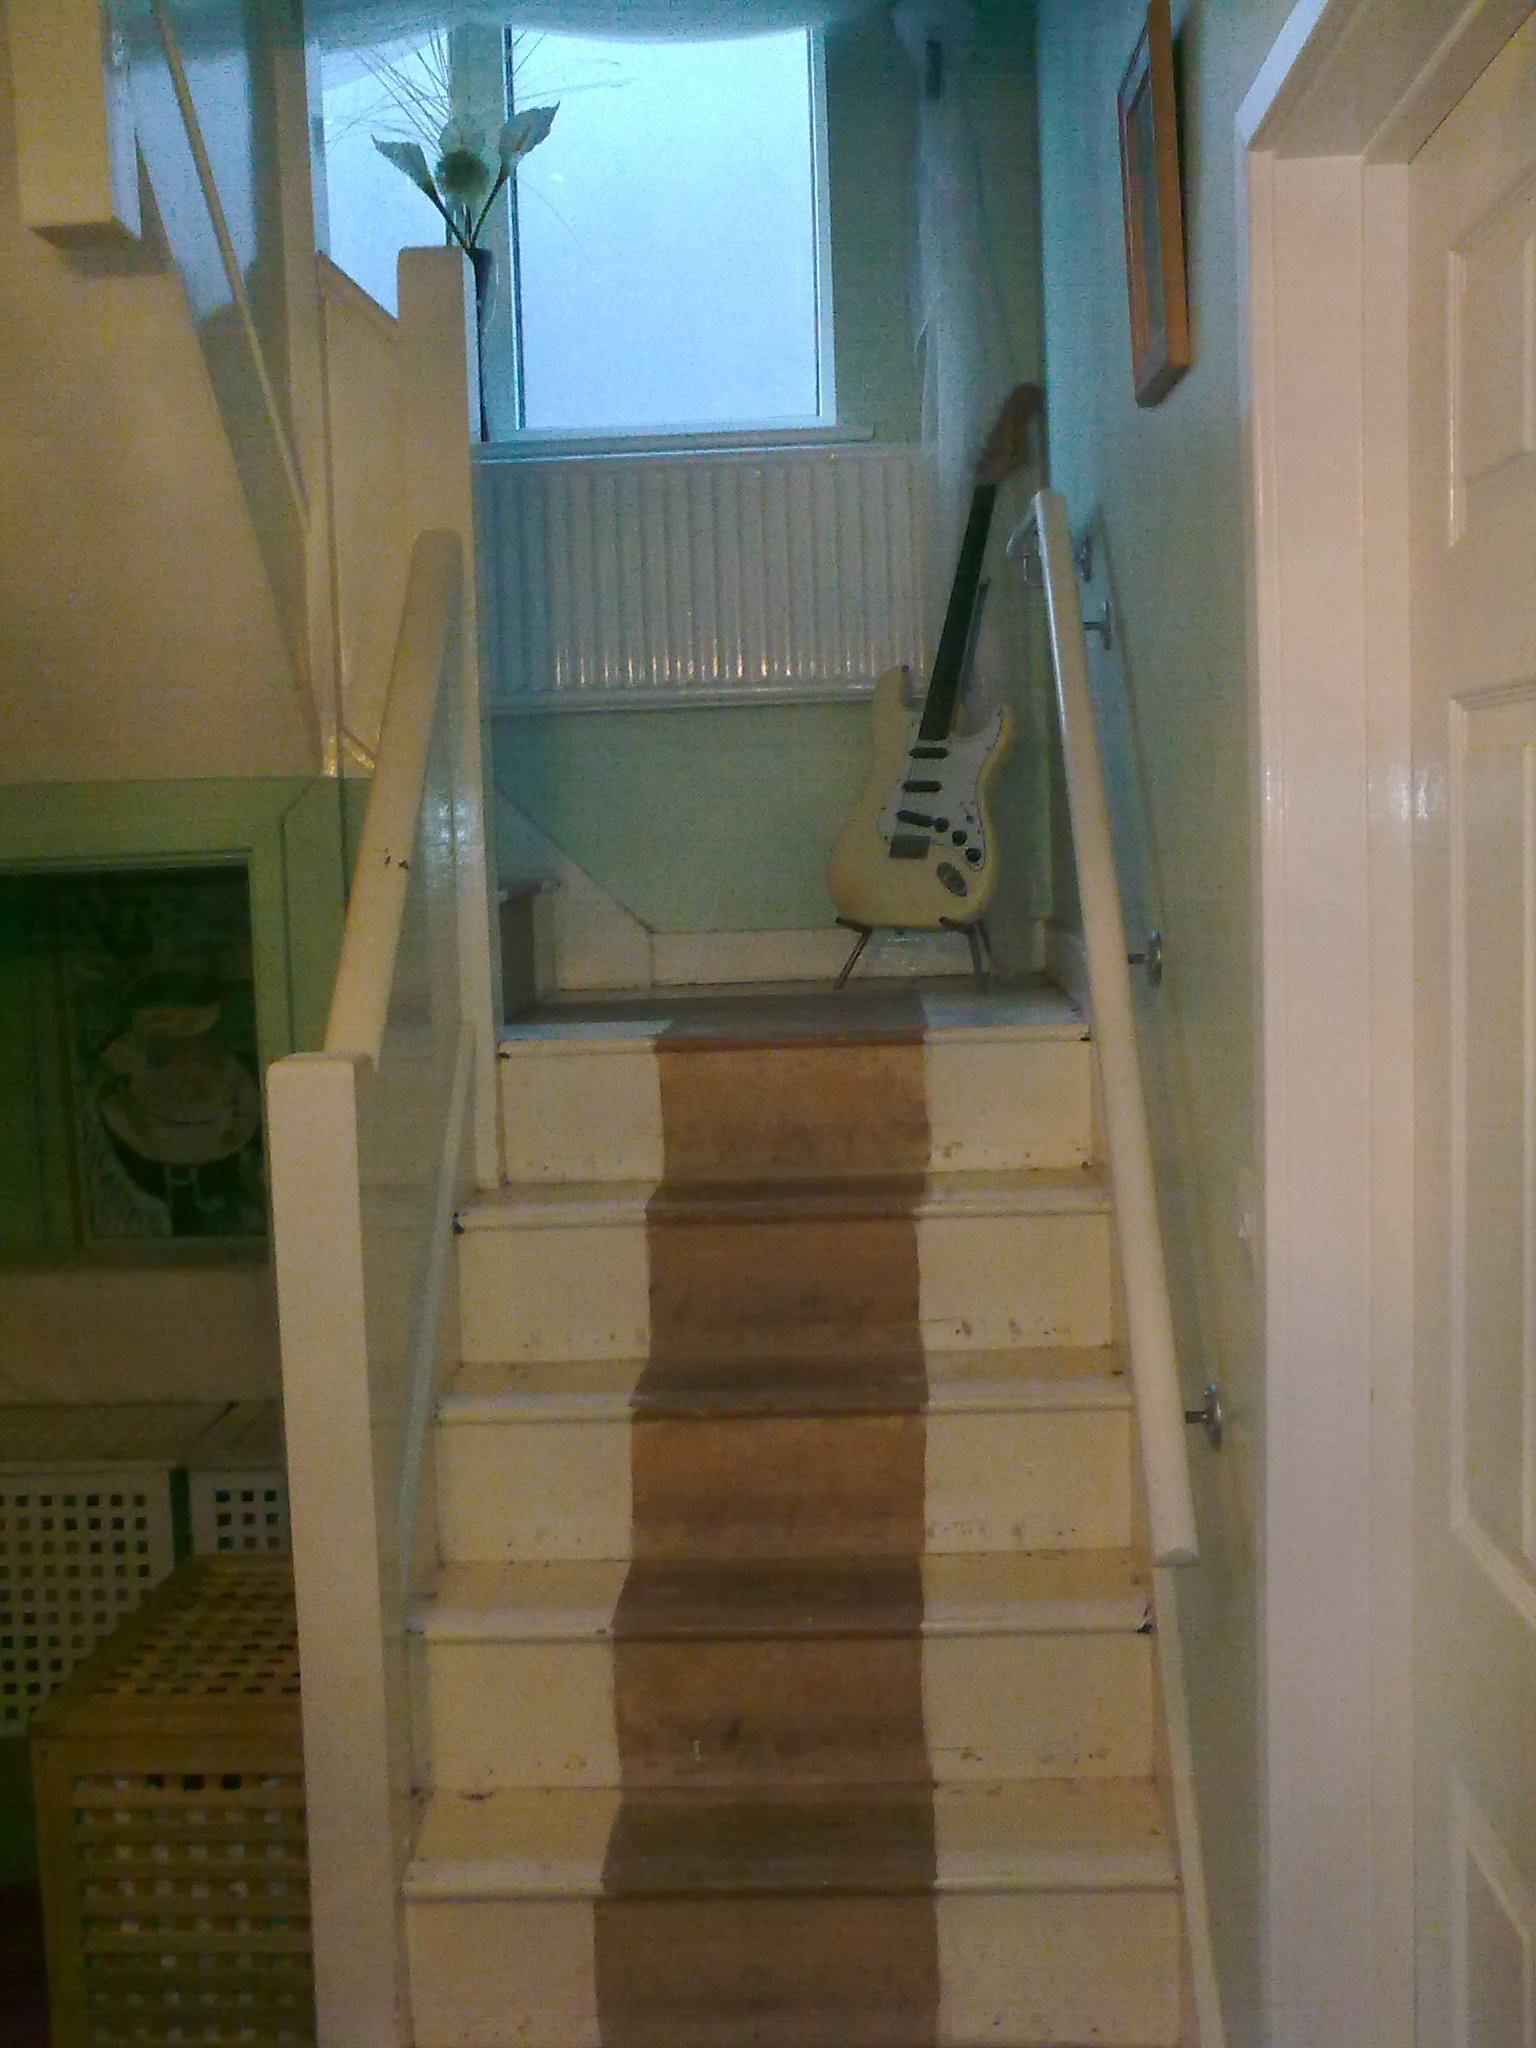
Do you have stairs that look like these, or ragged carpeted stairs you wish you could change? Well, you can!
If you’re stripping the carpet off, remember that your stairs will be a bit creaky once it’s gone. Just be prepared to go underneath your stairs and do a bit of gluing and screwing the boards back together before you start painting.
Sand the stairs completely and fill all visible holes with wood filler.
Do the same for gaps if there are any remaining. I found a heavy-duty glue very useful in filling deep gaps before the filler was administered. This also gets rid of a lot of the creaking.
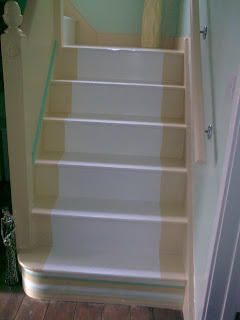
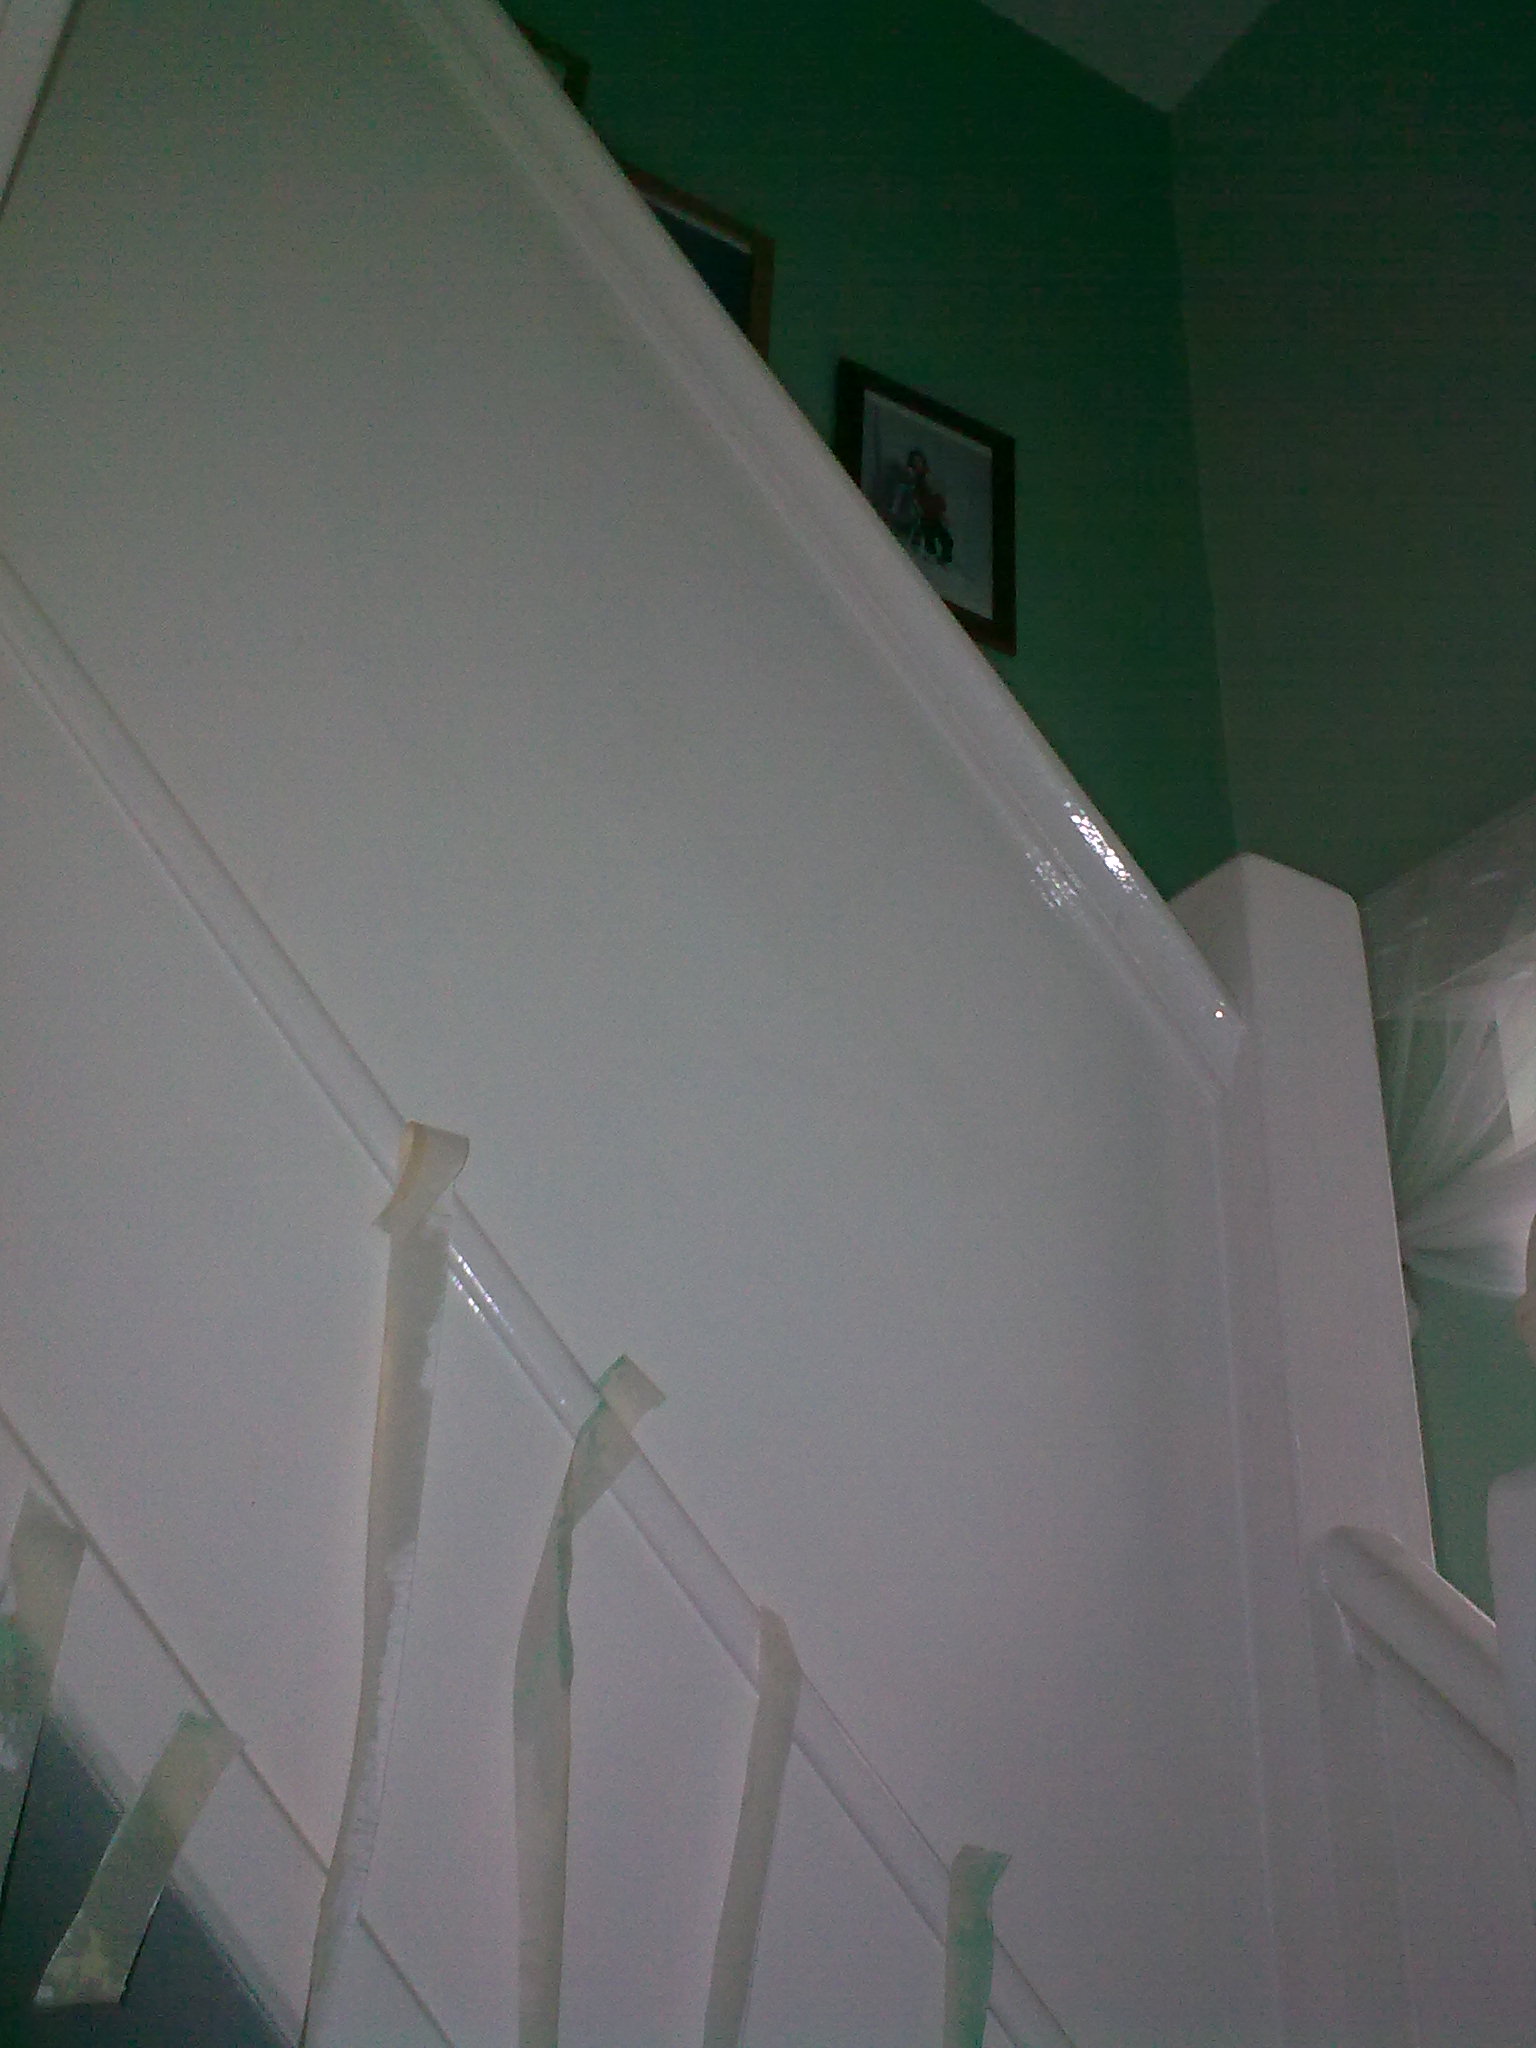
Mark off where you want the middle to be and do the sides first. To make your life easy, you could do the entire stairs in one colour, but you’ll have to do the painting once the kids have gone to bed.
I made little ‘step here’ notes and placed these on the steps I wanted people to walk on. I preferred to do alternate stairs so that I could do the painting in the day time. Under the stairs also had a beautiful makeover.
4. Use paint to add spice to a boring wall

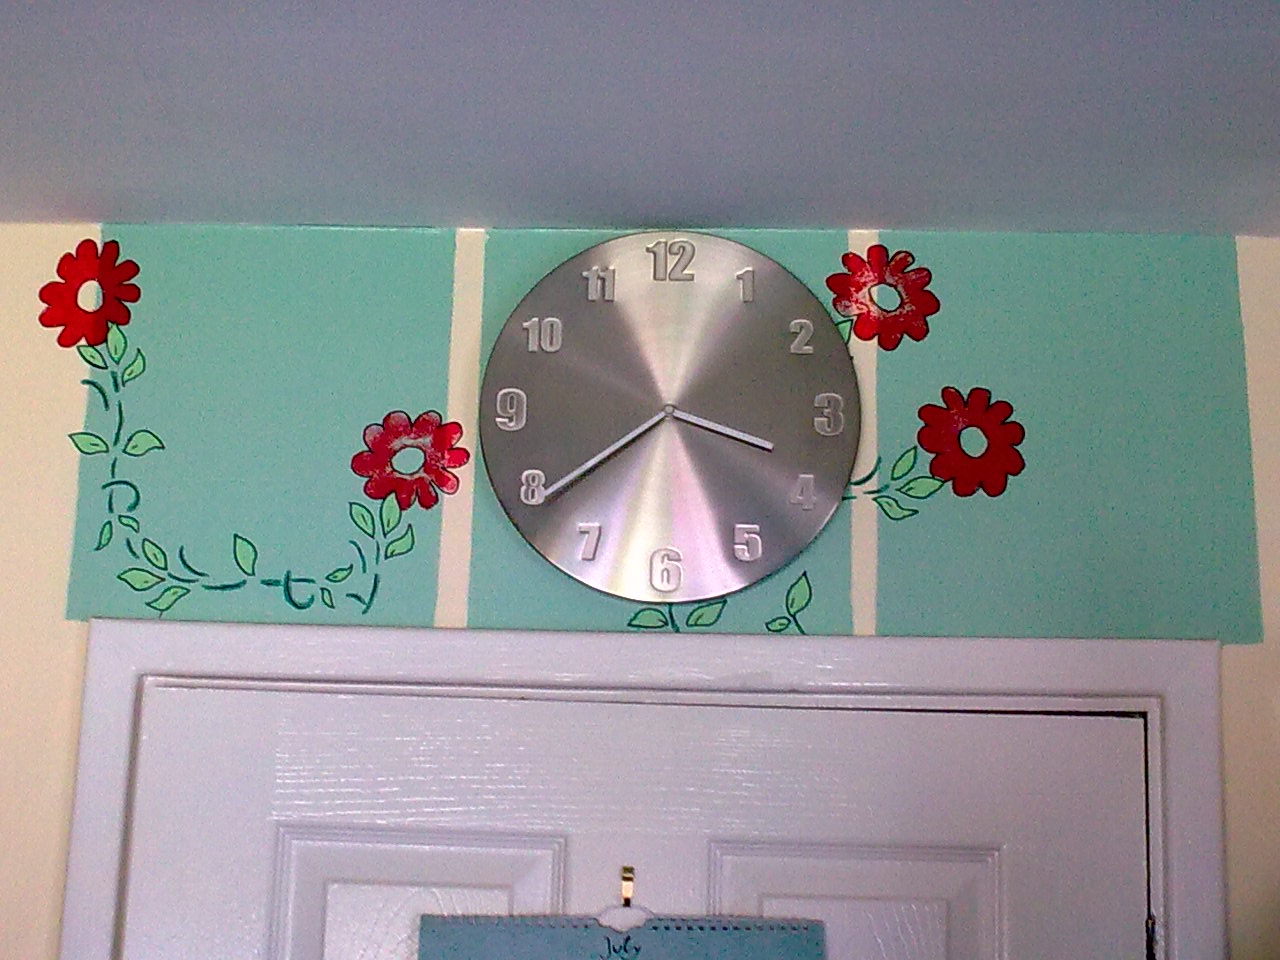
A dull wall above the kitchen door was turned into a focal point. Over doors are hardly given any attention. This is something you can do above any door in your house.
5. Use paint to add the ‘Wow’ factor to your home
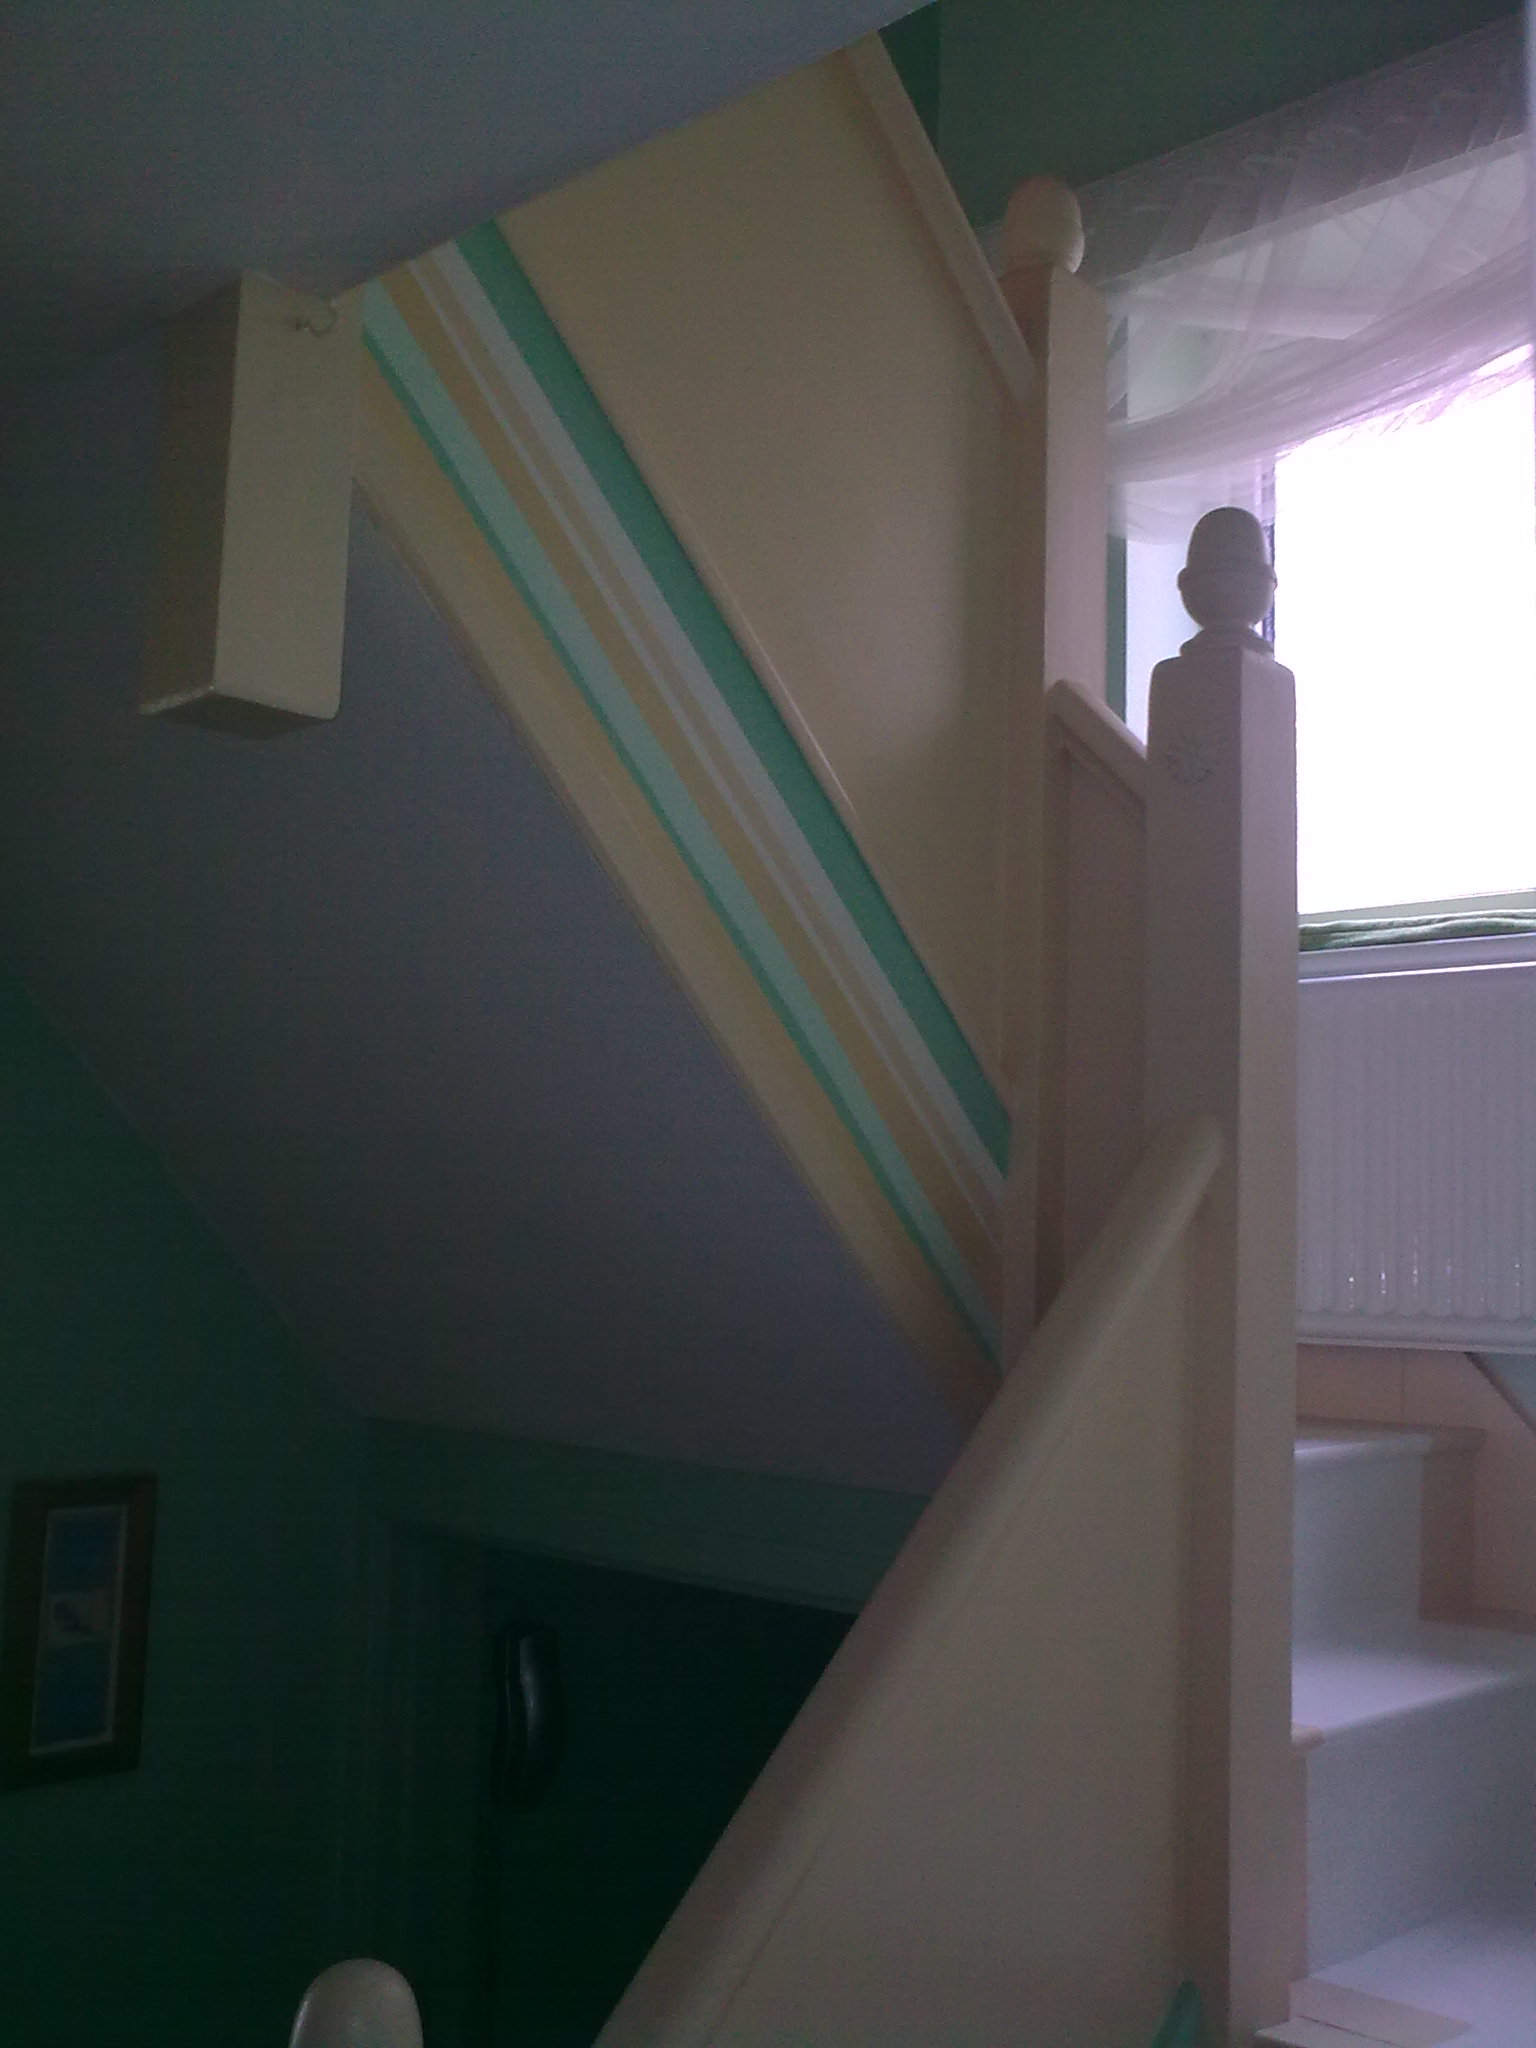
It’s amazing what a bit of masking tape and some paint can do. This is the side of the stairs. It’s been done in all the colours of the hall, landing and stairs. I used paint, masking tape, and patience. That’s all. It takes days because one colour has to be dry completely before you add another next to it. The effect is tremendous and you can’t but look at it every time you go up or downstairs.
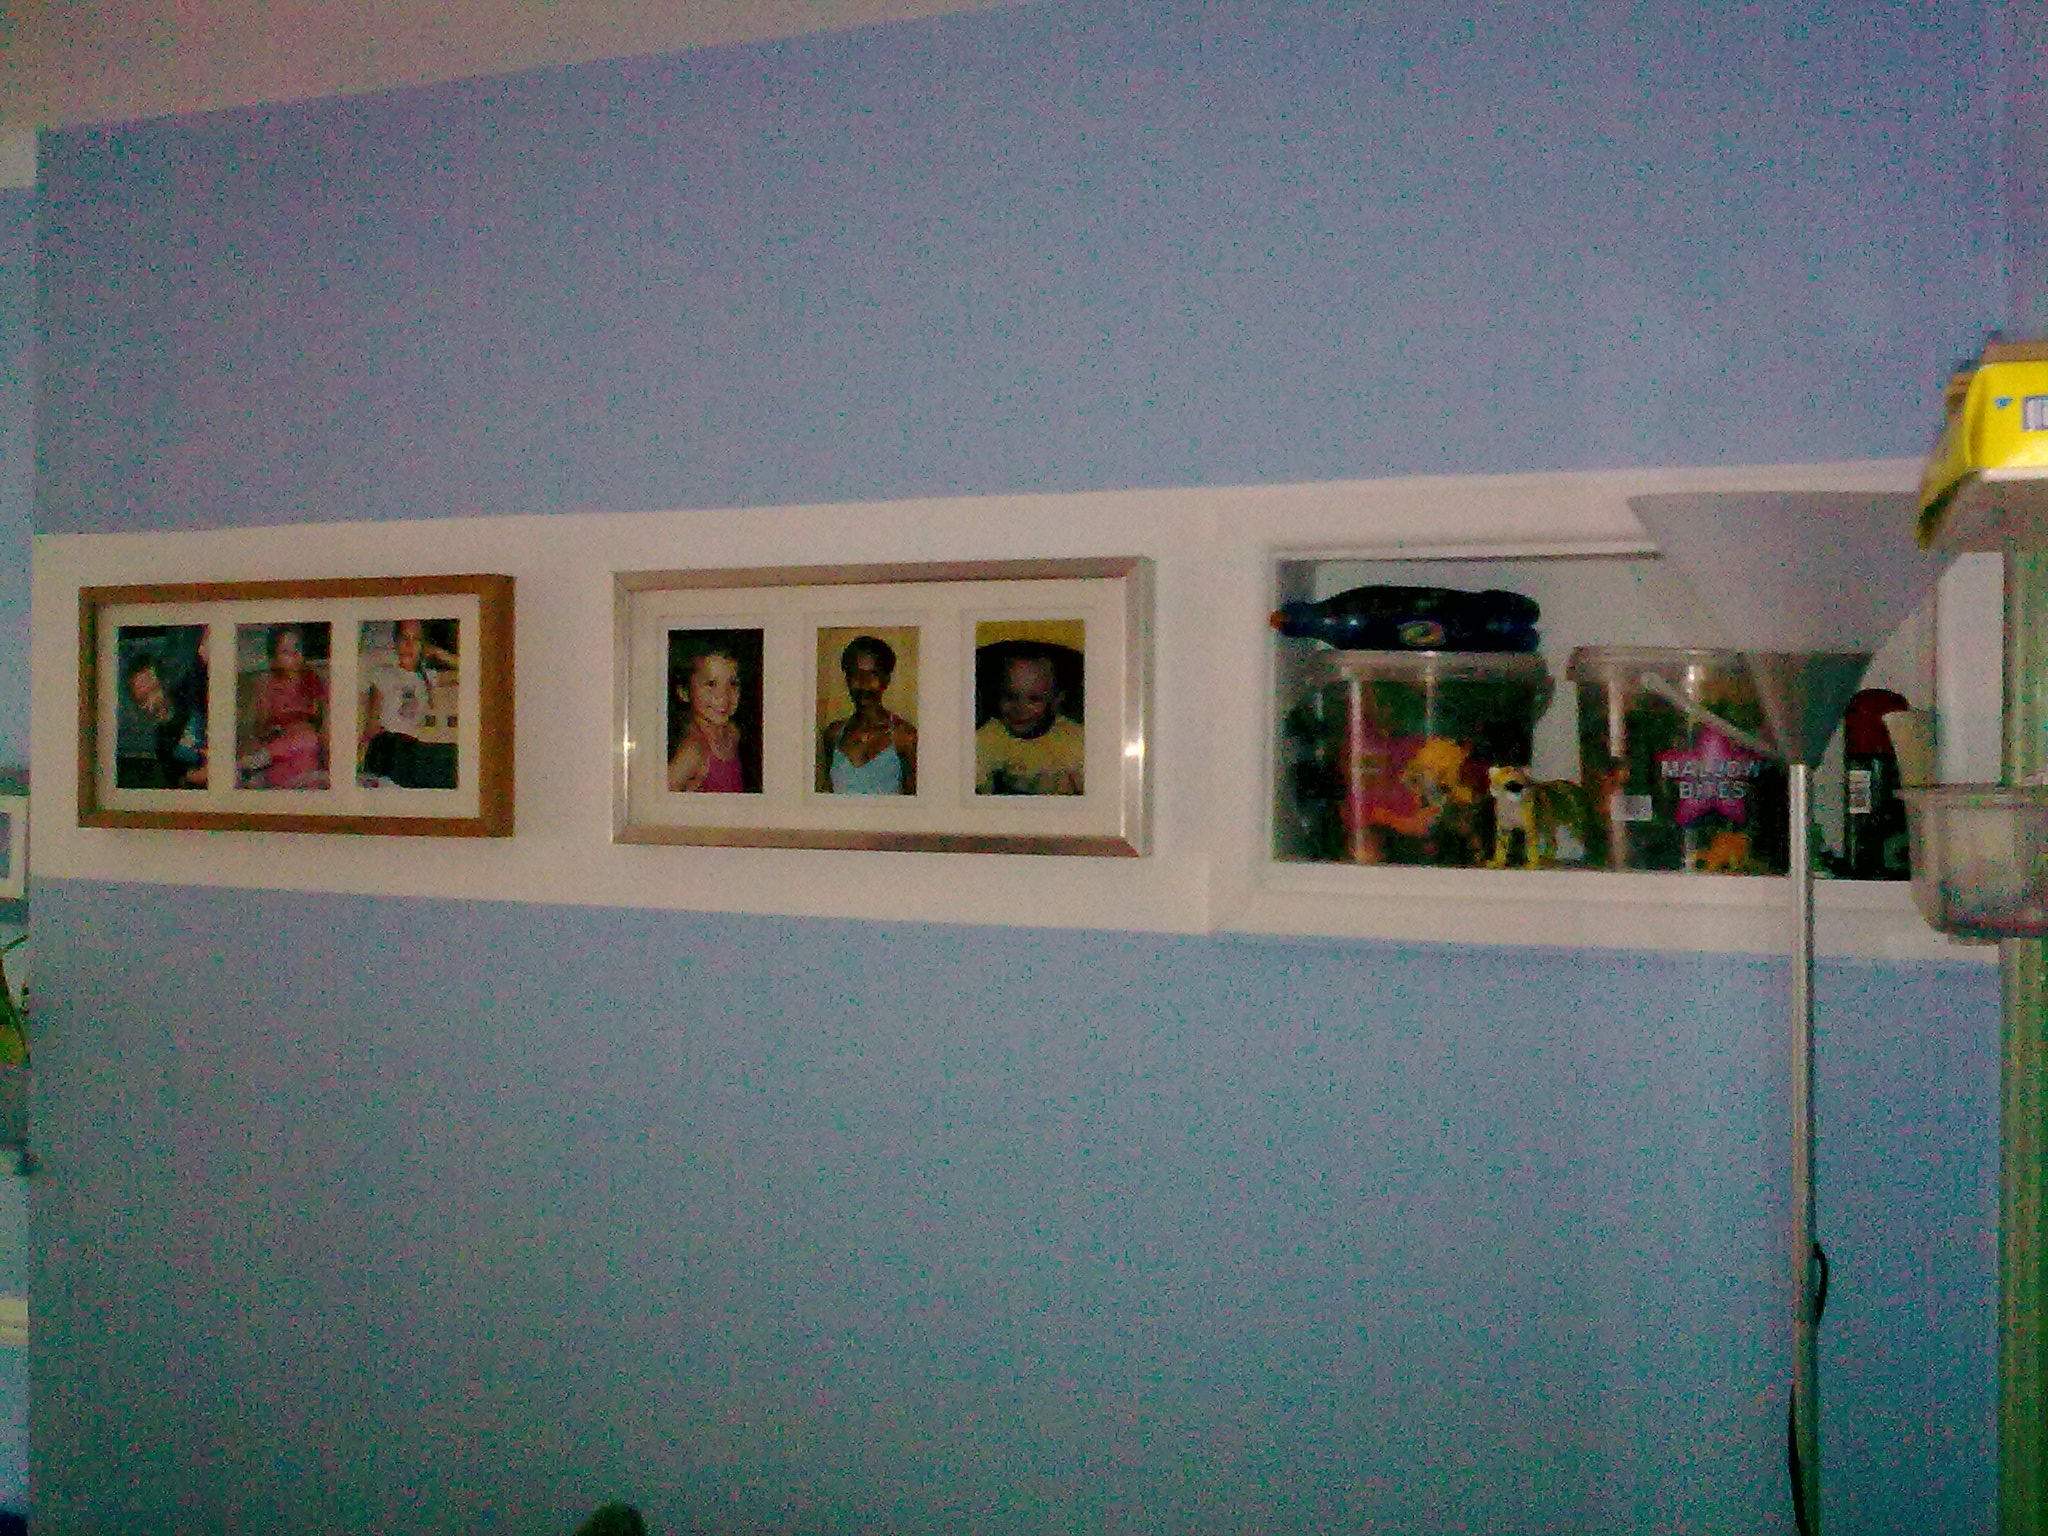
When we converted the garage into a room for the kids, we used some of the hollow walls to create storage space. On the right, this little shelf goes into a small, hollow space which existed when the room was a garage. I wanted to carry this ‘space’ right along the new wall, so I painted the shelf and a panel of that wall white. The two pictures had been measured before the white was painted, so they fit to exact measurements and fill the space perfectly.
6. Use paint to add interest to mirrors and picture frames
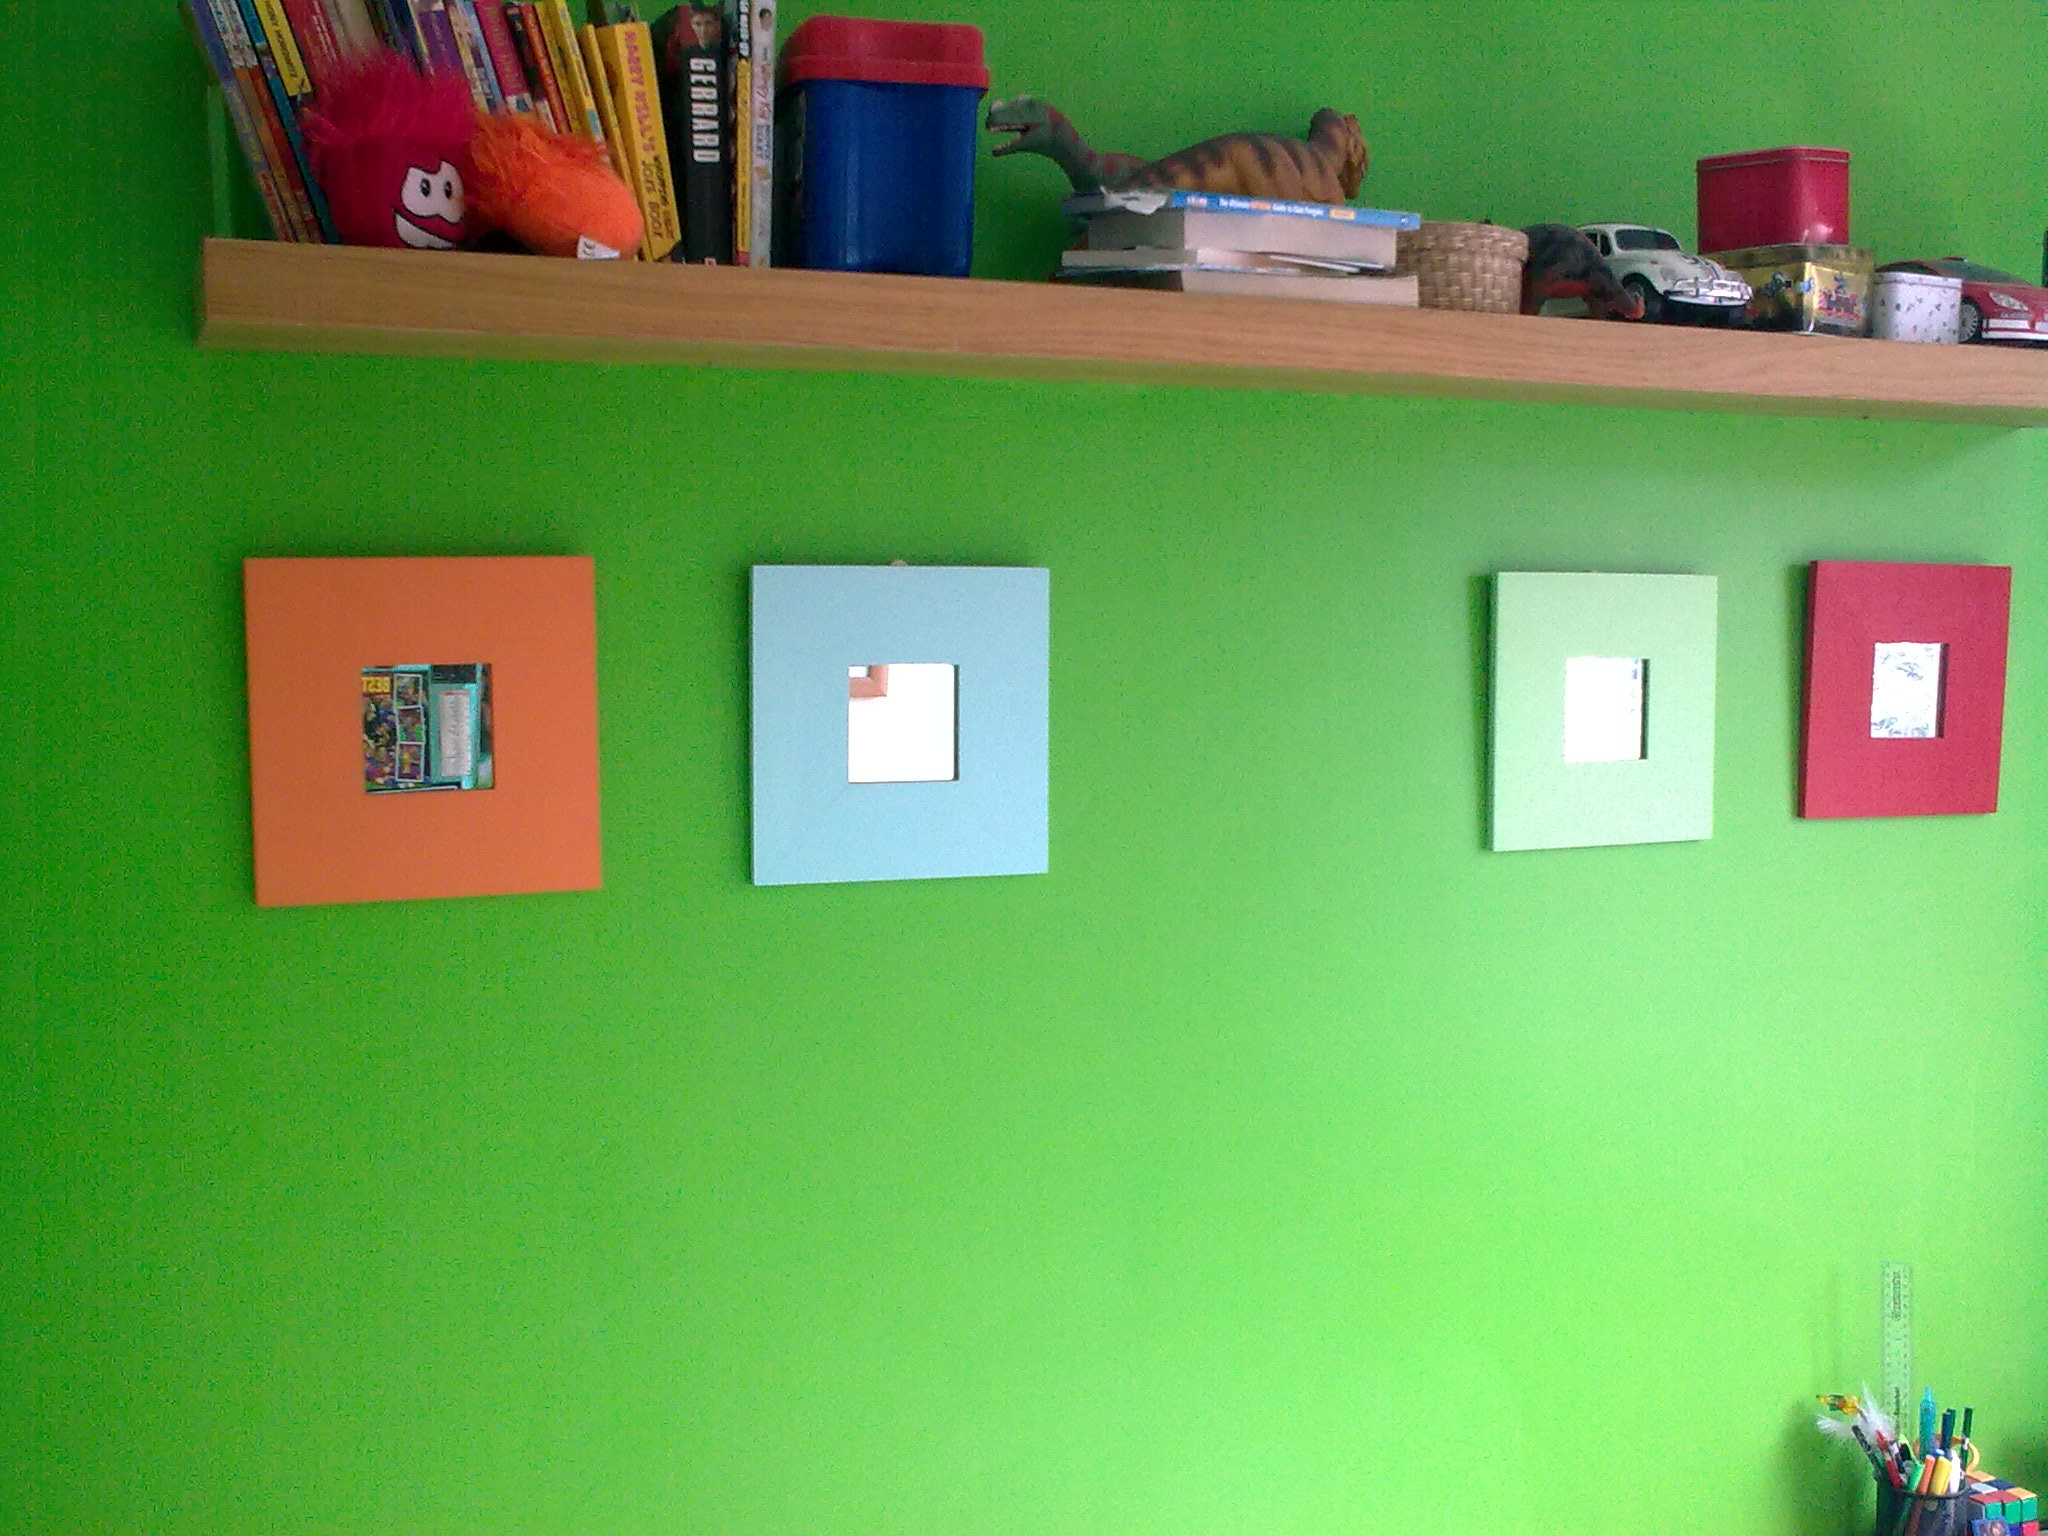
These mirrors on the wall cost 50 pence each from Ikea. They were raw wood. Again, I used left over sample paints and put a layer of clear varnish over them to protect my work. The same varnish has been around for ages and has done several rounds around the house. Four of these mirrors can be set in a line, or as couples on a plain wall. They look great – with just paint!
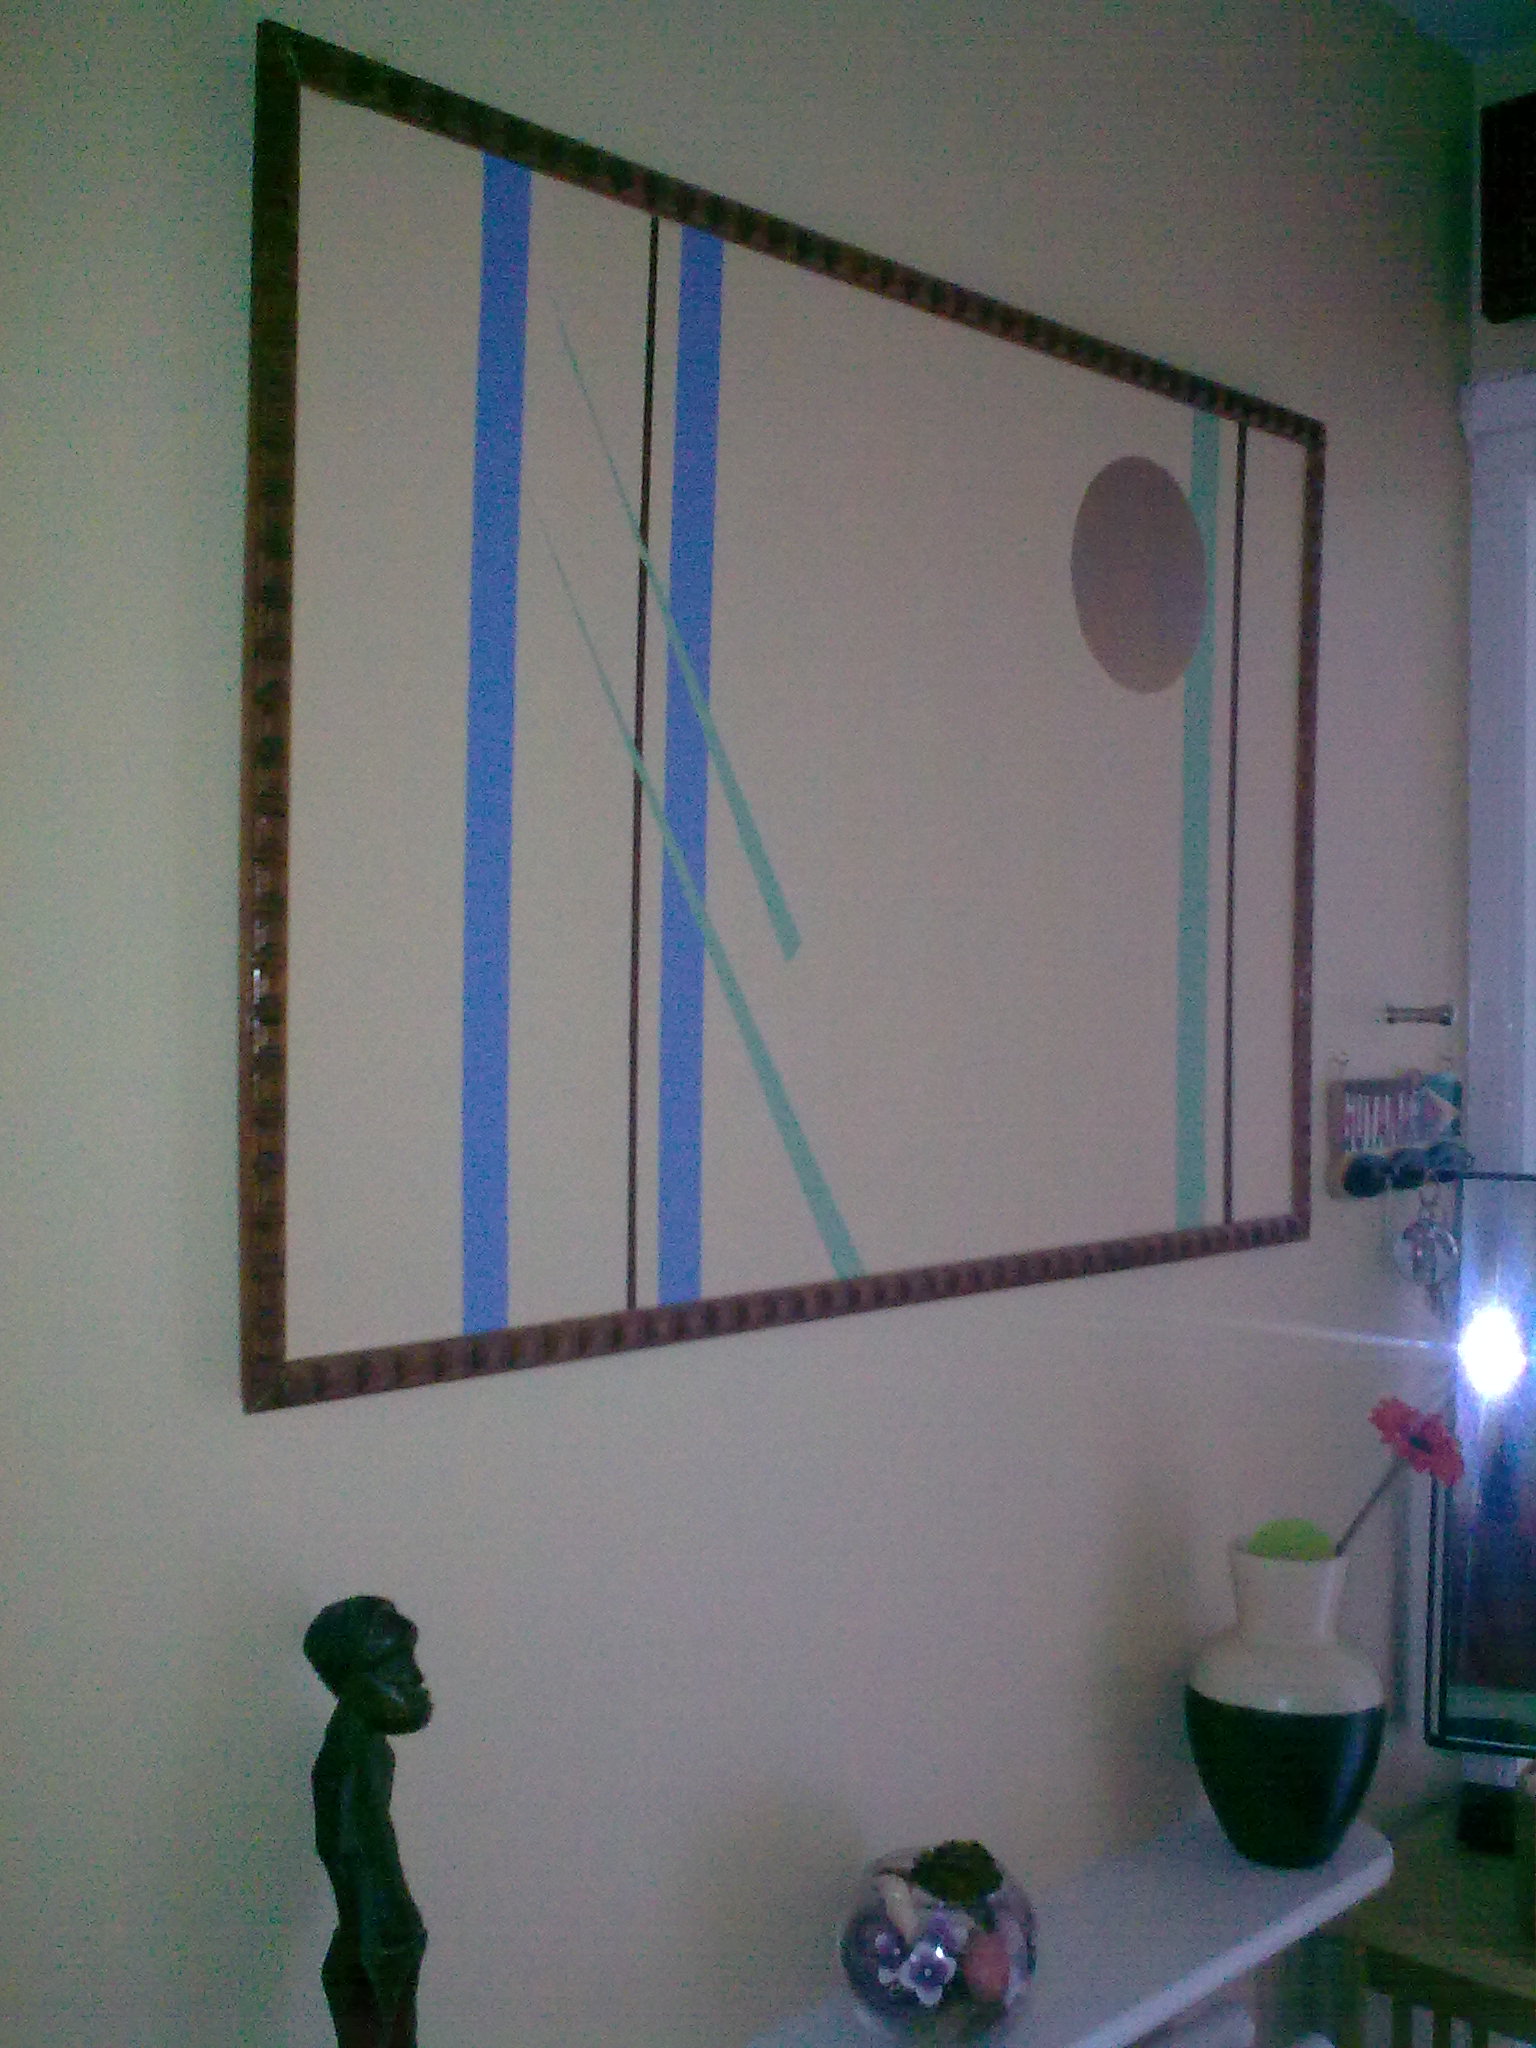
Haven’t got enough money to buy an expensive painting? Paint a picture yourself using colours that go with your room. I painted this one above on a piece of plywood we had sitting in the garage, but you can buy canvass really cheaply and paint your own picture – in your own style. Stuck for ideas? Visit posh furniture stores and you’ll soon be inspired.
7. Use paint to make old things new
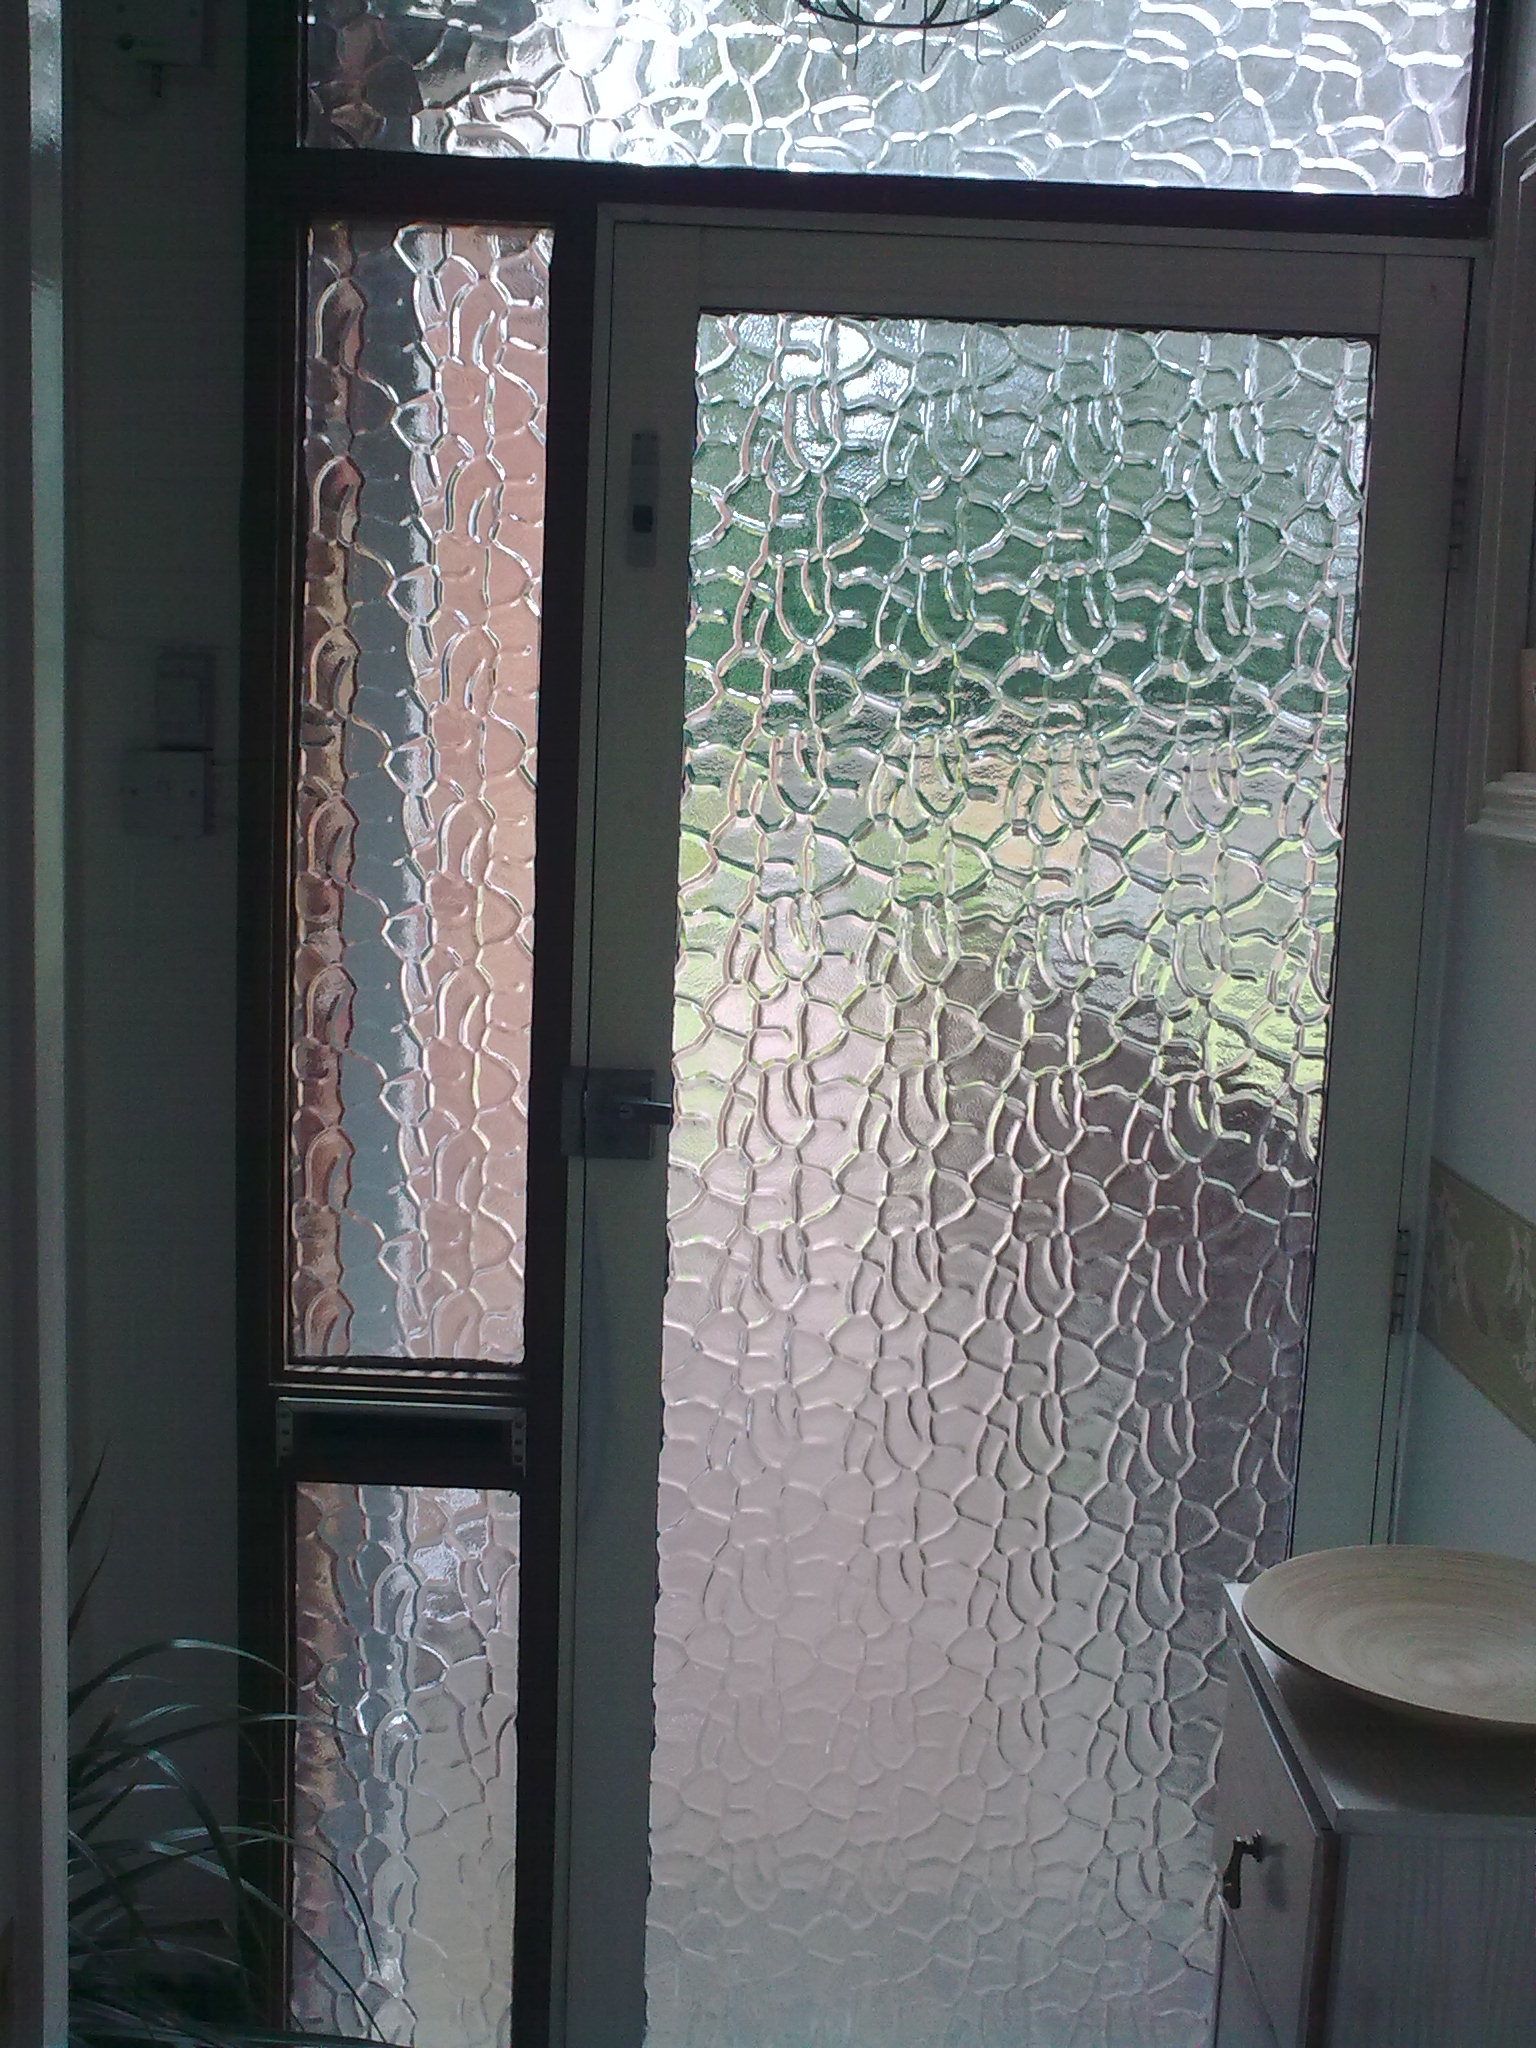
The rest of the house is done, but this old front door makes this entrance area look old. The wood is dark brown and the metal/glass door, though sound, is shabby-looking.
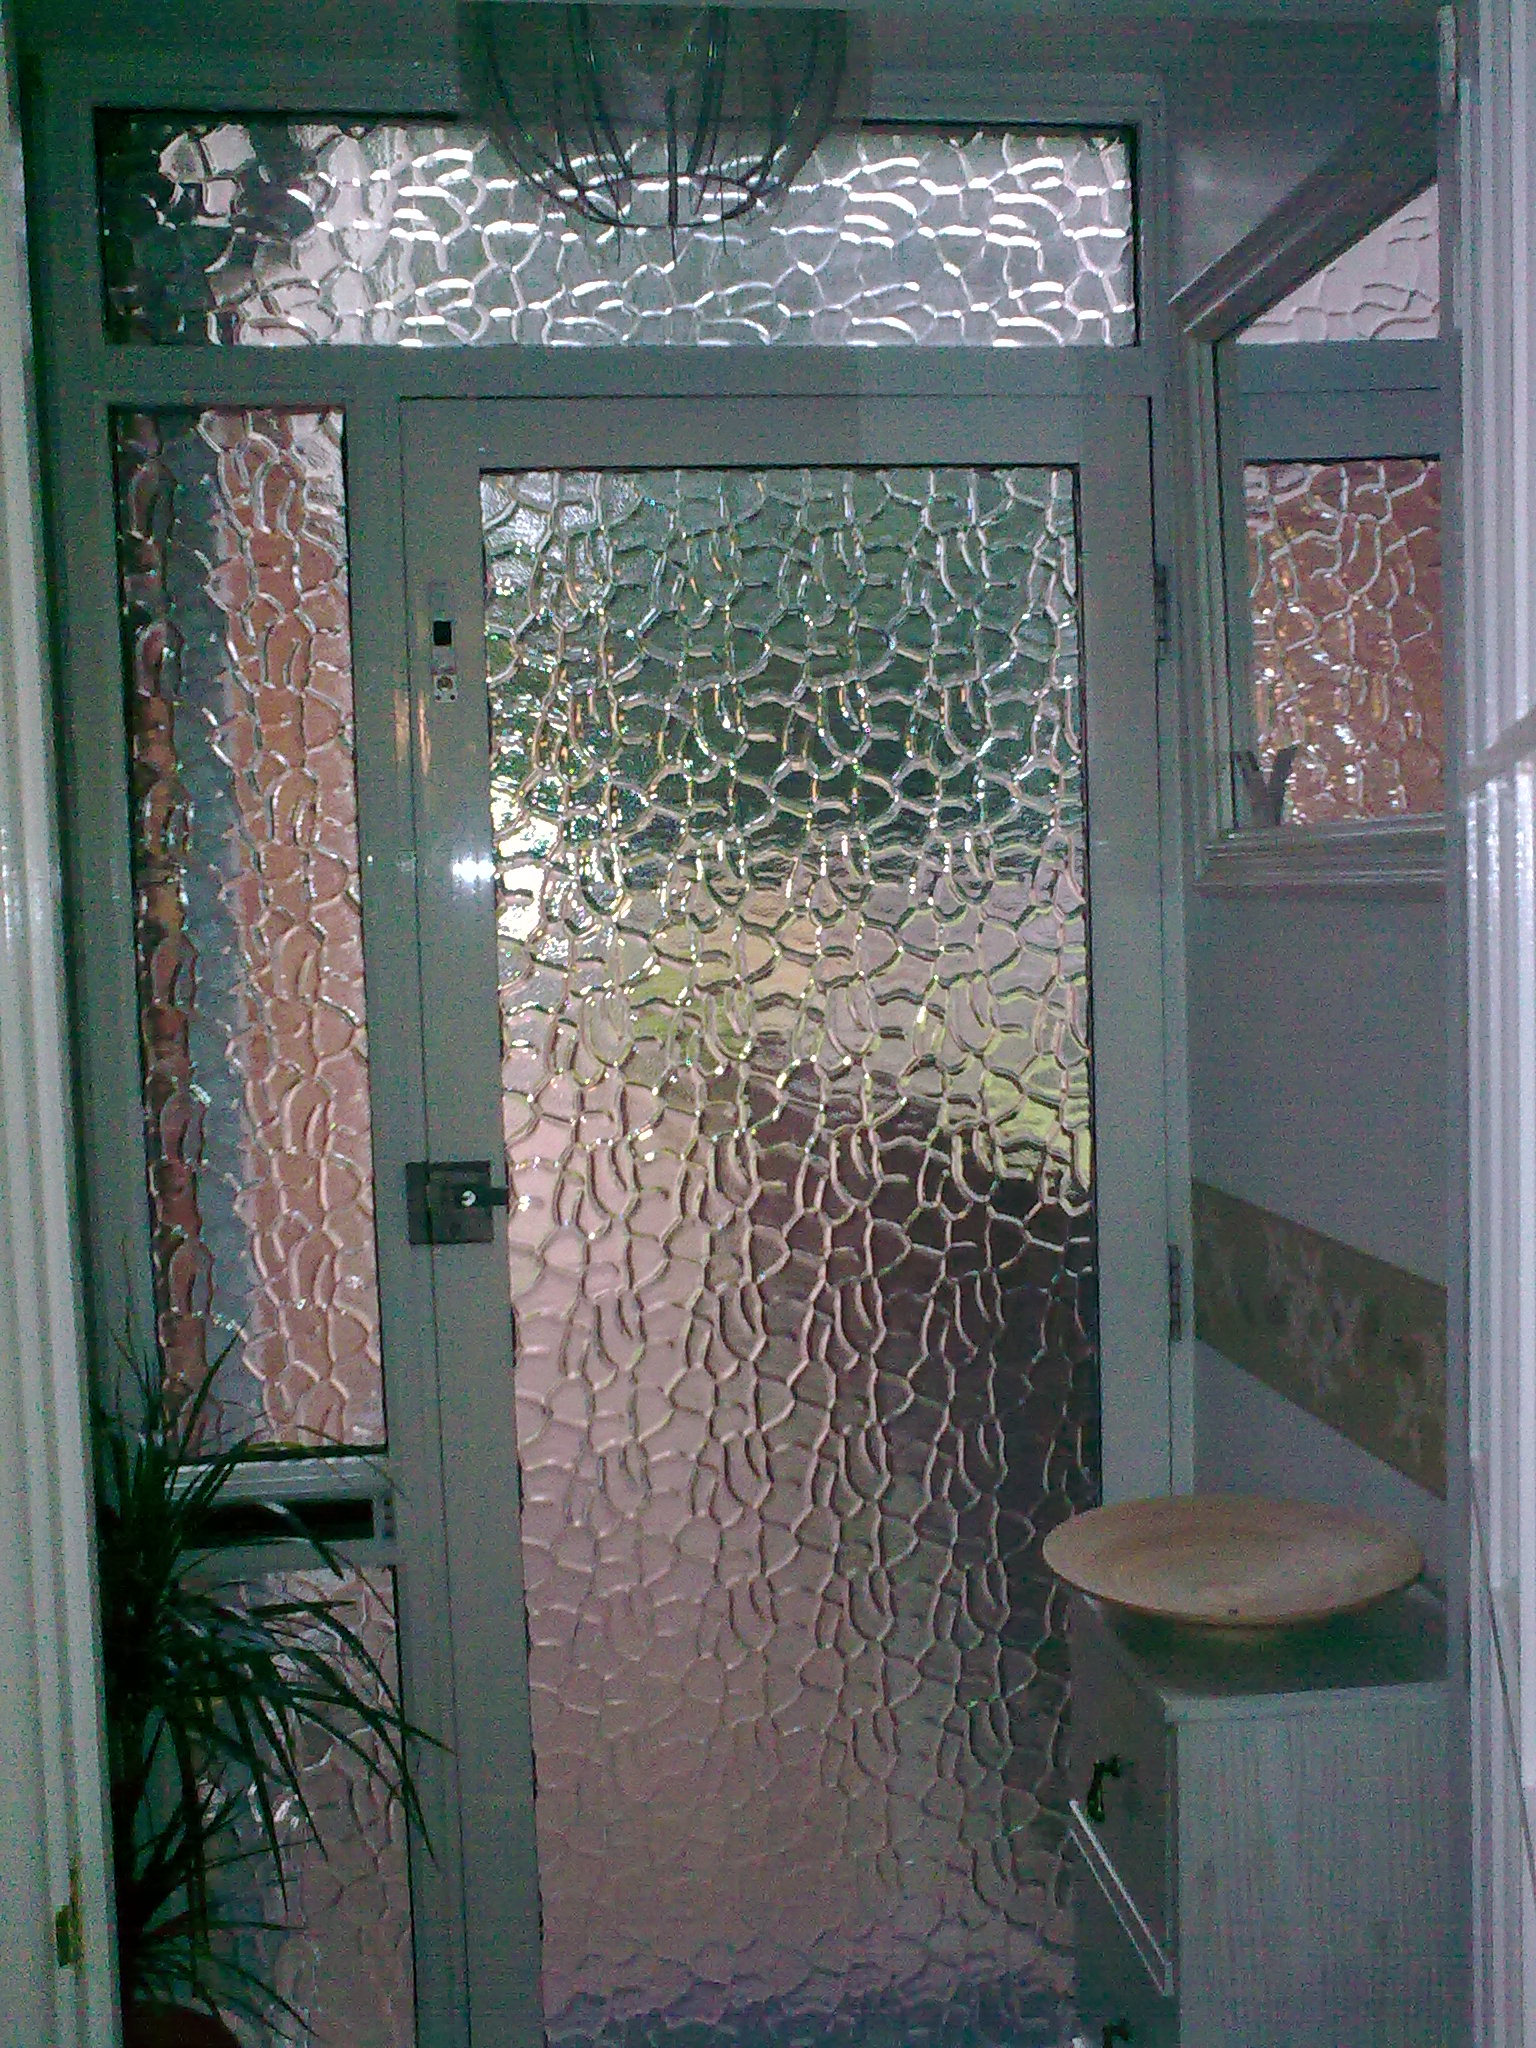
Simply sand an old metal and wooden door down. Give it a brighter look just a with a couple coats of gloss paint. Gloss paints are usually made for both metal and wood, but check this first before you start painting. I recommend gloss for doors because they have very high traffic and gloss is easier to wipe down than other types of paint. White is usually looks cleaner and is cheaper than other colours.
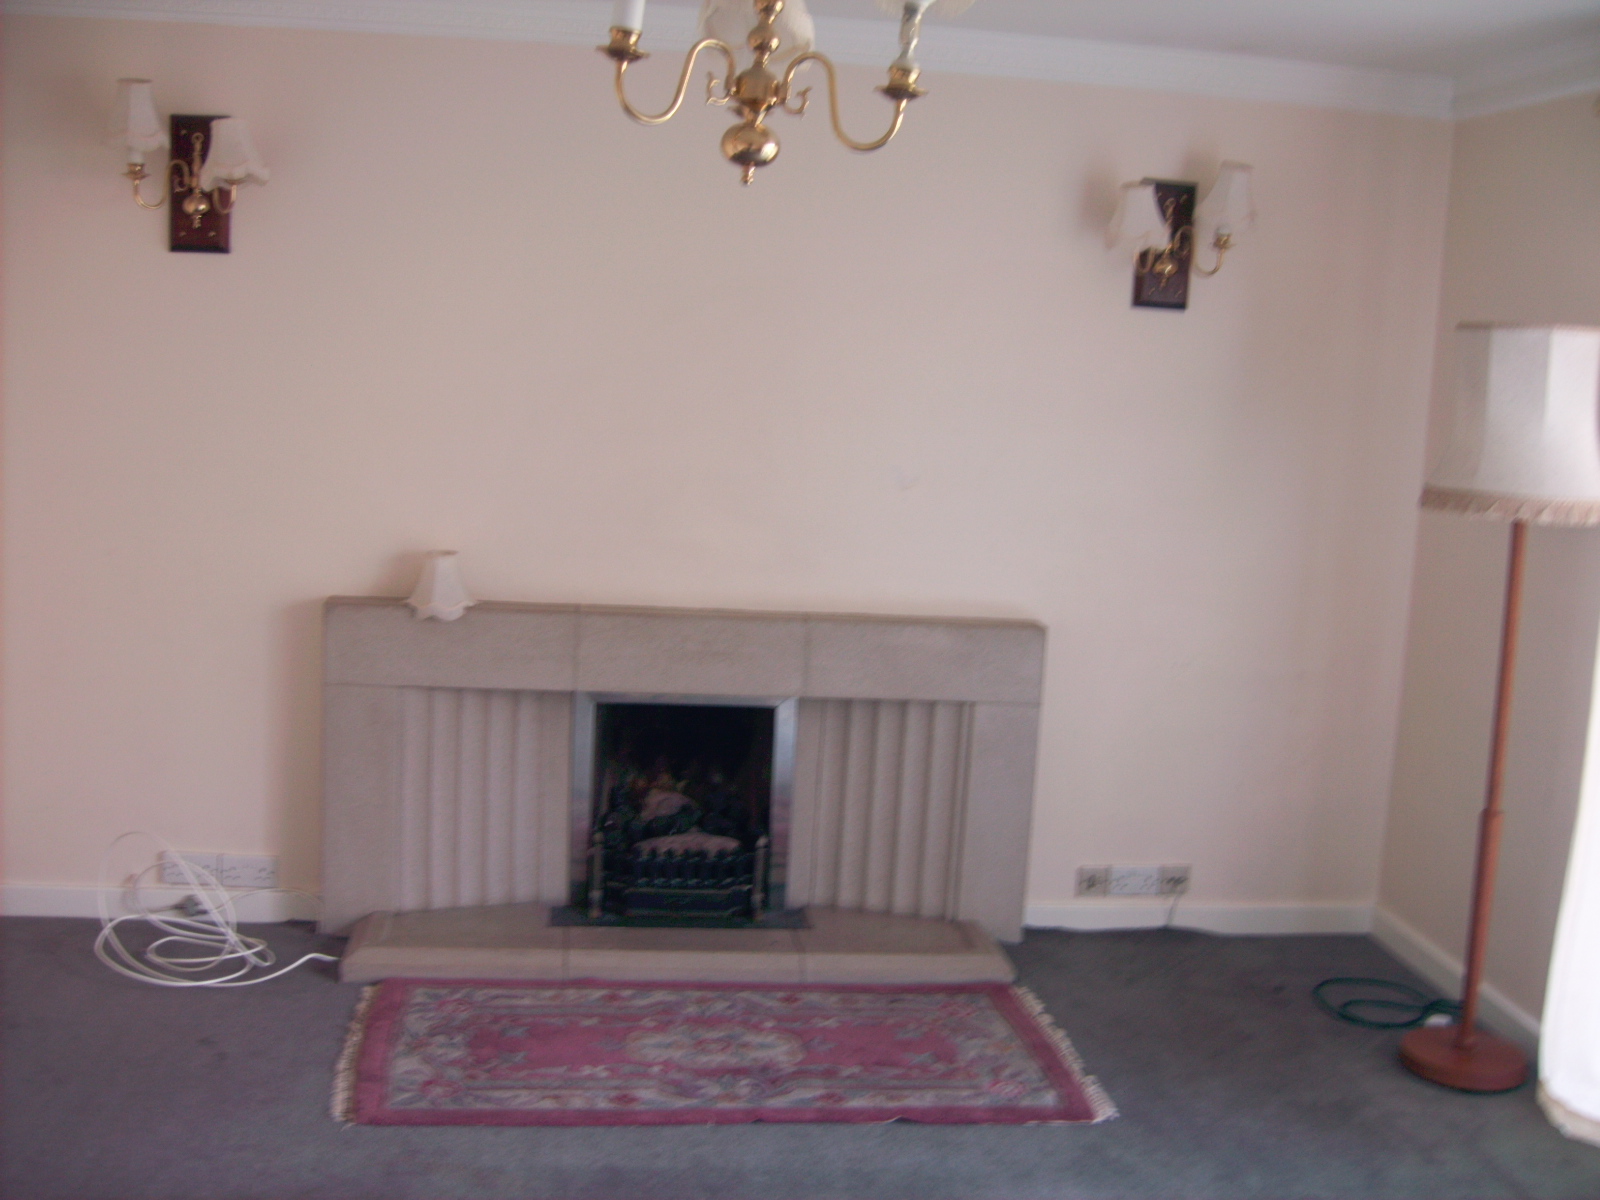
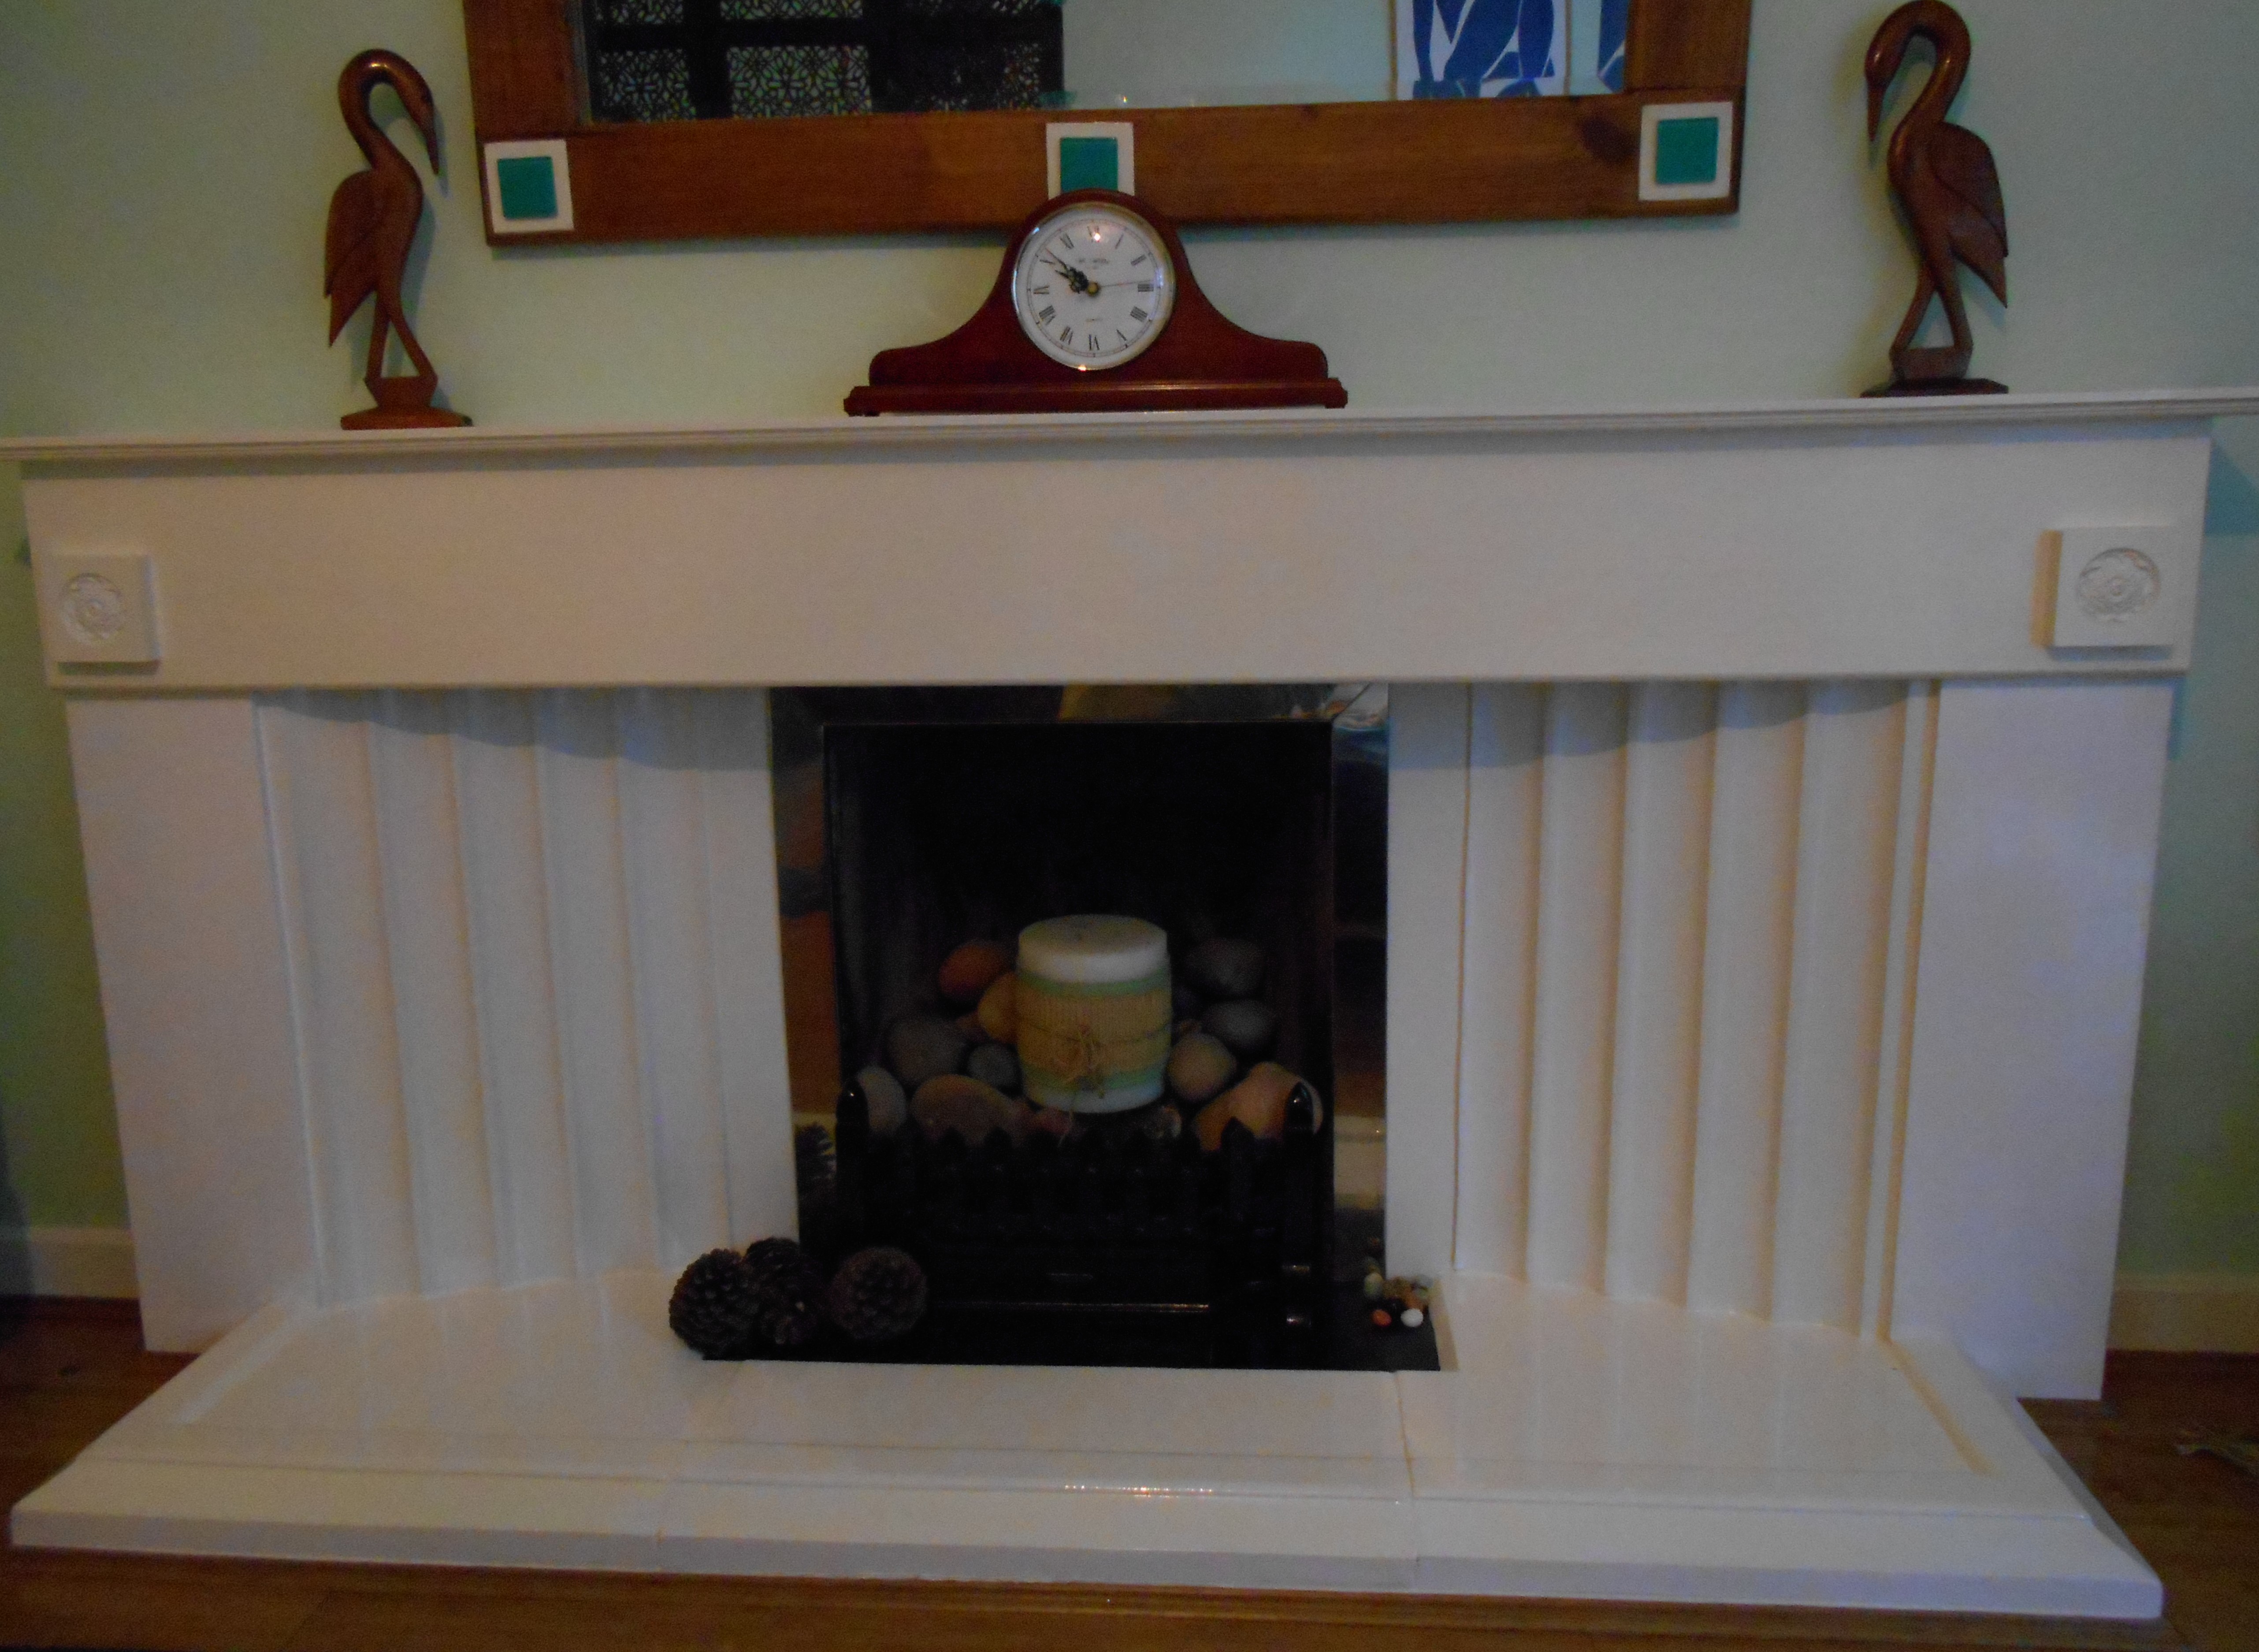
Instead of throwing it out, revamp an old, tired fireplace with paint. You need to first of all prime it with universal primer, (the same one used on your tiles) or the paint won’t adhere to the surface. After the primer is dry, go ahead and paint it in whatever colour you wish. It may take a few coats, though.
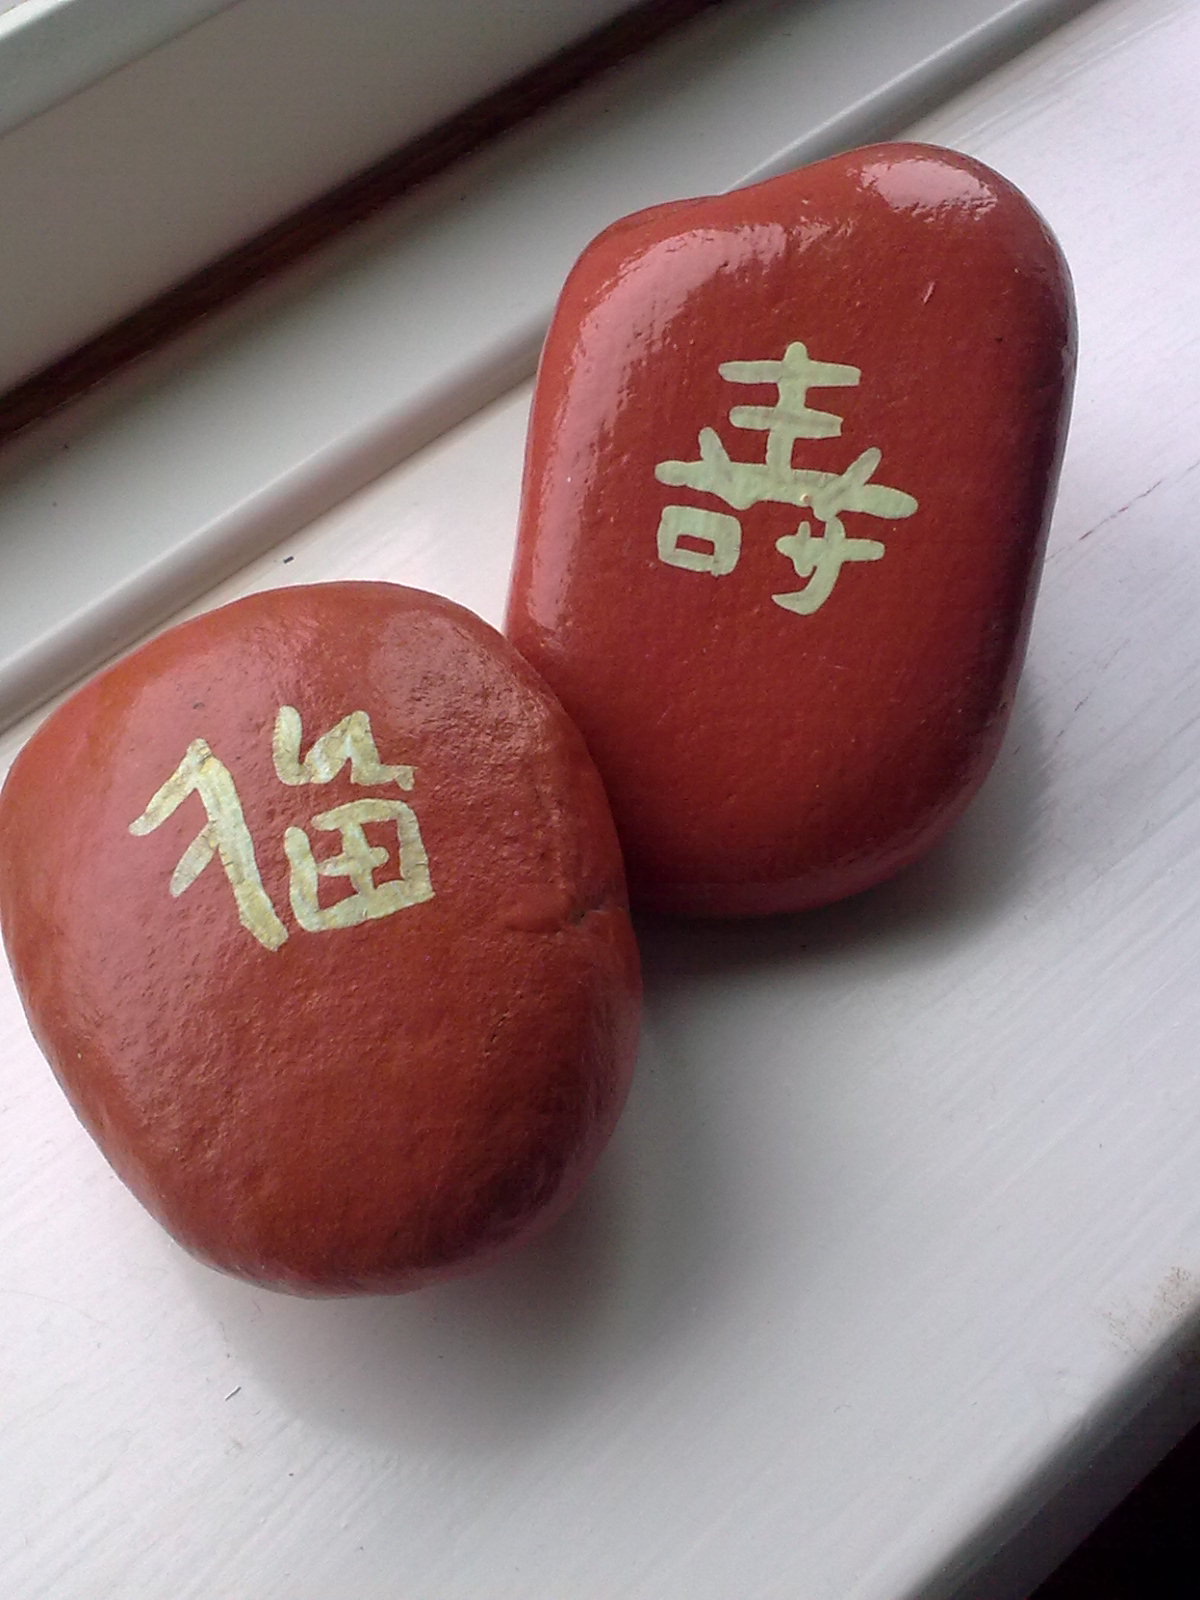
Old beach stones can also be turned into something more exciting. If you’re not convinced, how about doing up an old chair?
So what are you waiting for? Get hold of some paint and start beautifying your home! Please share this article if you find it useful. There are many other tutorials showing you little things you can do to make your home even more special. There are also several articles describing our own extreme makeover. As always, thanks for the visit to diy projects and thanks for your comments.

It amazing ideas shared. Its very nice. I read your some posts. All are wonderfull.
colors are those things that can change your life…and when we do the repaint at home it give the awesome feelings….
Wow. Great make ups! That’d require some skill though. Maybe I can still try the beach stones. 😛
Funny I was reading your most recent post and wandered back into this one and still love it.
Thanks, Judy. Hope you found something useful here.
I couldn’t agree more. I coat of paint can do wonders, especially if it’s the right shade and proper accent shapes are used. You have given some really great examples. I particularly liked the silver clock and stencils used above a doorway. It’s amazing how much originality and style can be achieved with the mere application of paint.
I know just from experience in my own business (basement waterproofing) that even with the 1st application of basement waterproofing paint, the white really brightens up the space and makes it look much nicer than just the expected drab and damp cinder block walls of most basements.
Your article reminds me my first house that i painted by myself. It was a 2 bed house but it took 3 months for me to complete. I wish i did some research about how to do painting but it was not bad once i complete. I ended up spending double in paint, brush and other tools than the local painter asked for.
Colors are beautifull…many color has changed my life…i am a interior designer and love to this type of post to read online….thanks to share such a good post..
excellent piece of information, I had come to know about your website from my friend kishore, pune,i have read atleast 8 posts of yours by now, and let me tell you, your site gives the best and the most interesting information. This is just the kind of information that i had been looking for, i’m already your rss reader now and i would regularly watch out for the new posts, once again hats off to you! Thanx a lot once again, Regards,
Nice tips, I like alot but I don’t think painting the stairs is a good idea. I mean it’s effective but doesn’t look so good.
I got few really awesome ideas for my small condo. I’ll post photos as soon as i finish painting 😀
It really very anice post anne paint can make a big change in our world.Thanks for ur post……
Paint is expensive things for everybody but this is paint which makes your home good-looking, fresh and altered colors are imperative for life styles.
I m going to renovate my house very soon thank you for useful paint tips.
I am going to renovate my house ..and with this blog i have got useful tip about paint . Thank you for such a nice post.
Paint is costly things for everyone but this is paint which make your home beautiful and clean and different colors are important for life styles.
Thanks for your valued research about paints.
These 7 beautiful painting tips are very appreciative, your blog is showing some direction for how to use paints in homes. Great, ideas you’re sharing.
I am glad to read your article,I was about to renew my house Decoration.I was afraid it will cost much money.Thanks for sharing your ideas.
This information was so useful at this point as I am about to paint my home. The tip on “wood to be painted in gloss paint” was an eye opener for someone like me who had no idea about furniture painting. Thanks 🙂
Paints ofcourse can be used for a variety of purposes other than coloring. I personally have done it a number of times, and was glad to see this on your blog Anne. I do a lot of things with my house, as long as things look good I am satisfied, thanks for sharing.
wow anne i like your post. Thanks for amazing tips. I will definitely try this. i am art lover…….. Thanks for the Post!! loved it!!
My bedroom is in such position that there is very less natural light. Can you tell me which will be best color to glow it and make it more comfortable for the guests and friends?
Regarding your post, great one.
Hi Tushar, If you have no natural light, cream or off-white would be the best colours to use for your room. They’ll reflect whatever little light you’re getting. Also try putting a mirror opposite the light source so that it could bounce back some of that light into your room.
Anne
Yes using light one will be great. First I was thinking to use complete white color but that one is not looking much suitable for it.
Anne this is so amazing… My boyfriend is planning to finally build his house this coming June. We were actually considering wall paper thinking its much cheaper compared to paints. But seeing your incredible post right now changes my mind. I love the colors, they are brilliant, relaxing and definitely a wow-factor! Can you suggest websites where I can see more ways to use paints? Thanks Anne! You’re rockin’
Hi Margaux, I’d definitely go to the websites of the major paint companies in your country. Here in the UK, Dulux is a large paint company and would have many other suggestions.
I also suggest you go to the individual articles I linked to in this post, they’re very detailed and will give you tons of ideas.
Paint is definitely cheaper in the long run than wall paper is. Besides, it’s so easy to change in the future.
Thanks a lot for helping Anne.. I am following your articles. I enjoy reading them right now. gosh! how can you be so innovative and resourceful? I love your piece. I truly adore your work. Thank you so much for sharing. Will continue reading and following more of you. Thanks again
What a great post! I’m a fan of painting myself (no really!) and you’ve given me some great ideas. I especially liked the theme of improvising, and of recycling unused items to add features. Nice. 🙂
Colour is an important part of our everyday lives. We judge how healthy we, our crops and our food are, with the help of colour. Our choice of decoration, furnishing and clothing is strongly influenced by colour. Colour is involved in almost every aspect of our lives.
Definitely, Ashutosh. This is why we should choose the colours for our home carefully. Light colours are good, but stronger colours show a bit of our personality.
I wanna paint my room black cuz its my favorite colour .my parents wont let me and it suckss. lol
i mean i love dark colours cuz i m a dark person
but really nice article 🙂
Maybe they’ll allow you to just paint one wall black? Or maybe you can suggest putting some black art work on one of your walls, or just painting your skirting board black. This way you both get a bit of what you like.
I love the fireplace. You turned it from dull to extraordinary.
Thanks, Judy. Yes, I think so too.
More recently, renewed the old furniture, but unfortunately we used paint dull and we have to improve. Thanks for the useful information. !
I recently helped an couple who were having a hard time figuring out how they can make their living room more lively, even though they have pieces of furniture that look very old-school or old-fashioned. However, the wife is very fond of her Amish-looking furniture, which she bought because she said she came across of the same design that is being sold in Brandenberry (she saw it in the website). I racked my brain on how I can help them brighten their living room with such heavy looking furniture. Stumbling upon this article really helped a lot. I realized that their living room was dark and sullen, which I though was brought by the furniture. I gave them color samples of paint that are shades lighter than what they currently have on their walls. After the project, the living room now looks brighter and more illuminated.
I’m so glad you were able to solve the problem. And yes, it’s really surprising what a little change of colour can do to a room.
Paint can make a dramatic change in the look and feel of a space. When painting smaller rooms and spaces keep the colors light to give the room a spacius feeling. Interesting post thanks for the thoughtful insight.