Do you pay much attention to exterior design ideas or do you just concentrate on the inside of the house? As you all know, this blog was started after we decided to redecorate and redesign an old house we’d bought. I’ve taken you through most of the interior makeovers we did around the house. It needed a complete overhaul and there’s not an inch of the home my fingers haven’t been over - several times. Most of this is finished and you can see the results at the link.
Spring is around the corner and some (yes, only some) of my efforts will be turned to the outside of the property. We can’t do as much as we’d like at the moment, but that set me thinking about the exterior design ideas which will make the best impact on your home.
Exterior design ideas
Exterior design starts with your front door
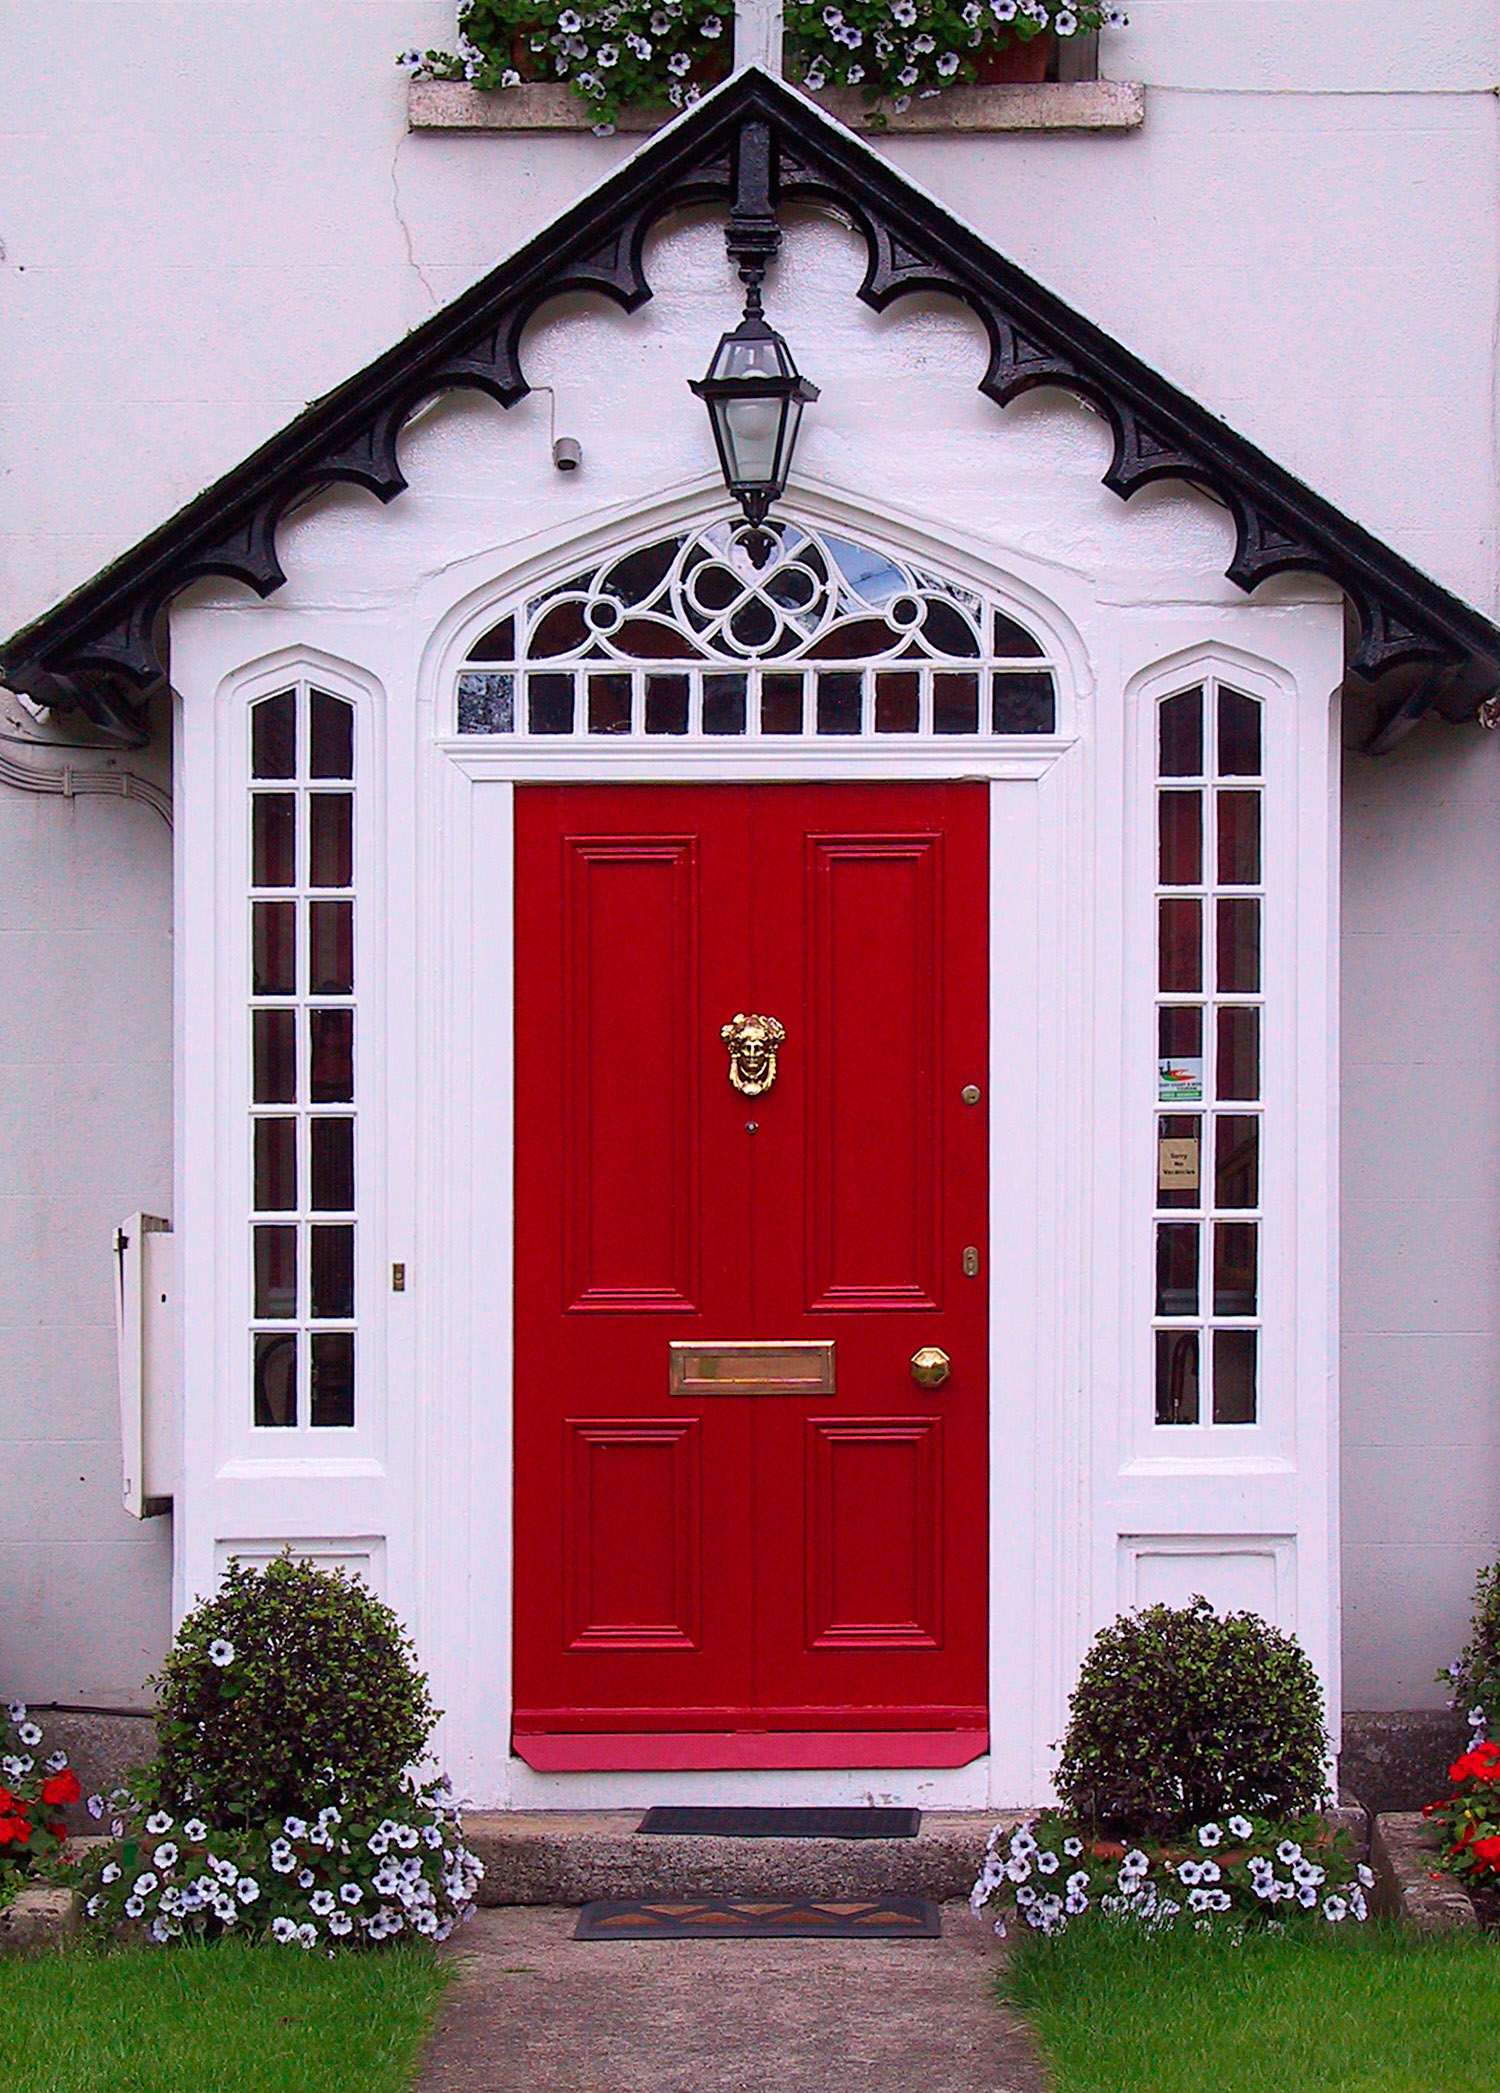
I did a post here about front doors. Paint colours not only tell a little about the people who live in the houses, your choice of colour can really impact on the overall image of the house. Always make sure your front door looks great from the outside. It’s the first impression your guests - and random passers-by have of your home. Like a personal first-impression, there’s no second chance, so get it right. Even if your door isn’t new, keep it clean, well looked-after and free from weed etc. A good paint job, a nice mat, an interesting door-knocker, and a few potted, well-groomed plants all count towards an impressive front door.
Plants make a large impact on your exterior design
Add plants to your front garden. They don’t have to be expensive plants. They just have to be well-looked after. If you don’t have the time it takes to care for a hanging basket it’s better not to have one. Go for yukka or grasses and other low-maintenance plants if you’re busy. If you have a completely paved area at the front of your house, get some large plant pots and place them around your front door. Different sizes and shapes work better together.
Fences are important in your exterior design
There is little point in having the most expensive front door when you have a run-down fence that needs attention. The fence at the front of your house should be well cared for and maintained. It doesn’t have to be a brick fence to be sturdy. Wooden fences make quite an impact if they’re painted (or treated) and are upright. If wooden fences are too difficult to maintain, you can consider pvc fencing and pvc railing, which are much more durable and look a lot nicer. Fences are also important for security reasons. The police force has noted that if you give the first impression (with your fences, gates, windows etc) you’re serious about security, you’re less likely to be burgled.
Exterior design ideas can be personal - not eccentric
Your tastes will obviously play an important role in your exterior design ideas. Door mats, door knockers and house numbers - for example come to mind. If your taste is very eccentric, it’s probably better to give into this at the back of your house. It’s better to fit in with the general ‘feel’ of your neighbourhood in terms of design. This means that you may have to paint that huge wooden wheelbarrow and use it to plant flowers in your back garden. Your house number may have to remain just the average plaques the neighbours have, and that driftwood may have to be transformed into the back of a bench at your back door.
Exterior design ideas for the back garden
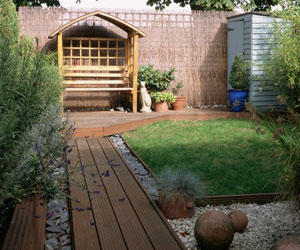
Most people in the UK use a combination of decking, plants and clever painting to create impact in their back gardens. The only problem with decking is that it can be difficult to maintain if you’re very busy. I grew up in South America where a lot of the house had verandas. One of my utmost dreams for our home, is to have a veranda at the back of the house. We’ll have to wait a few years to get that, but I’m definitely going to use pvc decking to get the job done. After all these years of waiting, I don’t want the maintenance jobs that sometimes can accompany wooden decking. I already have my veranda design planned out, even though it may be 5 years before we can afford it!
Do you have any other exterior design ideas? What have you done outside your house that has impacted the most? Please leave your ideas in the comment boxes below. If you liked ‘Exterior Design Ideas’ please share it on your social networking sites. Thank you.
Protect Your Garden In Cold Weather is a follow-up to our recent article entitled, How to protect your home in cold weather. Protecting your garden is equally important because it’s a vital part of your immediate surroundings. Like your home, if your garden is destroyed by cold weather, it could take years and a lot of cash to bring it back to where it should be. Gardens can be harder to protect in cold weather because after all, they’re outside and at the mercy of winter frosts, ice, snow and whatever else nature throws at it. This article will give you some easy tips to protect your garden in cold weather.
Protect your garden in cold weather
Protect your garden from salt and ice in cold weather
Plan carefully if you’re using salt to clear ice from your driveway in winter. Remember that when the ice melts, the salty water will make its way to your plants and can seriously damage them. Not all species of plants will come back from a good soak in salty water. And even those which do, may not flower for a couple of years before they’re back to normal. If you must keep plants near the driveway, use potted ones you can remove when you need to. I found plant movers really helpful in moving our bigger plants around.
Protect your garden taps from freezing in cold weather
Wrap your garden pipes and taps with lagging or old towels. If your tap does freeze and you’d like to use it, cover it with hot water bottles and towels and leave for a while. Whatever you do, don’t tap it with a hammer or any other tools. Yes, it has been done! If the above seems to complicated, you can always purchase a cheap, outdoor insulated tap (or faucet) cover like the one in the picture below.
Protect your garden in cold weather by trimming trees
Just before the winter sets in, trim the trees near your greenhouse which are likely to be covered in snow. If the trees become snow-packed, this can damage the glass roof of your greenhouse or conservatory. Cutting trees are less work and a lot less expensive than replacing broken glass roofs.
Protect your garden furniture in cold weather
Put away all garden furniture, tools, kids toys, or loose bits of your barbecue grills. Strong winds can use any loose item in your garden as a weapon which can damage windows, conservatories and greenhouses.
-As for sheds and garage doors
There’s still time to make sure your shed roof is secure and that you have a proper lock on the door. Again, strong winds can rip up your roof and the rain can cause damage to things you keep in your shed while you sleep. You may want to have your garage door checked for damage so that it can withstand strong winds and heavy snow.
Extra: protect your garden in cold weather - your car
The best way to protect your car and yourself:
Always keep a spare tin of de-icer in your car. If it’s cold enough your car could ice over while you’re parked outside the shopping centre etc. You don’t want to spend ages in the cold scraping the car, especially if you’re not prepared for it.
If you don’t have de-icer, don’t use hot water to defrost your windscreen in cold weather. This can cause cracks. A bit of tepid water will work better.
Keep a small shovel in your boot (car trunk) just in case you’re out and about and need it.
It’s not too late to top up on anti-freeze in your radiator. Remember this can become a serious issue with engine damage if you haven’t got enough.
It goes without saying, in cold weather, always have a bag of warm jumpers and/or a blanket in the boot of your car. You may also want to include an emergency kit safe somewhere in your shed or car. Your emergency kit for cold weather could include the items on this list which can be found in this article about protecting your home in cold weather.
Conclusion: Protect your garden in cold weather
In cold weather we always have to plan for emergencies. Once you’ve packed your emergency kit, think of an emergency plan that all the family are aware of. Where will you go, what will you need, who will you call etc. Always have coins in your emergency kit for phone calls. Mobile phones pick the worst times to need charging. Also have batteries and a battery operated radio with you. Protecting your garden is as important as protecting your house, because it’s a part of your extended home. What are other ways you use to protect your garden, yourself, your family, and your home in cold weather?
The best paint colours for your front door are always those that make a bold statement. The paint colours on your front door should also say something about your personality and should be easy to keep clean. Not all of us can actually paint our front doors. Mine, for example is one of those thick, heavy front doors, made from layers of double-glazed PVC and glass, built for safety - not for beauty. If you’re one of the lucky ones with a wooden front door, you have the privilege of making the best of what your house can really look like with the added paint colour. Before we look at paint colours, read this article if you need some lessons in painting.
Additional recommended reading: exterior design ideas and DIY security for your home
4 Best Paint Colours for your front door
Top paint colour 1: Bright red or Moroccan-red front door
This is probably the most popular front-door paint colour (in the UK). It’s brave, bright and bold. Your house stands out in your street when you use this paint colour on your door. I think, of all the paint colours, Moroccan red shows up well and will go with simply any house colour. If I could paint my front door, it would be this colour. It’s perfect against this white background. Yellow, cream and light blue houses also look stunning with a red front door. This paint colour complements even dull, grey brick or red-brick homes.
Top paint colour 2: Lemon or yellow front door

yellow front door
A lemon door is fabulous in the bright months of summer. It’s beautiful and will go well with most house colours (not as universal as red, though). This paint colour will always brighten up your neighbour’s day and will welcome you when you return home from work. It’s a bold and intimate colour for a front door and will be perfect if you have flowers in your front garden. Just imagine your yellow front door in the background, with flowers waving gently in the wind. The mixture of green leaves off trees and the brown earthy colours of the front garden all come together to produce something really romantic indeed! In the winter this paint colour also brings a bit of sunshine to your life. It’s always bright and beautiful and no weather condition will ever darken this paint colour.
White, cream, yellow, pale blues and pale greens houses go well with yellow front doors.
Top paint colour 3: Royal or dark blue front door
A Royal blue front door is a wise choice when it comes to paint colours. It’s dark enough not to show up when it’s dirty, but it’s not black, so it still retains some interest and colour on your house in the street. The beauty of the royal blue paint colour is that it looks amazing on any type or size of house. It can make any house look great. This paint colour is a very popular choice for a lot of people, but the good news (if you want to be different) is there are several different shades of blue available to choose from.
Like red paint colour, blue is also quite versatile and can complement most house colours. It looks especially beautiful on white and light blue houses, but not so great on red-brick ones.
Top paint colour 4: pale green front door
I’ve always fancied myself in a cottage with a light green door. This is an unusual colour for a front door, but I included it in this list because I’ve seen it on a few houses, and was really impressed by the understated beauty of this paint colour. In the summer it looks inviting and calming against the bright sunlight. In winter, even the whiteness around, and the grey sky do not negate the attractiveness of this front door colour. Of course, this paint colour cannot be used on any house. Red brick, white, grey and very pale cream houses look great with a pale green front door. If your house is any other colour - forget it. Another point to note is that because this is a light colour, make sure your DIY skills are up to scratch before you paint your door, otherwise you run the risk of visible brush strokes. This is not a good look for the front of your house.
Conclusion: Paint colours: your front door
Regardless of what paint colours are popular, the ultimate choice remains with you. As we said before, the colour of your front door reflects something about you, your home and your personality. Also make sure you’ve got a good idea of how to prepare wood before painting. Two-thirds of the painting job is the preparation. The finished look always depends on how well you’ve prepared the surface. As always, it’s great to have you here. Please share this article if you found it inspiring. Leave your comments and ideas in the comment section please. We’d also like to hear from you if you think your front door colour says something about your personality and if so, what?
You may like to read our extreme home makeover series to see what other changes (in and around your home) will make the most impact. We also show you how to use colours inside your home to make it more homely and beautiful. In the meantime, here’s a beautiful Welcome Front Door vinyl wall decal that looks great on any colour front door. The best thing about it is that it’s not cheesy like most other items of this sort. It’s also easy to apply. Your guests will all be asking you where you got it.
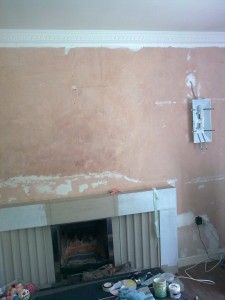
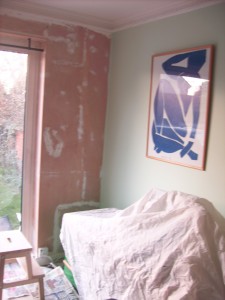
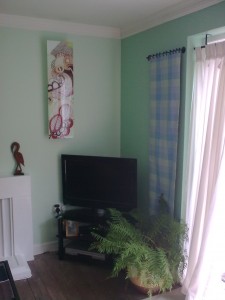
Living room design - before extreme makeover
The end of the living room design is nigh. All the holes and cracks have finally been filled in readiness for paint.
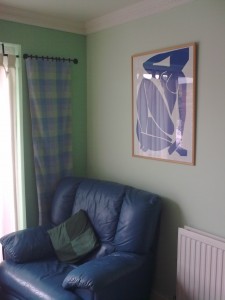
New living room design - after extreme makeover
Now for the other sides of the living room extreme makeover.
The radiator wall is finally finished, but the window wall is the last to be done.
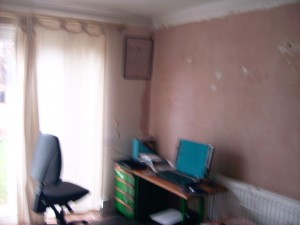
Working area design in living room space
Finishing touches to the living room makeover
When it comes to painting wood and wooden furniture, time, effort and know-how all play key roles in what the finished job looks like. Care has to be taken when you remove paint from the old paint job in preparation for your project. This tutorial will show you exactly what you need to know, and how to paint wood.
Removing paint from wood
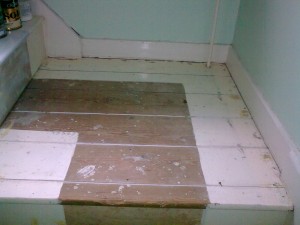
Ideally, you shouldn’t use paint removal substances on wood, unless it’s totally necessary. Look at the pictures of un-painted wood (or old wood) below to see great examples of how old paint jobs can look. Is this what you’re faced with?
The first thing you need to do is get rough grade sand paper and start sanding. Sanding wood in preparation for painting not only removes the old, flaky paint from the surface. Sanding wood removes dust particles stuck in the wood, takes care of old drips and thick, unsound painting jobs, and (most importantly) gives your brand new, expensive paint, somewhere permanent to stick to.
If you were to paint without first sanding, you’d be doing yourself a disservice because the new paint can only look as good as the surface it was put on. Bad - or not enough - preparation will cause your new paint to flake out fast.
Flaky and chipped paint have to be removed
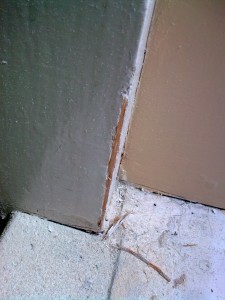
In the picture below, notice that you can virtually remove the old paint with your fingernails. Painting on this surface would result on the new paint chipping off in a few months.
Preparing wood to be painted
1. Go over the wooden surface to get rid of all all staples, nails, splinters, or any other sharp objects that can damage your hands.
2. Use a paint-removal knife (I also use a wall paper scraper - it works just as well) to take off any thickly-covered painted areas where the paint had been put on thicker than in other parts. Using the knife, scrape away at the old paint until it’s all gone. If there are any edges where the raw wood meets the paint, go over these with the knife to make sure the joins (paint + raw wood) are smooth and not flaky.
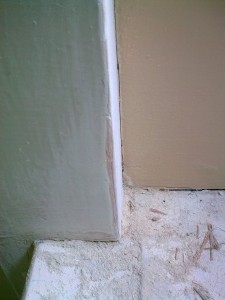
3. Sand the wood thoroughly, paying keen attention to: (a) where raw wood meets painted sections (like in the first picture), (b) where bulges and drips were left from the old paint, and (c) flaky painted bits (like in the second picture).
At last, all the flaky, old paint has been sanded off. You’ll still be able to see layers underneath (if there are any), but all surrounding areas and areas sanded, should feel smooth to the touch. If you can feel a ridge between the top layer and the ones underneath, you need to sand some more.
Finished painted surfaces
Cleaning wood to be painted
1. Once sanding is complete, you should carefully sweep up all the dust and particles. Some DIY shops will tell you you need special cleaning agents for this job, but you don’t necessarily (unless you don’t mind spending extra for no reason). When you’ve thoroughly swept the area, clean carefully with a cotton cloth. You can use an old piece of cotton, or a micro fibre cleaning cloth if you wish. If you have any vodka or mentholated spirit in the house you can use these on the cloth. If not, just clean twice with your old, cotton rag.
2. Make sure you put masking tape around the area you want to paint to protect your other paint work and surfaces. You’re now ready to put your brand new paint onto your well-prepared surface!
Painting wood
All manufacturers give detailed information on the paint can/tin. Follow these and you’ll be fine.
Some important things about painting wood:
1. Use a good brush. Cheap brushes shed and give you more work (you have to constantly remove shed bristles from your project).
2. Give your DIY paint project enough time to dry. Again, manufacturers tell you how long.
3. Darker surfaces need more coats of paint if your new paint is a lighter colour/shade.
4. You shouldn’t paint wood with emulsion paint (made for painting walls), it won’t last. However, you can see how I used it in spicing up old wardrobes, and using beach stones as home decorations.
4. Most (not all) wood paint requires you to stir thoroughly before use. Do so because the oils can settle on the top. This discrepancy and unevenness will show up unfavourably in your new work.
5. If you’re putting more than one coat on (and you probably need to - regardless of what the manufacturers say on the tin) lightly sand the first coat to give the last one a good home to soak in.
6. Don’t paint outdoor wood with interior paint - it won’t last. You’ll be wasting your money.
7. Wood paint are available in matt, silk, eggshell (some makes) and gloss. Matt is flat. Silk and eggshell are slightly shiny. Gloss is highly shiny and reflective.
8. Always have ample ventilation when painting.
Now, you’re ready to prepare and paint your wood surface or wooden furniture. If you need any more tips or advice on painting wood, don’t be shy about leaving me a question in the comment section. As always, thanks for dropping by. If you’ve benefited from, or enjoyed this post, please share it on your favourite networking sites. Other articles on painting include: How to prepare your walls for painting, and painting your room.
Find more articles about DIY on this page;
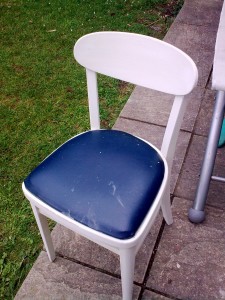
Transforming the chair
What you need:
Left over material
Some gloss paint (for wood)
Sandpaper
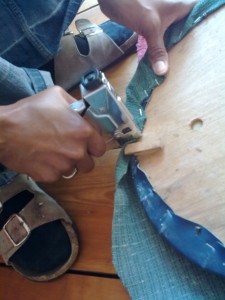
Staple gun and staples
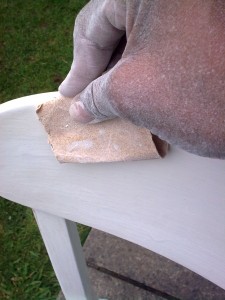
First: sand all the wooden parts of the chair completely
Note: Tighten loose screws
Glue loose wooden bits together
Remove the soft seat part of the chair
Then turned your attention to the paint work. Give the entire chair, including the back and legs, a good sanding with coarse sandpaper. Now it was structurally perfect and ready for the paint!
When you’ve done all of the above, paint the chair in gloss or satin paint made for wood. Follow all the manufacturer’s recommendations and leave to dry. You may need 2 coats of paint for this job.
Second: take off seat and recover with fabric
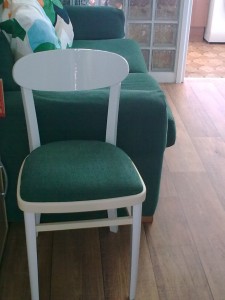
Finished, transformed old chair














Top Commentluvvers
No one has commented since the last reset. Leave an approved comment and your site name and latest post will be shown here
Results since : 8th Nov
Will reset on : 23rd Nov