Filling a hole in the wall can seem to be a huge task, but it’s really very easy. With minimal tools and the tutorial below, you should be on your way to being an expert hole-filler.
Duration of job: the work itself will probably take you an hour in total, but because various parts of the job requires material drying, the job will take about 2 days to complete.
Difficulty: 2 out of 10
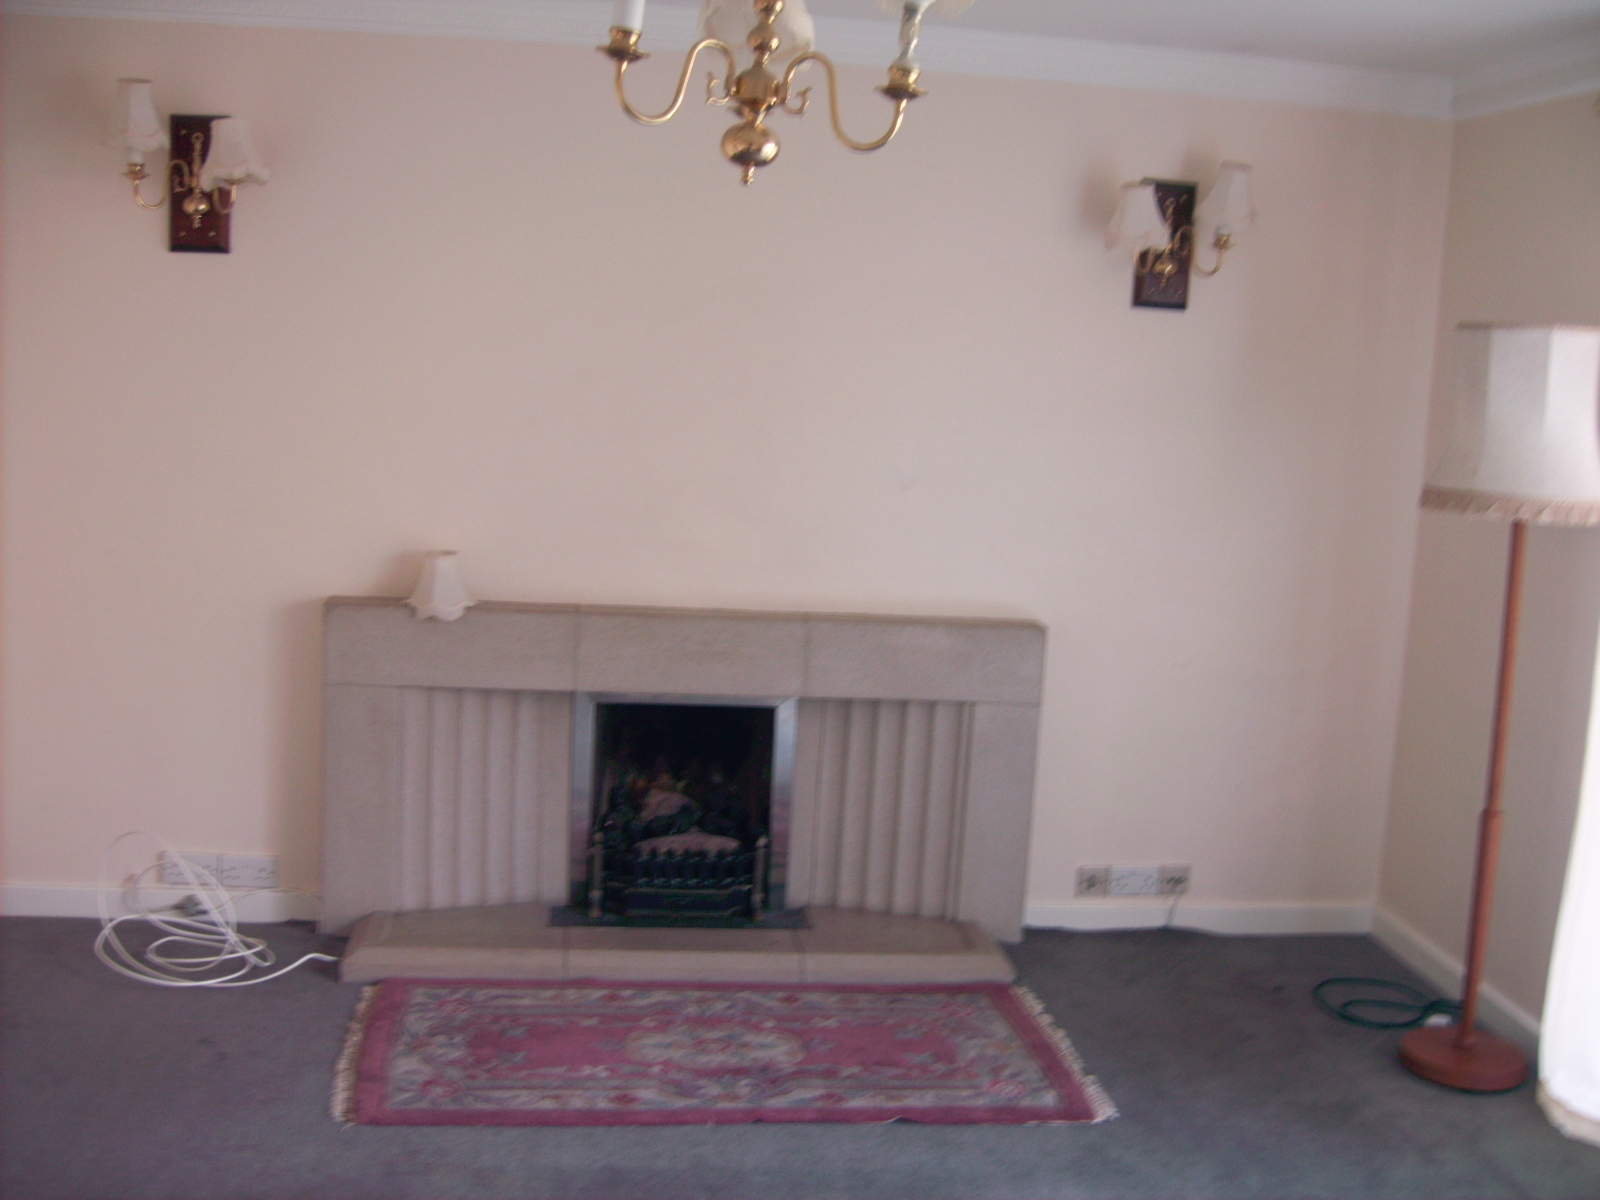
The holes in the picture below were caused by a shelf falling off. As you can probably work out, the six holes were left by a pair of shelf brackets. The
wall plugs for the job were incorrect, so obviously, the shelf couldn’t hold up the weight it was given (you learn from your mistakes, right?). You can
learn how to drill holes from this article. In the meantime, I’m going to show you how to repair a hole in the wall. So here’s what the wall looked like…

the original state of the wall
You can easily repair a hole in the wall with these simple steps

a close-up of the holes in the wall
If the wall plugs are still in the holes, leave them there. They’re useful for keeping the dust from the brick or plaster (the stuff the wall is made of) from becoming loose and falling out. If the hole does not have a wall-plug in it, you can place one in if you can. If not, don’t worry, just follow these next steps in the directions.

cut off plastic rim of wall plug
Cut off the rim of the wall plug, leaving the rest of it (the long part) inside the hole to be filled. Notice in this case, we replaced the plastic wall plugs with metal ones which were suitable for the type of wall we were dealing with. This is a hollow wall (or a plaster board wall). You can use a wall-paper stripper or sharp knife to cut plastic wall-plug rims off.

fill the holes with a suitable filler
After you’ve cut off the rim of the wall-plug, use any type of suitable filler to fill the hole. Flexible filler is ideal because it moves with any friction or contraction weather (or other conditions) will influence upon the wall. Press the filler into the hole with your fingers or a filler tool (fingers are fine for this part of the job). Make sure the filler comes to the edge of the hole. Allow to dry according to the manufacturer’s specifications.

use filler tool to fill the rest of the hole
Once your flexible filler is dry, use a filler or scraper tool like the one above to scrape away any loose paint, plaster or material from the area. If you don’t take this precaution all your work will fall off with the dusty, loose particles in a few weeks. Use the same tool to then apply sandable filler in and around the hole. The reason it has to be sandable is because you need to fill it a bit proud of the hole (It shrinks while it dries). This means you should apply it so that the area filled is higher than the rest of the wall.
Don’t worry about imperfections at this stage of repairing your hole in the wall. They will all be sanded off when the filler is dry. Press the filler firmly into the hole and make sure it (and around it) is covered completely. Allow to dry. This usually takes about 8 to 12 hours. If it’s not dry, it won’t work.

hole is filled, filler is dry - it's ready for sanding
New wall-plugs have been placed into freshly-drilled holes. The old holes (and around them) have been filled. The filler is dry. Now it’s time to do the sanding. Choose a fine to medium sandpaper to do this job. Coarse sandpaper is not suitable to repair a hole in the wall.

sand the filler until smooth
When repairing holes, the trick with sanding filler properly is not only about how it looks, but how it feels. If you have colour paint on the wall, the filled spot will always look different to the rest of the surface. What matters is that when you rub your hand (rub your hand over the spot, because your palms are more sensitive to touch than your fingers are). The sanded spot should feel flat against the wall. If it feels slightly lumpy or a bit higher than the surface, it means you should sand it a bit more.

prime and paint area

The picture immediately above was taken after 1 coat of primer and 1 coat of paint. It needs a couple more coats of paint to look perfect. (See the picture below for the finished product).
Not every DIYer will tell you this, but I like to prime filled areas before I paint them. Paint can easily peel off surfaces which are not prepared to properly absorb the paint. Newly sanded, or newly plastered areas should always be primed before they’re painted. Your lovely paint on your new wall will not look so lovely when it starts peeling off in six months’ time.
Primer need not be expensive. I buy cheap, white, matt emulsion paint for walls/ceilings to use as primer. I make a solution of half paint with half water and use this for priming. If the paint is really thick, mix about 3 or 4 part water with 1 part paint. It has to be white, matt emulsion.

a perfectly repaired hole in the wall - new shelf is up
You probably need to use about 2 coats of paint after the primer is dry. Make sure each coat of paint is dry before applying another. This is important for the finished look. If using white paint, you may need to apply about 3 coats. Note, each coat takes about 2 hours to dry.
No sign of holes! The shelf is up again and the unsightly holes are gone. If you like this tutorial why not check out the other diy tutorials on this site. We also have articles on stuff you can make to achieve beautiful interiors. Find more DIY tutorials here.


Top Commentluvvers
Recent post : NYC Weddings: Planning a One of a Kind Wedding
Recent post : Steinepreis Paganin is happy to announce the addition of Matt...
Recent post : Things to Know on How to Style your Deck
Results since : 17th Oct
Will reset on : 27th Oct