These DIY anti-burglar projects relate to landscaping. Administering a few changes to your outdoor landscaping can go a long way to making your home more secure and less attractive to thieves. Burglars love homes with dense foliage and brush obstructing the view of the doors and windows from the street. Don’t indulge them. Below are just a few ways to start making the exterior of your home more secure.
Landscaping DIY anti-burglar projects
___________________________________
Trim bushes and trees by your doors and windows
_______________________________________________________________
If you only have the time to do one security upgrade to your landscaping, this is the one you should choose. Making your entrances easily visible by the neighbors and from the street will help dissuade all but the most brazen and tenacious of thieves. In addition, a tree with branches near your second story windows can give a nimble burglar access to your home. Remember that trimming your bushes and trees is a regular maintenance medium, not just a one-time fix. See some other ways we’ve enabled affordable, DIY home security.
_____________________________________________
Choose shrubs with thorns when planning DIY anti-burglar projects
_________________________________________________________________________________
Adding a good dose of brambles is another way to make your house unattractive to thieves. Depending on where you live, climbing roses, cacti and blackberry bushes near your windows will leave their mark on anyone who tries to climb past them. These shrubs and plants also make great additions when updating your exterior designs.
___________________________________________
Nix those trellises for exterior safety
___________________________________________
Wooden trellises can be lovely when placed against a home’s exterior, perhaps with a climbing rose or clematis attached. However, those same trellises can provide burglars with an easy ladder and access to the upper levels of your home. Better to place your trellis out in the open or against your garage instead.
__________________________________
Stow your gardening equipment
_______________________________________
We all leave our gardening equipment outside from time to time. However, if your regular gardening or maintenance routine includes using a ladder or step stool, you’re giving burglars another easy way to enter your home through a second floor window. Keep these locked away and out of sight.
________________________________________________________________
Consider a Rock Garden for DIY anti-burglar projects
___________________________________________________________________
Low-growing gardens use pebbles or rocks of different sizes, along with delicate plants such as cacti, succulents or tender perennials. This type of garden can win you security on three levels: it doesn’t obscure your windows; it can contain plants with thorns; and the rocks make it difficult for thieves to get footing or place a ladder.
Don’t obsess about having your home burglarized, but neither make it easy for thieves. Look at the exterior of your home as a thief might see it and make any necessary changes. It’s easy and affordable.
Have you done any DIY anti-burglar projects? What other preventative methods have you implemented?
Author Bio:
Elli is a writer for YourLocalSecurity.com, a top seller of home security services. She enjoys blogging about family and child safety, home renovation and improvement, and simple home DIY projects.
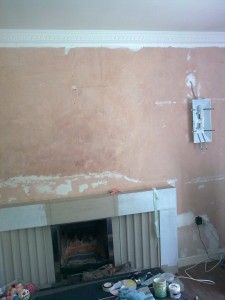
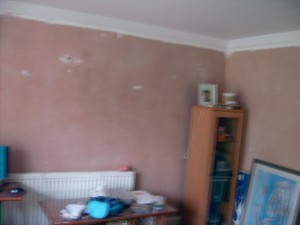
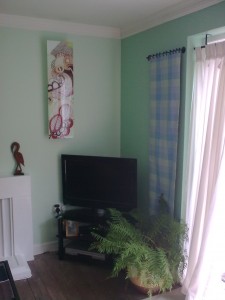
Living room design - before extreme makeover
The end of the living room design is nigh. All the holes and cracks have finally been filled in readiness for paint.
New living room design - after extreme makeover
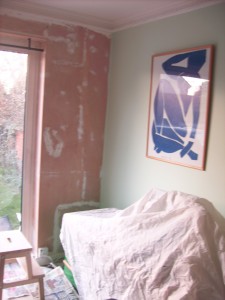
Now for the other sides of the living room extreme makeover.
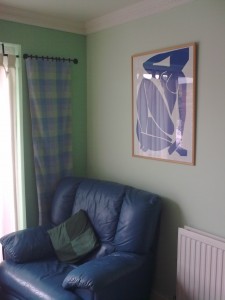
The radiator wall is finally finished, but the window wall is the last to be done.
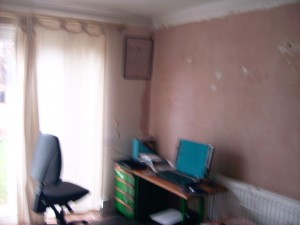
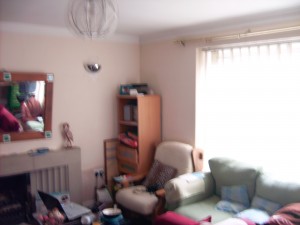
Working area design in living room space
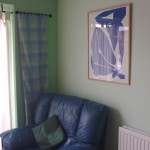
Finishing touches to the living room makeover
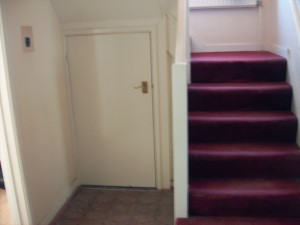
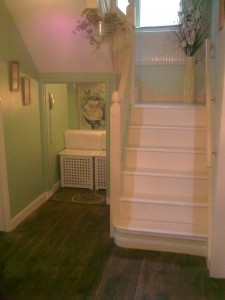
Here’s what we did to pimp our understairs cupboad: This top picture was taken on the day I came to view the house. The red carpet was smelly and old, and screamed, dump me, dump me! It was nice there was storage space, but I thought I could do something nicer still with it. I wanted the hall to extend out and give a feeling of space and elegance. The white door seemed to be in the way, stopping the flow of the hall (which was a nice size to begin with).
The good thing was, that once we’d remove the red carpeting in the hall, we realised that there was some old lino on the floor beneath it. This was better than the carpet and we lived with that for the time being.
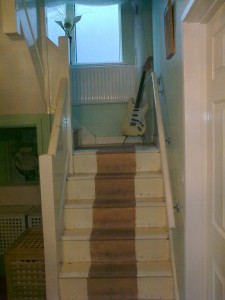
The carpet has now been removed, and the door is also gone, but as you can see above, the damage on the wooden stairs was so intense, it took months to fill all the holes, sand and paint the stairs. Nevertheless, this was a far cry better then the old, red carpet.
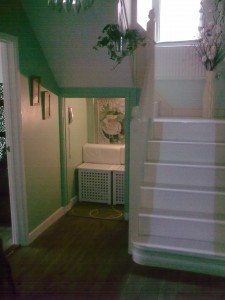
Transforming the understairs cupboard
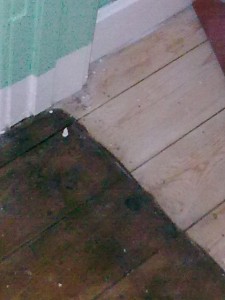
Once we’d finished painting we decided that the floor, though raw wood, would look better without the old lino. It was removed and the floor was stained with cheap wood stain. This will have to stay until we can do better. You can see the complete effect in the ‘after’ picture above. The floor looks rather good.
What we did to pimp our understairs cupboard:
Removed the cupboard door.
Painted the cupboard the same colour as the rest of the hall.
Painted the skirting board the same colour - this joines both spaces and fools the eyes into thinking the two spaces are one room.
The floor was also stained, carrying the same colours and effects though.
Drilled a hole into the bottom of the wall in the cupboard and ran an extension cord into it from the living room. This enabled us to put a light into the dark space.
The storage boxes were spray-painted white. Spraying them is easier than painting because of the holes.
Cushions were placed on the boxes and a painting was placed on the wall. Choose a painting that compliments the colour of your wall.
Attach your phone on the wall and you have a telephone heaven in which to sit and talk for hours if you want.
The rest of the cupboard on the left hand side is still used for storage. Shelves and free-standing cupboards have been put there. You see them, but your guests don’t.
What the understairs room cost
We had all of the furniture, the soft furnishing, the light (hook on) and the painting. Left over paint from the hall was used. Nothing was bought specifically for this project except for the spray paint used to spray the boxes. They used to be natural wood. This cost about £3.00 in total. The spray paint was also used on other little things in the house.
Please share this article on creating an extra room out of your understairs cupboard if you found it helpful. As always thank you for joining the diy projects site. Follow the link for more DIY tutorials. There are several more articles on home improvement on this site.









Top Commentluvvers
Recent post : NYC Weddings: Planning a One of a Kind Wedding
Recent post : Steinepreis Paganin is happy to announce the addition of Matt...
Recent post : Things to Know on How to Style your Deck
Results since : 17th Oct
Will reset on : 27th Oct