DIY projects knows how difficult is is to keep calm when you have a burst water pipe, frozen pipes, or other water leaks and flooding. ‘What to do when water pipes burst’ will show you how to keep the water leak safe enough to tide you over until you can get the plumber in, or you have time to do a more detailed job.
Do you know the location of your water valves and how they work? If you don’t, you should learn this before you suffer a major leak or house flooding. This knowledge is extremely important in dealing with burst pipes and other water leaks.
Dealing with a burst pipe or other emergency flooding
If you have a burst water pipe, water leaks, or any other flooding you should first of all do two things: turn off your electricity at the fuse box, and turn off your water at the main water valve. This will immediately secure your property against further damage and potential dangers. Furthermore, it will decrease your risk of sustaining irreparable or extensive damage.
If you’re looking for a temporary fix the best thing is to buy a pipe repair clamp. They’re available at all DIY shops, (and maybe in some good supermarkets in the projects and diy aisle). The pipe repair clamp comes in 2 parts – one for the back of the pipe, and the other for the front. There is no need to drain the leaking pipe before it’s installed.
1. Fit the two parts together over the leaking or burst pipe to make sure the rubber part of the seal is going to be fitted properly over the hole.
2. When certain of the proper fitting, secure the pipe repair clamp (over the leak) and tighten the two halves together with the screws provided. This will work, but only for a while. You will need to repair the leaking pipe properly as soon as possible.
3. Make sure all electrical plugs are dry before turning the electricity back on.
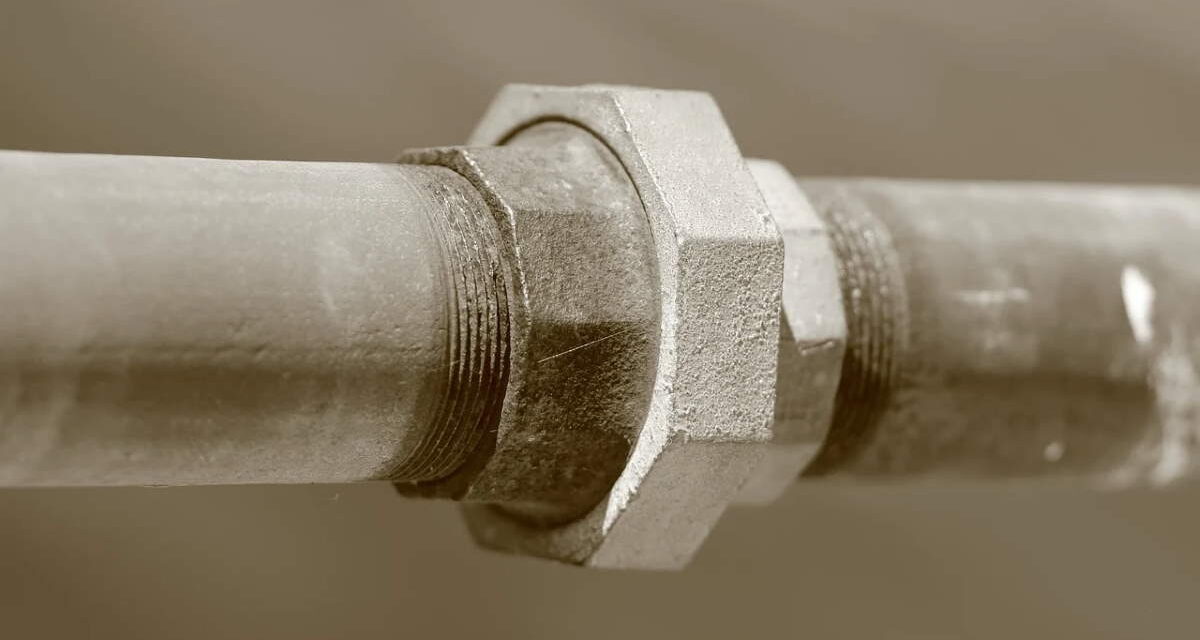
Replacing burst pipes
What you need to replace your leaking pipe
New piece of pipe, the same size as the original one.
Steel wool or deburring tool
Pipe cutter or hack saw.
Measuring tape
2 push-fit joints to connect your pipes.
Method to replacing burst pipes
1. Like with our temporary fixture above, you need to turn off the water supply from the main water valve before starting the project.
2. Drain the damaged pipe simply by turning all your taps on. Let them run until all the water is gone out of the system.
3. You should use a small pipe cutter to cut both sides of the leaking (damaged) pipe, but if you haven’t got a pipe cutter, a small hacksaw will do this DIY project just fine. Just make sure you’re wearing safety goggles.
4. Once cut, use steel wool to carefully clean off any loose bits on the inside and outside of the pipe. This is important, as you don’t want your family drinking this hazardous stuff.
5. Measure the distance between the pipe and cut your new pipe accordingly. Remember you need to make allowances for the 2 push-fit joints you will use on both ends of the pipe you’re replacing. Clean this piece of pipe as you did your original one.
6. Take the new piece of pipe you’ve cut, and insert the two push-fit joints at both ends. This is what the push-fit joints look like.
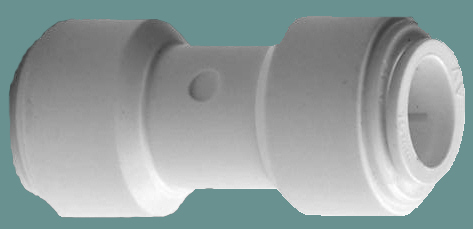
Push-fit joint
7. Attach one end of your push-fit joint into one end of the original pipe (the damaged one you’re replacing). Attach the other end and tighten. Secure your work properly. Turn on the water and check for any water leakage. Your project is done!
If you find this diy projects’ tutorial useful, please share it with someone who may need it, or on your favourite networking site. Please also take a look at our home DIY projects page. Thank you.


Another great tutorial Anne, thanks 🙂 You have absolutely nailed the two most important points when dealing with a plumbing emergency.
1. Stay calm
2. Locate the main property water supply and turn off.
If people could only remember to do these two things then a plumbing catastrophe can be avoided.
Thanks again for an awesome post Anne
Thanks for your input, Paul. I appreciate it. And yes, staying calm is essential in order to think clearly when something like this happens.
Way cool, some valid points! I appreciate you making this article available
After study a few of the blog posts on your website now, and I truly like your way of blogging. I bookmarked it to my bookmark website list and will be checking back soon. Pls check out my web site as well and let me know what you think.
This is my first time i visit here! I found so many useful stuff in your website especially its discussion! From the a lot of comments on your articles. I guess Im not the only one receiving the many satisfaction right here! keep up a good job.
Fantastic web site. A lot of useful info here. I’m sending it to a few pals ans also sharing in delicious. And obviously, thank you to your sweat!
I enjoy coming back to your blog. I stumbled on it when I was searching in ask. Your information has helped me tremendously. It was exactly what I have been looking for.
Thank you for the comment. Next time, though, you don’t have to leave a link. I have comluv enabled on the blog.