When we moved into our old house, we started on a home improvement journey that was extremely stressful, time consuming and financially stripping. A large part of the work was done to the inside of what was a terribly neglected house. In addition, major building work was done on the garage to convert it into a den for the kids to play in and entertain friends. The back part of it was made into a small utility room.
In this article you’ll see that you can add a new room to your house without the expense of an extension. This is what the garage looked like on the first day of viewing the house. This is our garage renovation.
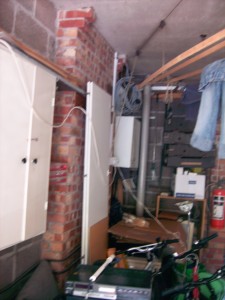
Before Garage renovation

the old garage before conversion - used for storage
Converting the garage into a living space
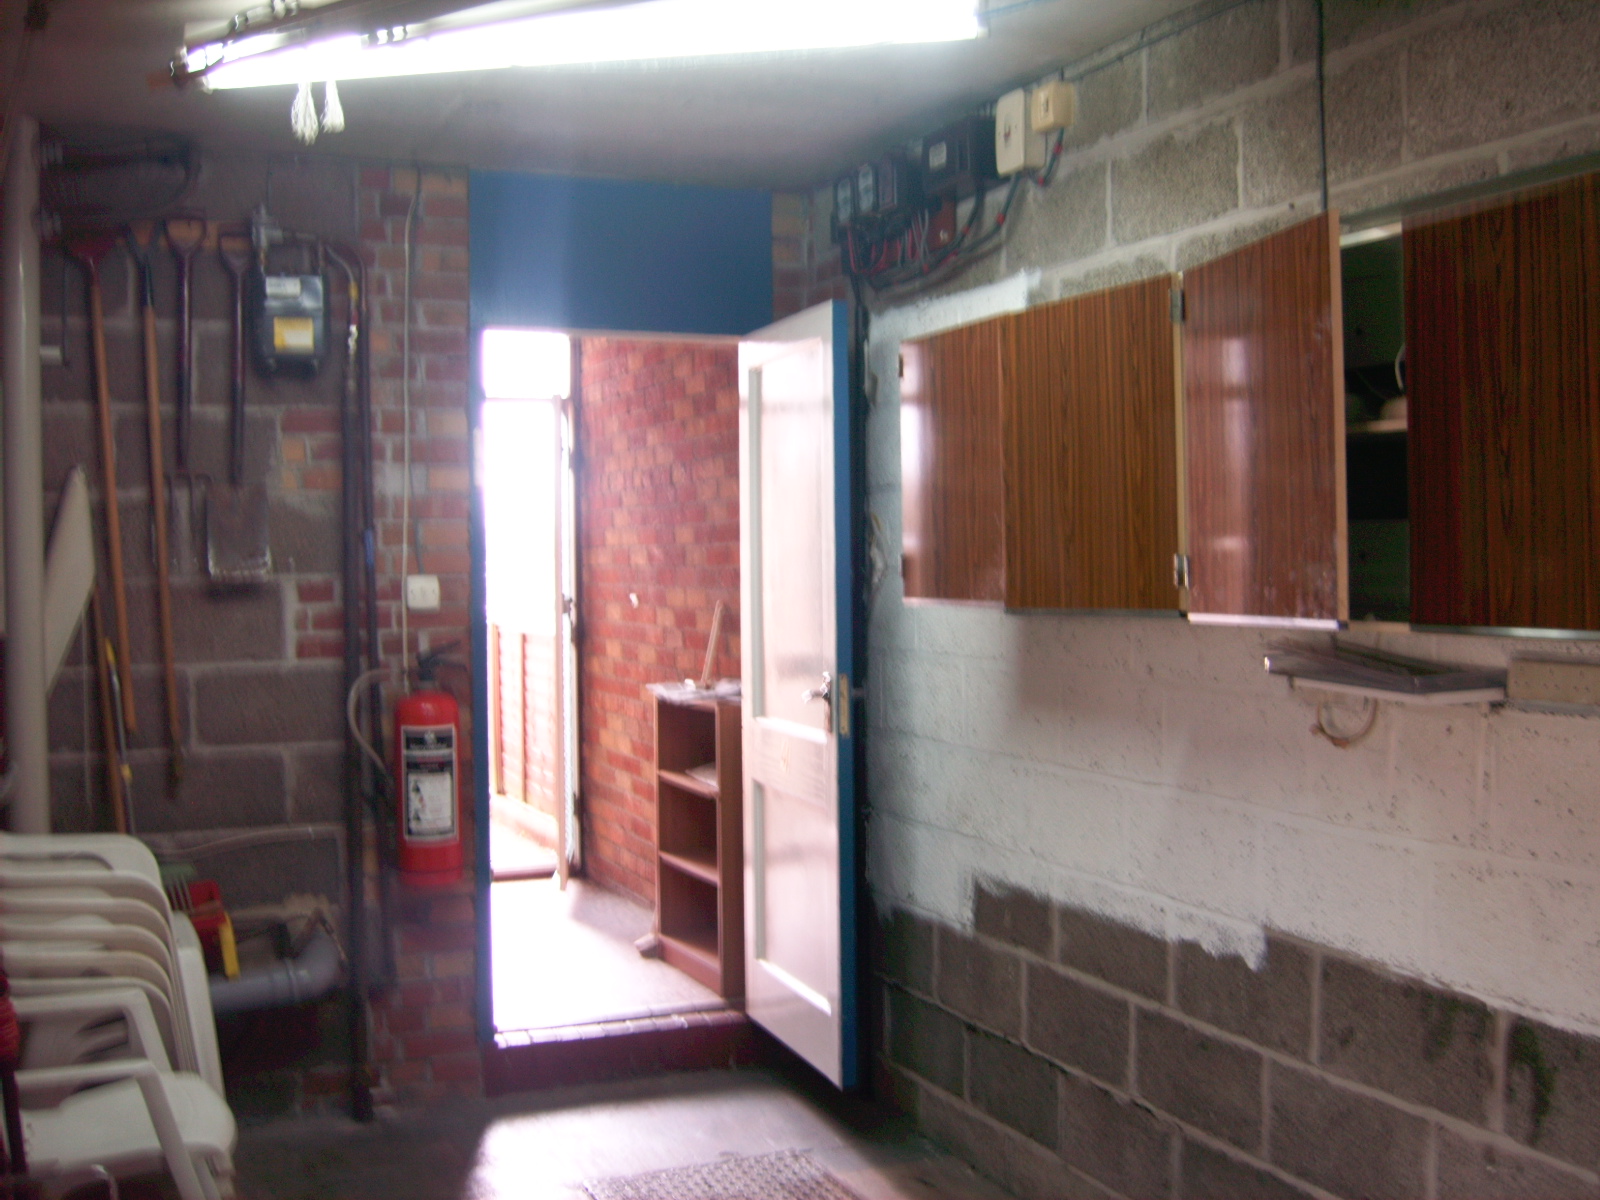
The above picture was taken from the garage back door. It shows the right side of the room, looking out to the hall, which leads to the front door. The floor was built up about 12 inches and the walls insulated and plastered. The middle door you see here was also moved, so the front part of the room is now slightly longer.
After
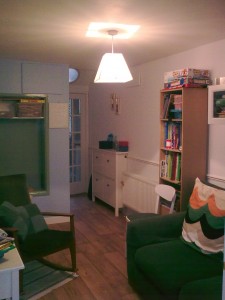
new living space - a den for the kids to store stuff and entertain friends
This picture was taken from the same place as the first one on this page. Now the garage back door is the utility room. The middle door has been taken out and replaced. The light you see in the far end of the ceiling is a light well, designed to let the sunshine in from the roof. Keep in mind, this room has no windows, so day-lighting had to be cleverly planned. I’ll show you what we did on the other side
More before and after shots of garage renovation
Before
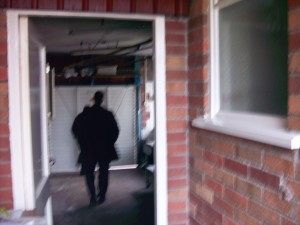
going into the garage
This shot was taken from the front door, entering into the garage. The white door you see on the far end is the old garage door. The good thing (which we’ve been able to maintian) about the house was that everything was built for security. An old woman lived in the house by herself for years before it was rented. The agent couldn’t even open the garage door the day we came to see the property (there were so many keys), but we saw the potential of the dark, desolate room.
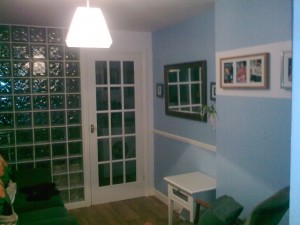
After
new den, taken from the same place
As I’ve mentioned before, the room has no windows, so allowing daylight into the room was a tricky business. Along with the light well on the opposite side of the room, this glass wall between the den and the utility room (which has a window) combine to let sufficient light in.
An old garage can be dark so lighting is of prime importance. A low cost, low energy solution is LED lighting. That way if you leave the light on you won’t be burning through your electricity bill. Check out these LED Spotlights - energenie4u.co.uk
Before
old garage - left side, looking in
After
a new den - left side, looking in
Before
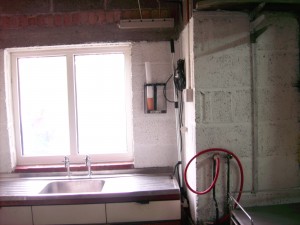
old garage - old sink, pipes and sealed window on the far side of the room
After
new den - no sink
Even though most of the room is painted white, this wall is light blue. I wanted to have the light bounce off the white walls, but I thought blue would add some warmth to a room the kids mainly use. I thought an all-white theme wouldn’t suit this particular use and I’ve discovered that this works very well. The room looks inviting rather then clinical and boring.
Before
old garage - a storage trap
Once we’d moved in, all the building work being done in the house meant we had to find a place to store all the stuff we were constantly moving around. The garage was the obvious place. All the redundant ‘stuff’ came here. We had to clear this room several times too. We found that there was asbestos in the ceiling - something we hadn’t been told by the sellers. Of course, this had to all be removed before any work was started.
After
From old garage to new living space
All the furniture used in decorating this room are second hand - given to us for free by various people. Furnishing this room therefore, was the easy part. Once we’d planned the lay-out and painted the walls and ceilings, the furniture was moved in. The couch and tall storage unit on the left of the room came from my in-laws and they delivered it themselves. The small green and white chair was rescued from my friend’s shed and was converted to compliment this room. Learn how this old chair was converted. The rocking chair still needs some work. It came from a friend of the family. We already had the mats, little white table (originally, brown), mirrors and pictures. Dressing the room was a piece of cake! See our other extreme home makeovers here.
Buy Light Switches at Harbro Electrical for your garage refurbishment.
Have you done a garage renovation? Have you got pictures? Please feel free to share the links to your garage-conversion pictures.
About Anne
Anne Lyken-Garner, the owner of
DIY Projects is the published author of the inspirational memoir, Sunday's Child (available on Amazon). She's also a freelance writer, blogger and editor. She writes for, and manages 4 blogs. See how Anne can help you with editing your site at the
Hire an Editor page above.


Twitter: dancomtours
June 13, 2013 at 2:23 pm #
wow!thats great work there you did to your garage,looks wonderful!
christine davids recommends you read..A look at Africa tour package
Huge improvement, the transformation is remarkable given how it looked before. Great job!
Wow! What an amazing transformation! The new garage space is indeed very suitable to have guests over and keep them cozy. Not only is it neat and tidy (and very well-decorated too) the previous messy storage cabinets are gone. That is the main factor that I think contributes to the entire cluttered and untidy outlook. Great job!
Thanks, Dean. I’m happy you noticed the decoration. I planned it for months and was so relieved when it all came to fruition.
Very interesting blog. Lots of great ideas for improving your home. My blog gives ideas of a different sort. It gives relationship tips.
Anne,
This is lovely!
Glad I stopped by on BJD!
Jan
I really like what you did, it is an amazing change. I'll bet your kids love the new space.
Thank you, Icy. They certainly do.
What a fantastic space, with before and after pictures, Anne! It looks amazing, and I'm sure the kids love it..