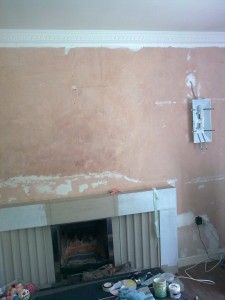
One of the hardest room in any house to design a make over for when you’re doing your home-improvement, is the living room. This was no different in our case. The living room was the last one cleared out and painted. As you can see in the first picture, the boring walls were covered with old-fashioned wall paper, and the floor, with a dusty, old carpet. Welcome to our living room extreme make-over!
One of the first things we did was rip all the carpet off the floors. They were better bare than covered in old, stained carpeting. The fireplace left much to be desired. The grey colour looked like blocks of old concrete. I’ll show you what we did with it in another article, transform an ugly fireplace with paint. We couldn’t afford to get it ripped out, taken away and replaced, but a coat of carefully applied paint works magic!
Living room design - before extreme makeover
The top picture was taken on the day we came to view the property. Notice the old lamps and mat etc had been left in the house.
The picture above was taken after I started doing the DIY projects in this room. The living room design was a very daunting project where home-improvement is concerned, but I persisted.
The end of the living room design is nigh. All the holes and cracks have finally been filled in readiness for paint.
New living room design - after extreme makeover
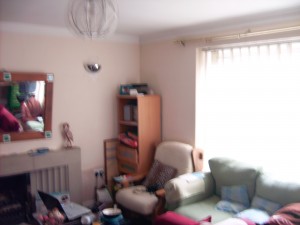
The end result! The two designed items on either sides of the mirror are lights from Ikea. See how the fireplace was made over. (Note: the fireplace has had an additional makeover since this picture was taken, when we had more money to spend).
Now for the other sides of the living room extreme makeover
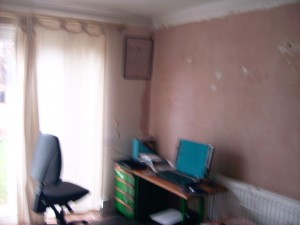
Sorry about the quality of the picture above. I didn’t realise it until I’d deleted the other pictures.
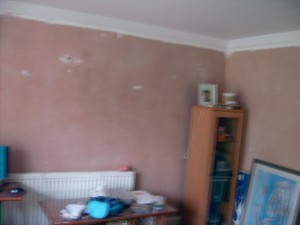
I decided that this side of the living room could be used as a working space. The carpet was removed and so was the wall paper and liner, then work commenced.
We used the space as a home office while the home improvement was going on. I moved this desk back and forth, to remove the wall paper, wash down, sand, prime and paint. There was a massive hole in the centre of the wall which had to be filled with many layers of filler before any change could be seen.
Rest of window wall before extreme living room makeover
The radiator wall is finally finished, but the window wall is the last to be done.
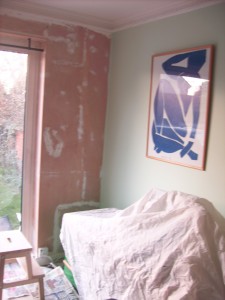
With the back wall (the radiator wall) done, the picture hung, and the desk was moved to another part of the room so work could be started on the window wall. Notice all the holes and cracks which have had to be tended to.
This was an extremely difficult corner. The plug sockets had been gauged out and replaced when the paper was on the wall. (A complete rewiring was done on the old house). Filling and sanding, especially in this small space proved tricky.
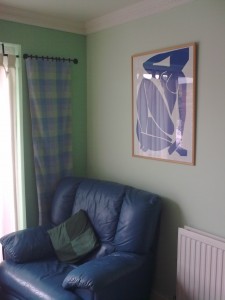
Window wall after living room makeover design
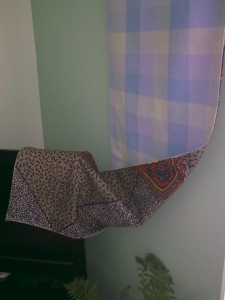
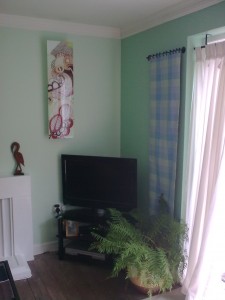
The corner is now complete. The old, cream curtain is still on the window, but this little plaid number on the wall is my personal addition to beautify the space. I’ve made all the fabric dressings for the house. You can see how this impacts your interior design in the linked article and make some for yourself. This is a wall curtain hung from what was meant to be a kitchen cupboard handle. I spray-painted it the same colour as the curtain rod and put it at the same height. The blue chair was given to me by my friend. This is where I write my books and blog because it’s comfortable. Note the wall curtain I made has another pattern on the inside so I can change them around in the summer. I’ll show you a step-by-step article, How To Make A Wall Curtain, so you can make it.
Working area design in living room space
From this…
To this
The fab screen hides that old green desk in one of the above pictures. There’s also an office chair behind it. The screen provides privacy and also separates the living area and working area, as my husband uses this space as a home office. It’s easy to design your own working space when creating your living room extreme makeover.
Finishing touches to the living room makeover
A wall curtain (see how to make it at the link)
The underside of the wall curtain was made with a different fabric. This is for added use because it can be easily switched for a different summer look. This is very easy to make. The link above will show you how.
The left side of the window wall - before living room makeover
The left side of the window wall - after living room makeover
After the couches found their places and all the rubbish was cleared, a corner was finally found for the TV. As you can see, the other side of the window wall also has a window curtain. We’ve not done anything with the floor yet. This living room makeover took a very long time and lots of planning and crafty design. What hurdles did you have to get over to make over your living room? Is there anything from this makeover you can use for your home? See the rest of our extreme home makeover here and see how the living room now adds to the overall beauty of our interior designs.






I don’t have words to enplane how much help full this was. you seems like a great renovater.
It is really hard to improvised and conceptualized something specific. Especially when it comes to improving the design of your living room.
Thanks, Judy. I’ve never heard of that before - settling. What happened? Are you on a fault line or something like that? Hope it settles soon or you’d have to be watching TV sideways soon. 🙂
Twitter: HardworkinJudy
November 1, 2011 at 3:11 am #
My home is settling so my furniture, especially the entertainment center is slanted! Living rooms do pose problems all of their own and you did very nicely.
Judy recommends you read..Genesis:37 ~ Joseph’s Brothers Plot to Kill Him